Packaging Software using SpecOps Deploy in Active Directory Group Policy

So much for trying to keep blog posts coming at a regular pace! Never mind. I’ve been fairly busy in the Learning Technologies Group producing several software application packages deployable across Campus via Group Policy. Most of these have been done using the vendor’s supplied installation executables and silent command line switches (either nicely supplied in the installation documentation, or more usually, after a bit of online investigation). The most common installers I’ve come across are InstallShield (sometimes in conjunction with msi) and nullsoft.

Once I have been able to get as much information about silent installation as possible, together with any pre-installation,  post-installation and uninstallation task detail, I set about creating the installation Group Policy using the SpecOps plug-in.

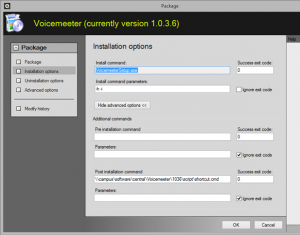
Here’s a screenshot of some of the options available when tailoring a Group Policy software installation in SpecOps. You can specify installation commands, along with any command line switches, and / or paths to scripted commands for pre- and post- installation and uninstallation tasks. This one’s for  Voicemeeter, a freeware multi I/O audio mixing desk.

specop_options

Installation Options for SpecOps Deploy

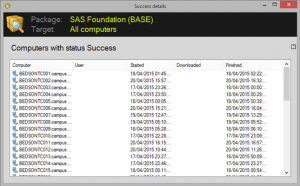
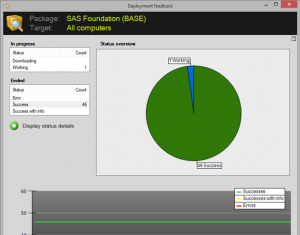
One very nice feature of SpecOps is the ability to get deployment feedback when the Group Policy has been applied, in both text and graphic form, as illustrated in the example screenshots below.

specops_success1 specops_graph1 specops_feedback1

Whatever Happened to thoughts from the LRC?! And as an e-learning systems analyst for Learning Technologies group?!

No more thoughts from the LRC/Learning Technologies for the foreseeable future …. !

In January 2015, initially for nine months, I was seconded to Newcastle University’s central IT Service. My previous IT support role at the Language Resource Centre and School of Modern Languages is now in the capable hands of Dave Masters, with whom I  had swapped roles and effectively filled his role as e-learning systems analyst for the Learning Technologies Group.

It’s now a year on, and, following another internal teams restructuring, I’m now an applications systems analyst within the Applications Support Team, a vital part of Newcastle University’s central IT Service. I am again looking forward to a period of challenge and new experiences. Already, I have been able to get stuck into packaging up a variety of scientific / engineering software for automatic deployment by Group Policy to various central engineering PC clusters on campus. It has been a bit of a culture shock for me – way back when at the Language Resource Centre I was the sole IT professional supporting the School of Modern Language and the LRC. Now, I share an office with three other IT pros; it’s a great experience so far gleaming new knowledge and being in a shared environment!

Over the past year I have been learning new stuff about RAS (Remote Access Service operating under the Citrix XenApp environment), and Specops Deploy – a third party plug-in for Group Policy in Active Directory which allows for more controlled scripted application installations.

As time allows, I will update this blog with further thoughts from my experience here at the Applications Support Team…

How to produce a screensaver on a shoestring*

(*or How to get from A to B via X,Y and Z!)

Ever wondered how it might be possible to produce a nice 3-D screensaver “very quickly” with no programming knowledge and just a tiny bit of effort? Well, recently I set up a pair of dedicated catalogue PCs in the Language Resource Centre. Using Active Directory Group Policy I locked them down pretty reasonably well, and set the display to never switch off. In order to prevent too much screen burn (and without using lotion!), I decided to enforce a customised screensaver through Group Policy via User Configuration / Policies / Administrative Templates / Control Panel / Personalization / Enable  screen saver  and User Configuration / Policies / Administrative Templates / Control Panel / Personalization / Force specific screensaver with a Screen saver timeout set in the policy to 300 seconds.

I used Xara3D 6 to create a project of an animated, rotating 3D textured text which displayed the following information over a couple of lines: “LRC CATALOGUE: TOUCH SCREEN to access” (Note: we purchased a copy of this software quite a while ago – but now I believe it is available as freeware (see Tom’s Guide). There was an option within Xara 3D to export the project as a screensaver. (.scr) file. Done!  Or so I thought. Nothing is ever quite so easy! I could not get this screen saver to work. So I went back into the project and exported it as a Flash animation (swf file). I then downloaded and installed InstantStorm, quite a nifty little freeware Flash screensaver creator. Using this software I was able to rapidly convert my swf file into a standalone scr file. With a little bit of fiddling to get the size right for the screens in question.

Due to possible incompatibility issues with 64-bit Windows (documented in the software), I had to install this screensaver from a different location than the normal %SystemRoot%\system32 (or SysWoW64) location. Again via Group Policy under User Configuration / Policies / Administrative Templates / Control Panel / Personalization / Force specific screensaver / Screen saver executable name.

Bit of a faff-on, but a relatively cheap and quite non-technical way to produce a screensaver! Definitely going from A to B via X,Y and Z. But then hey, it got the job done!


Setting up a Dedicated Catalogue Search PC

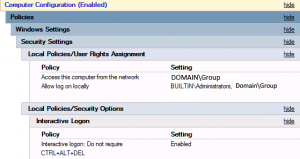
One of the requirements of the newly refurbished Language Resource Centre was to have a facility for quickly searching our catalogue of available language learning self-study resources. To this end, I have produced a dedicated system using arm-mounted touch-screen all-in-one PCs locked down to display our very own on-line catalogue search form. The PCs were built using standard Windows 7 64-bit WDS images available on campus (thanks go to our Desktop Infrastructure team for injecting the appropriate HP extensible drivers to the build to enable USB 3.0/ touch screen capability). I locked the PCs down using Group Policy.  Here is a brief outline. Within a newly created Group Policy, I first enabled a specific user account to log on locally (best practise: add it to a security group), and removed the need to logon using CTRL-ALT-DEL ; these settings are found under Computer Configuration/Policies/Windows Settings/Security/Local Policies/User Rights assignment and Security options, as shown in the picture below:

gpo1

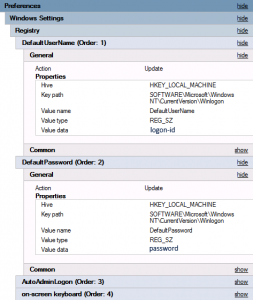
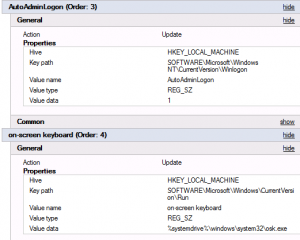
To automatically log this user on at start up, I expanded the Computer Configuration/Preferences section and added the following registry keys and values as shown in the pictures below (all REG_SZ string type):

gpo4 gpo2

Under the  User Configuration/Policies/Administrative templates/System/Custom user Interface, I defined explorer.exe as the GUI to replace the normal Windows 7 desktop GUI. I also ensured that under the System/Logon – Run these programs at user logon setting was defined to run the Microsoft On screen keyboard (%systemdrive%\windows\system32\osk.exe).

Also under User Configuration/Preferences/Windows Settings/Registry I created a new registry value called LogPixels (type REG_DWORD) and set its value to 144 – this gave me a nice crisp and highly accessible font DPI size when used in conjuction with CSS em settings in our online catalogue web form.

A couple of invaluable resources I found to help with GPO settings: http://deployhappiness.com/group-policy-kiosk-mode-locking-down/ and a detailed explanation for setting Windows font DPI size: http://social.technet.microsoft.com/forums/windows/en-US/c20c4c47-092d-4daa-b4a8-154b3852e13d/using-group-policy-to-set-windows-font-dpi-size


LRC Refurbishment – very briefly in pictures, from start to finish!

Well, September is half way through.The refurbishment of the Language Resource Centre has moved along quite quickly, and here I present a few images to show what’s been happening since the start of September ….

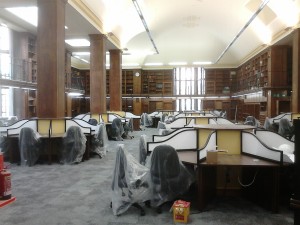
Here’s a first early peek at the new user carrels ..

DSC_0249

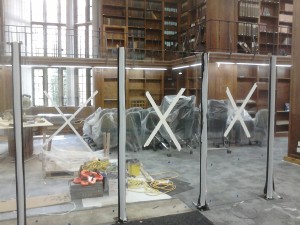
Toughened glass screens provide area division within the Centre …

DSC_0250

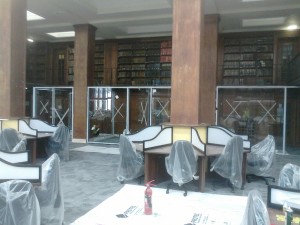
Talk Shop areas have been partitioned using glass also …

DSC_0251

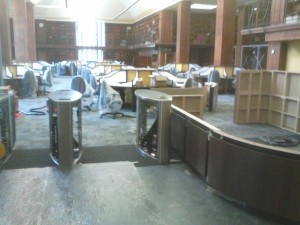
Looking towards the technician’s workshop and new reception area …

DSC_0253

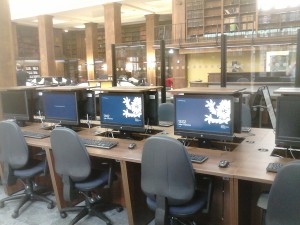
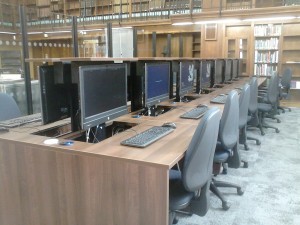
This area will contain sixteen PC workstations arranged in two facing rows of eight …

DSC_0254

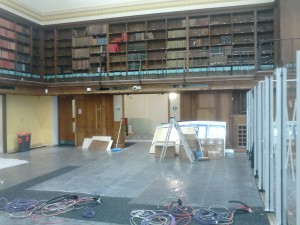
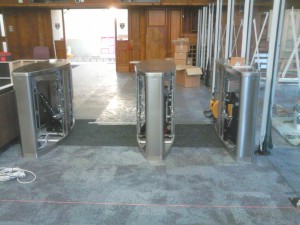
Looking towards the new entrance. Note the glass dividers to the right of the picture …

DSC_0255

Some more images from construction work developing at the entrance ..

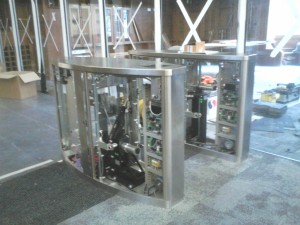
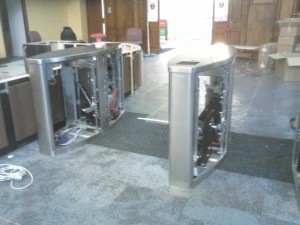
View of the internals of our new entry barriers …

DSC_0267

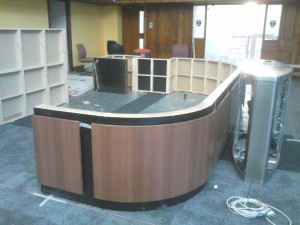
The new reception desk under construction, viewed from inside the Centre …

DSC_0264

More views of the entry barriers …

DSC_0260 DSC_0259 DSC_0261

Reception desk, looking into the Centre …

DSC_0257

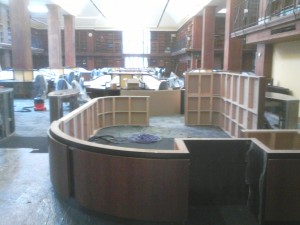
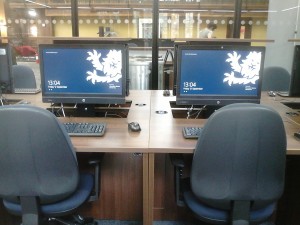
+++ STOP PRESS! +++ The building work was completed on 12th September. Here are a couple of pictures of the new 16-PC desk area to the left of the entrance as you go in. On Monday 15th September, the Centre will be open to our International students from INTO for registration…

DSC_0281 DSC_0282 DSC_0283

LRC Refurbishment – quick update

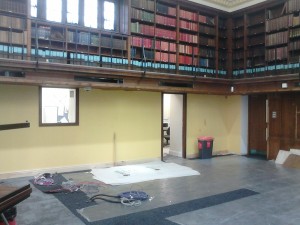
Just before the work began on the refurbishment, I had an opportunity to take some photos of a deserted Language Resource Centre, with very forlorn looking work carrels.

DSC_0182 DSC_0188

DSC_0181

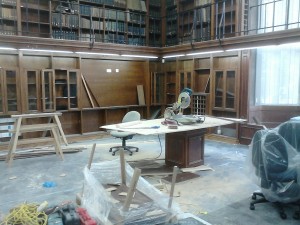
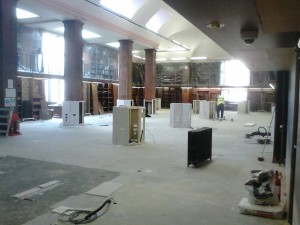
Well, the workmen have been beavering away over the past couple of  weeks, removing all the old furniture and building in the data and network frameworks.

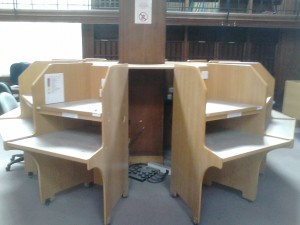
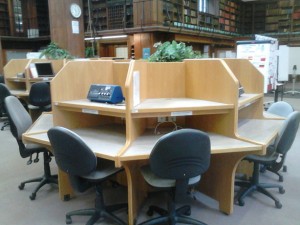
The picture below shows the placement of original carrels round supporting pillars, with mahogany coloured wood cladding. The new-look centre will still feature similar carrels, but without the second shelving layer, more suited to modern computer monitors and certainly more ergonomic for its users. I believe the general mahogany wood colouring will be preserved (the building is listed and some internal features need to remain the same).

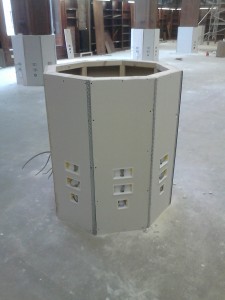
DSC_0247 DSC_0248

The image above is an example of building to incorporate new data and power connections. The new octagonal  desks will surround this allowing for seven computer work positions and a free work area, divided by fogged Perspex to allow a degree of privacy during self-study.

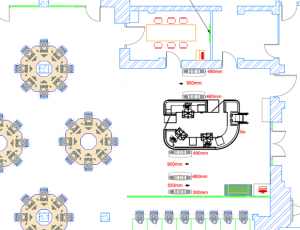
A current plan for the proposed centre, showing a newly-positioned reception area and entry barriers, is found below.
We plan to have large wall mounted television screens for signage and digital video display, using our recently installed Planet DV IPTV system.

More updates to follow!

part_plan_small

Windows 8.1 in the LRC-to-be …

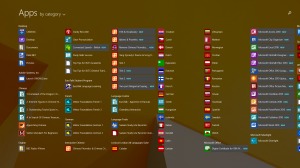
… Well, it’s not quite there. But I’m looking at using the available Windows 8.1 images that the busy ISS (Information Systems and Services) Infrastructure Team have been beavering away developing. This has meant quite a bit of a re-engineering of our language software programs to make use of the Windows 8.1 Apps screen to order them in a (fairly) consistent way, by language category.

At present, there is no way within Active Directory Group Policy settings to auto-create or modify Apps Categories and assign existing software to them. I suspect this will come as a later Microsoft feature.

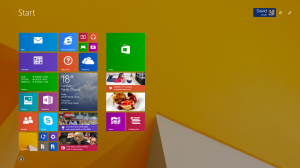
The screenshot below shows how I’ve ordered some of our software into the Windows 8.1 Apps screen view. The Start screen picture has been included to show a bit of how central ISS have customised its look.

Windows 8.1 Apps win8_start_scr

Dismantling the LRC!

Aside

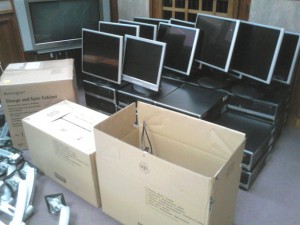
packaged_pcsIn anticipation of the impending refurbishment, I have already begun to remove computer systems from the work Carrels within the LRC. The picture to the left shows a stack of disassembled RM workstations.

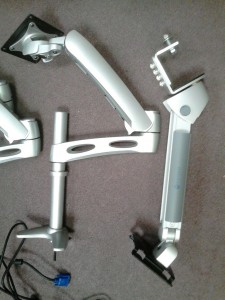
I will be trying to recycle the computer monitor stands which were bolted to each desk (Ergotron and AG Neovo models), hopefully other departments on campus can make use of them. Our new LRC will play host to the latest HP AiO  computers with 23″ screens.bare_carrellmonitor_arms

A rather bare looking Carrel is shown here, along with a close up of a couple of the monitor mounting stands I’m trying to find a new home for on campus.


During the refurbishment, a temporary LRC will be set up at the Bedson Teaching Cluster, along with a limited of language learning software and reading resources.

LRC Refurbishment

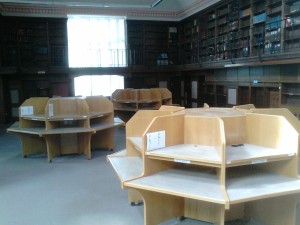
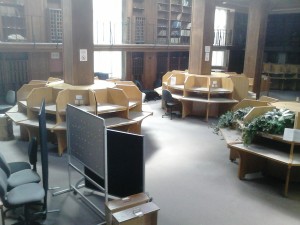
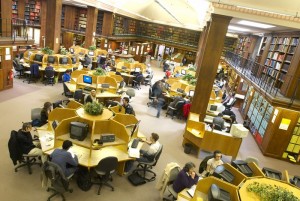
The Language Resource Centre will be undergoing a complete refurbishment in June this year. Here’s how it currently looks:

oac-pic

Computers and television stations interspersed at various carrells within the LRC

We will be moving temporarily into a new building (possibly the Bedson Building, taking over the Side Computer Cluster there), where a scaled-down LRC will be able to provide limited language learning resources (I will be automatically deploying choice software to the computers  at the temporary location –  wherever we end up on campus!).

Watch this space. For a new look LRC!

EuroTalk Language Network at the LRC

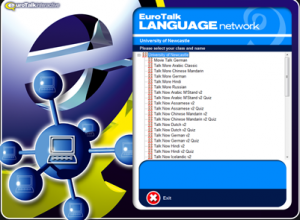
It’s been a VERY long while since my last post (it’s good to be busy!). Very recently, the LRC purchased a set of user licenses for several European and Asian language learning multimedia programs, from  EuroTalk’s Talk Now, Talk More and Vocab Builder series. Using EuroTalk’s Language Lab Network Manager software, I was very easily able to install all the language material to our dedicated Windows 2008 R2 applications server share. A client GUI in MSI format was provided to connect to and run the programs off the server, installed very conveniently to every client PC using Group Policy (Fancy that – a language package that actually provides MSI’s!). I was quite impressed. I’ve found a few bugs in a couple of the language programs, but nothing that cannot be sorted out by EuroTalk in their next version. Let’s hope we get some good feedback from our students …

EuroTalk Language Network program menu

EuroTalk Language Network program menu