
Creating a new repository in VSTS.
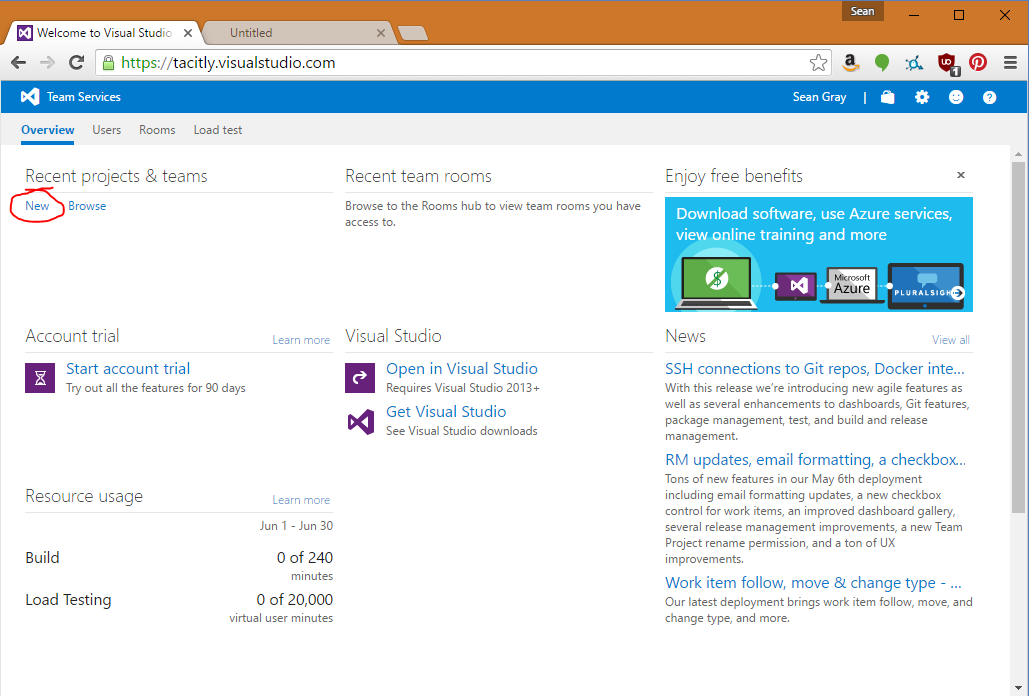
1. If you do not already have a VSTS project, you can create a new one from your team home page by clicking the New link under Recent Projects & Teams (if you already have a project, skip to step 3):
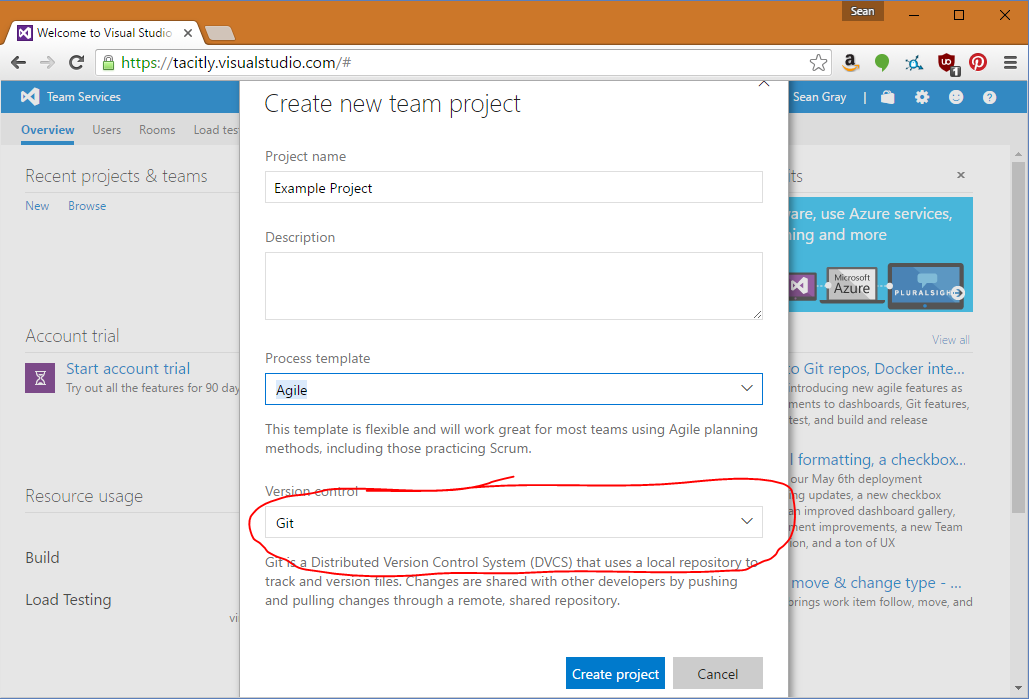
2. On the Create new team project page, be sure to select Git as the Version Control option. This will automatically create you a Git repository with your new project:
3. In the Project home page, you can access your repository by clicking CODE:
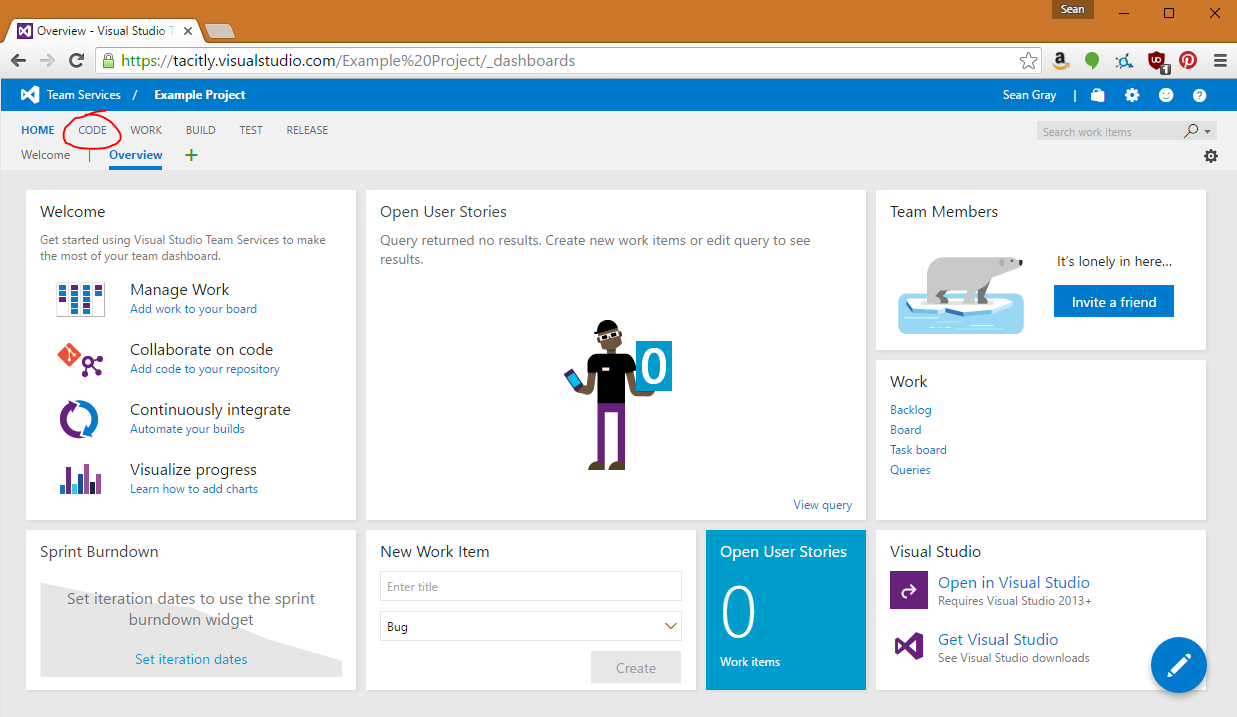
4. If you wish to create a new repository (because you had an existing project without one, or because you wish to add an additional one to your project), you can click the drop-down at the top left and click New repository:

Accessing the repository from your local computer.
First, you’ll need to install the git client; you can download the client from https://git-scm.com/downloads. The default installation options should be fine.
Cloning the repository using Visual Studio
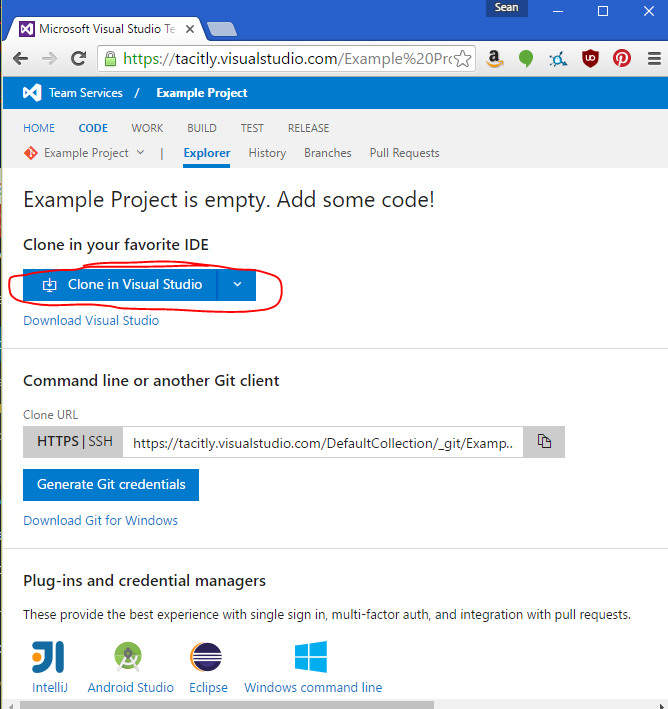
If you’re using Visual Studio, you can clone the repository directly into it from the CODE page:
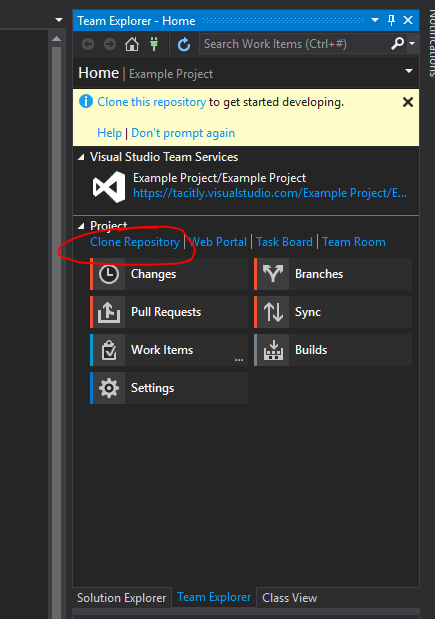
This will open Visual Studio; your repository will be shown in the Team Explorer pane. Click Clone Repository:
Then select a location to save your local copy of the repository, and click Clone:

Cloning the repository using the command line
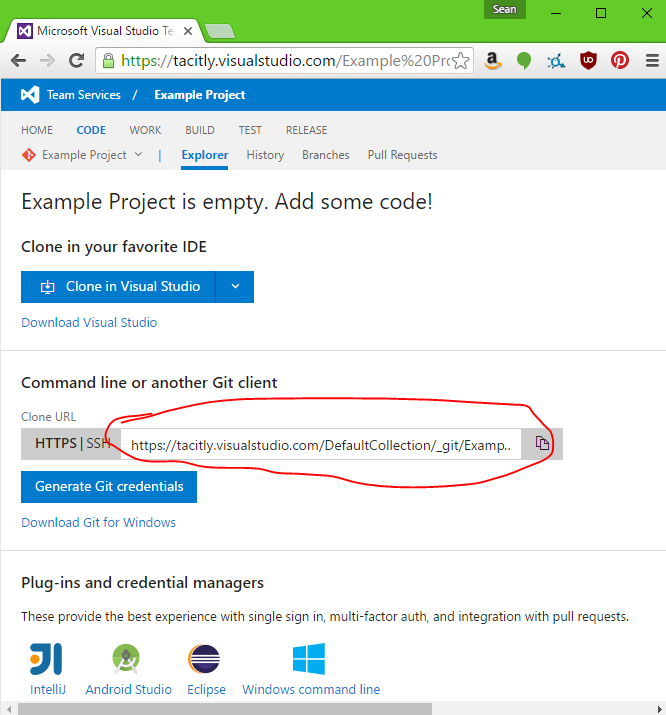
If you wish to us a different editor, you can use the git command line tools to clone the repository. First, copy the URL to the repository from the CODE page:
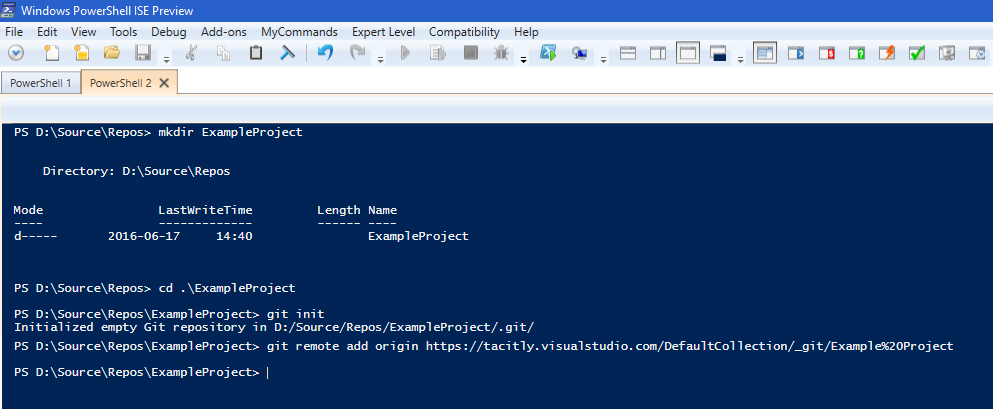
Then:
- Open a PowerShell window.
- Create a directory for the local copy of the repository.
- Change directory to that directory.
- Type ‘git init’ to initialise a local git repository.
- Type ‘git remote add origin <Repository URL>’ to connect to the remote repository.
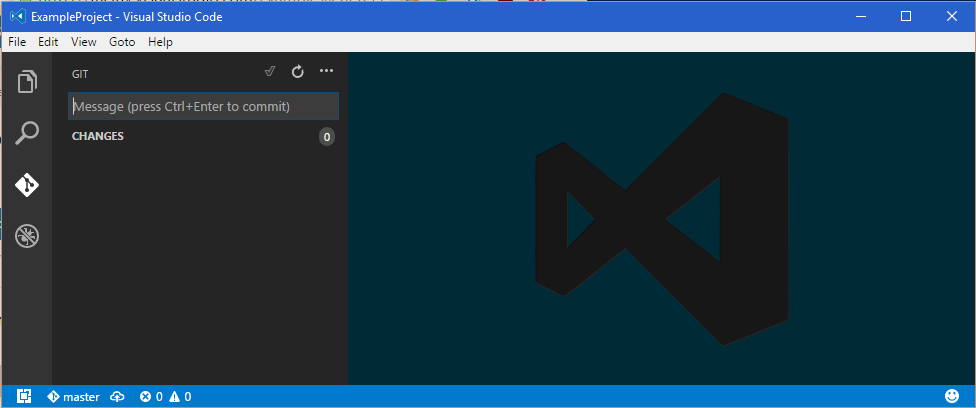
You can now access the repository from any editor and manage it using command line tools (or any tools that the editor provides). If you wish to use Visual Studio Code, simply click File->Open Folder and point it at the folder. If the git pane looks as follows, it’s worked:
Next steps
Git is now connected to the remote repository and ready to use. A future blog post will give an overview of how git works, and what the common commands that you need to learn are.