Terminal Four has a media library which can be used to store images and other kinds of documents such as PDF files or powerpoint presentations. It’s not suitable for larger file types such as Video, which should be hosted on NuVision.
This page describes using the Media Library for images. Note that while the T4 Media Library can resize and crop images, you will always get better results if you do this in photoshop (which can be found on RAS).
If you are planning to be using the Media Library a lot, you will find performance greatly improves if you use the Chrome web browser rather than Internet Explorer.
It can be accessed in two ways, via the Control tab to the top right of T4.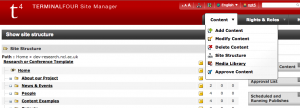
… or by using the ![]() icon while editing content (it’s third from the right in the middle tier
icon while editing content (it’s third from the right in the middle tier
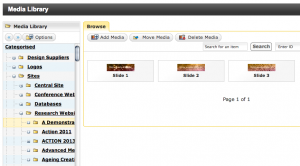
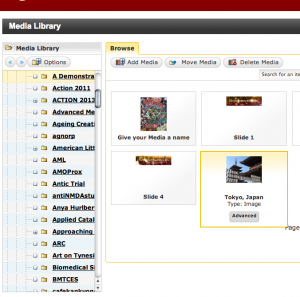
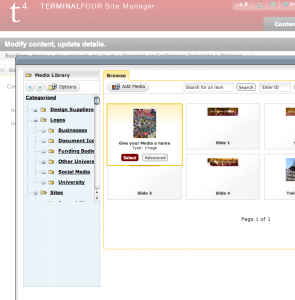
When you enter the media library, its folder structure is on the left and can be browsed using the + icons next to the folders. There is a top level section in which we are maintaing a set of useful icons (other university and funding body logo’s). You’ll find a section called ‘Sites’ in which you should have a folder set up specifically for your site, depending on its category.
NOTE: Browsing these long list can be fiddly. We’ll shortly be setting up shortcut links for all media library folders people have permission to edit.
The contents of each folder appears on the right and at the top of this panel, if you are in a folder you have permission to edit you’ll see Add Media buttons.
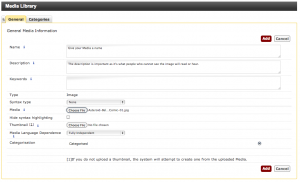
When you click on Add Media, you’ll visit a screen with quite a few fields. You only need to be interested in Name, Description and Media.
- Name is what you’ll see in the list of media
- Description is important since it’s what people will read or hear if they can’t see the images for some reason (they could have visual imparements and be using a screen reader, or on a slow network or mobile phone, for example). The description should convey (in so far is possible) the same information as the image, but if the image is purely a decorative flourish, this is not needed.
- Media allows you to browse to the piece of media you wish to upload.
Fill these fields in and click Add – you’ll be returned to the media list.
Resizing and Cropping
To resize and/or crop the image, mouseover the image and click ‘Advanced’
You can then click on Modify to alter your original image, or Add Variant to create alternative versions of it.
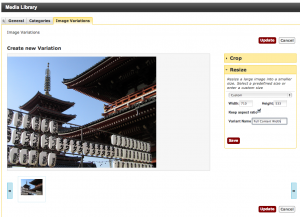
If you select Resize, you’ll be invited to enter the numbers for the width and height and give the new variant a name.
The full width of the content area of your website is 710 pixels, so this is a good width for landscape formatted images. If your image is portrait format, and you want text to flow around it, try 300 pixels for the width. Unless you want to stretch the image, leave the Keep aspect ratio box checked.
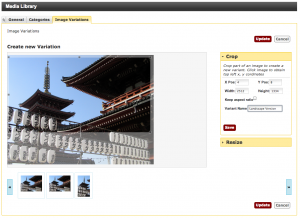
If you select Crop, you can draw a box over the image selecting the area you want to keep. Again, you give the variant a name a click Save. Your variants will appear along the bottom of this screen.
Inserting the Media into Content
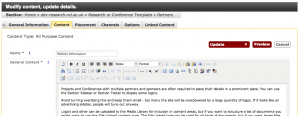
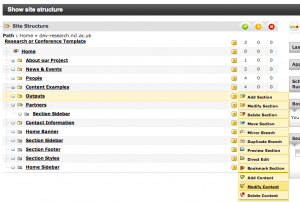
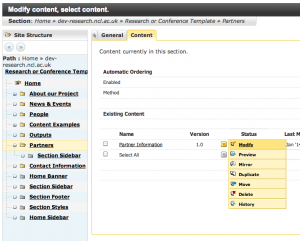
Go to the Site Structure and click Modify Content for the section you want to amend (or Add Content if it has no content yet).
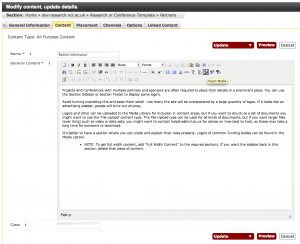
Within the content, use the ![]() icon to access the Media Library.
icon to access the Media Library.
A window will pop up – browse to the correct folder, mouseover the image you want and click Select.
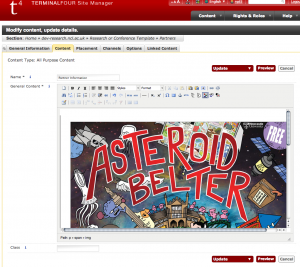
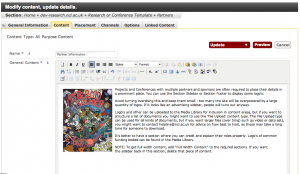
You’ll be returned to the content area with your image embedded. It may be the case that you need to resize it. If you’re using a good web browser such as an up to date version of Chrome you should be able to drag the corners of the image.
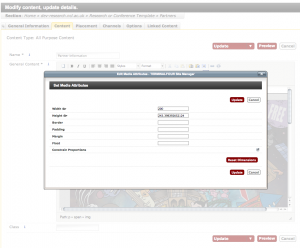
Otherwise, you can double click on it and type in the width and height (click Constrain Proportions) to ensure that you don’t distort the shape of the picture. A width of around 200-300 is good if you want text to flow around the image.
Use the left/right alignment buttons to place the image to the left and right of the content.
Hi
We have our own fasmed project logo and would like to add it onto our site – do we have to add it to the media library first and if so how can I do this? Cheers Jill
Hi Jill!
Congratulations, you are the first person to comment on our Newcastle University T4 Support Blog, and as such took me by surprise so apologies that it’s been a while to get a reply. I shall be more vigilant in future.
I’d like to use your query as an example in the blog to show how to do this: I assume you intend to put the logo in the top bar of the site to replace the name of it? If so can you send me the logo and I’ll use it to get a new article together.
Best,
Paul