New Research and Conferences Template

Over the last few months, we’ve been putting together a new CMS template for Research and Conference websites.

new-template-fw

The template is flexible, mobile responsive and easy to maintain and customise; no technical knowledge is required.

It works in pretty much the same way as the old template and we’ve documented some of the new features on the blog:

To request a site using the new template, simply complete the Research or Conference site registration form.

We hope you’ll enjoy using the features of our new look template. If you currently have a site in the CMS using the previous template and would like to update it to the new one, please email your request to it.servicedesk@ncl.ac.uk with the web address of your existing site.

Font Picker

The new Research and Conferences template has a new Font Picker content type in the Section Styles section of your site.

Click the yellow arrow next to the Section Styles section and “Modify Content”, then click the yellow arrow next to the “Font Picker” content and select “Modify” to edit the fonts used on your site.

By updating this content you can change the font used for your headers and body text, seperately as well as choosing to display headers in block capitals or not.

font-picker-content-fw

Site colour scheme picker

The new Research and Conferences template has a “Colour Scheme Picker” in the Section Styles section of your site.

Using the Colour Scheme Picker you can choose from a range of pre-set colour schemes or else choose your own colours for parts of your site (headings, body text, links etc).  You can also choose the style of University logo on your page or remove the logo completely.

Click the yellow arrow next to the Section Styles section and “Modify Content”, then click the yellow arrow next to the “Colour Scheme Picker” content and select “Modify” to edit the colours used on your site.

The default colour scheme for your template is ‘Corporate Clean’ but you can change this by choosing a pre-set colour scheme and logo type from the drop down menus or click on the yellow square next to a title (e.g. “Header 1 colour”) to open the custom colour picker window for those elements.

colour-picker-content-fw

Preview your content by clicking “Update and Approve” from in the Colour Scheme Picker and then clicking the yellow arrow next to your site home section and selecting “Preview”.

If you’ve chosen a custom colour for an element of your site (e.g. “Header 1 colour”) and you wish to revert back to the original colour scheme, simply click on the yellow box next to that element to open the custom colour picker, then select the white box with the red cross in it (bottom right hand corner) to reset.

colour-picker-sample-fw

The site above uses the “Graphite Flood” colour scheme and “White out” logo style.(the white out logo works better on dark backgrounds).  The site below uses the “Berry Clean” colour scheme, without a logo.

colour-picker-sample-2-fw-fw

Linking a Tab to another Section or Website

When you add a new Section to a site in T4 it automatically creates an item in the navigation or sidebar. Sometimes though, you want an item to appear in these areas that links to a different section in the site (such as back to the homepage) or to a different webpage.

To do this you go to Add Section (as though you were going to add a new page) but instead of adding content, make it a Link Section.

Adding a link to the Home Page.

Name the section “Home”, then click on “Make this a Link Section” – at which point a tab called “Details” will appear.

Add Link Section

Then select the “Section” radio button followed by “Select” to choose the section you’re linking the homepage of your site.

Link Section 2


You’ll then see the “Home” section in your site, at the bottom of the section list. To re-order the tabs see this post.

Link Section 3

Adding a link to an External Website.

To add a link to an external website, create a section in the appropriate part of your site and give it a name as described above. Click on “Make this a Link Section

External Link


Select “External URL” then enter the address into the Link URL field and click Add.

Add Section

And you’re done. It will appear as a Section icon with an arrow in it that will appear in the navigation or sidebar, and when clicked on will link to an external section.

Link - Show site structure

Note that there is some bad practice here: people don’t expect to be take out of a site by its own navigation, so you may wish to consider instead creating a page describing the external resource and its relevance to your site and linking to it from within that page.


Content Style and Writing for the Web

The Corporate Web Development team have a style guide to help you write and present good copy on the University’s website.

News and Events, Sorting and Archiving Content

Most content on your website is added using the All Purpose Content template type. Other content templates are available for Staff Profiles, News and Events, etc.

This page discusses the News and Events templates – both behave in a very similar way but have different selections of fields to display. The examples will be from the News template.

This page also discusses sorting content, setting archive and expiry dates that are particularly relevant to sites which have a high turnover of news, but the controls discussed will work on all kinds of content.

News and Events

Add News and Events

News Content Types

Click Add Content using the yellow dropdown menu to the right of your News section and choose the News Template from the list that appears.

News and Events Template

In most cases in T4, a Section represents a single webpage, but in the case of Staff, News and Events, multiple pieces of content appear on the page and clicking on their titles opens up a new page.

The Name and Brief Description appear in your news list, when you click on the title or the image, the visitor is taken to a new page containing the full text of the Main Body.

As with the Staff Profile content type, the Picture you upload is resized both for the list and for use within the news item.

news-list-fw

news_page-fw

As you can see from the list though, our content has been automatically added to the bottom of the page (as it does when you add any new piece of content to a page).

Automatic Ordering

With news you want the items to automatically order by date – and with staff you probably want automatic ordering by name.

You can do this by going to  Modify Content within the news section.

Modify Content

Click the checkbox marked Automatic Ordering. Choose the type of ordering you want (by updated, created or alphabetically), and uncheck the locks next to each piece of content. If you have a very important news item you want to remain at the top, leave its lock checked and use the arrows to move it to the top as shown in this screen shot.

Automatic Ordering

Remember to click Save Changes before leaving this screen. The ordering will update on your website next time this section is published.

Automatic Archiving and Delayed Publishing

Automatic Archiving moves news into a chosen section at a given date. Add a section called Archive to your news Section. You can choose to make this a hidden section by unchecking the ‘Show in Navigation’ box. Tick the ‘Archive’ checkbox.

Archive

The next time you add content to the News Section, you can click on the Options tab for that piece of content. You’ll be given a screen where you can select Publish and Expiry dates.

If the Publish Date is set in the future, the content won’t appear on your site till the next publish after that date and time (this will be within four hours).

Publish and Expiry Dates

Within four hours of the Expiry Date, the content will move into the Archive section if you select one, otherwise, it will be deleted.

Note that this is based on the publishing schedule for your site, if you need to rely on this for legal reasons (embargoed press releases, or a received take down notice for example), please email it.servicedesk@ncl.ac.uk to stating your requirement.

See also:


People Profiles and Staff Lists

Most content on your website is added using the All Purpose Content template type. Other content templates are available for Staff Profiles, News and Events, etc.

This page discusses two ways to create lists of Staff Profiles on your site. The Content Templates are: Staff from MyImpact and Staff Profile.

Staff Profile Content Types

Staff from MyImpact

This is the quickest way to get a staff list up on your site provided all of your project team are newcastle university staff with a profile in the MyImpact system.

Create a Staff, Team or People section, then click Add Content and choose the Staff from MyImpact Content Type.

Give the list a Title and Brief description, then enter on a single line with no spaces the list of staff you want in the list using the first part of their email address (the bit before the @) as the identifier:

Staff by Email Prefix

So in the case above, we’re Paul Thompson, Mike Sales and Chris Franks.

Our email addresses are chris.franks@ncl.ac.uk, mike.sales@ncl.ac.uk and p.thompson@ncl.ac.uk.

So in the field we enter: p.thompson,chris.franks

When the site is previewed, the staff list should appear in alphabetical order, respecting the peoples preferences in MyImpact (which means that you may not be guaranteed an image or contact details) and linking to their preferred profile page.

staff-profile-schreenshot-fw

Note: we do not embed these profiles in your site as this creates duplicates and it’s bad for search engine results to have many duplicate pages.

If, for whatever reason (you have students in your team, or people from outside the university, or you want to write a bit more about each person), you need to use the Staff Profile content type.

Staff Profile Content Types

Staff Profile

Click Add Content within a section in the usual way and select Staff Profile. You’ll then be given quite a few fields to fill in for the list and also the option to upload an image and add a larger piece of text for the profile.

Edit Staff Profile

When you save and approve the Staff Profile, it adds the staff profile to the list. The Name field is what is used when sorting in alphabetical order, the Full Name field is what is displayed on the page.

The image is automatically resized to appear in the staff list as a thumbnail and as a larger version in the profile page

A staff list created in this way will have multiple pieces of content in a single section – in T4 a section usually represents a single page on the web, but in the case of Staff Profiles, News and Events, these appear as a list on the page linking to a new page containing the full text.

In the screenshots below there is a piece of All Purpose Content at the top to explain the page, you might want to separate lists of staff into groups with introductory content.

Staff Profiles in T4

staff-profile-list-fw

profile-page-fw

Next:

The Media Library

Terminal Four has a media library which can be used to store images and other kinds of documents such as PDF files or powerpoint presentations. It’s not suitable for larger file types such as Video, which should be hosted on NuVision.

This page describes using the Media Library for images. Note that while the T4 Media Library can resize and crop images, you will always get better results if you do this in photoshop (which can be found on RAS).

If you are planning to be using the Media Library a lot, you will find performance greatly improves if you use the Chrome web browser rather than Internet Explorer.

It can be accessed in two ways, via the Control tab to the top right of T4.
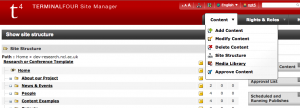
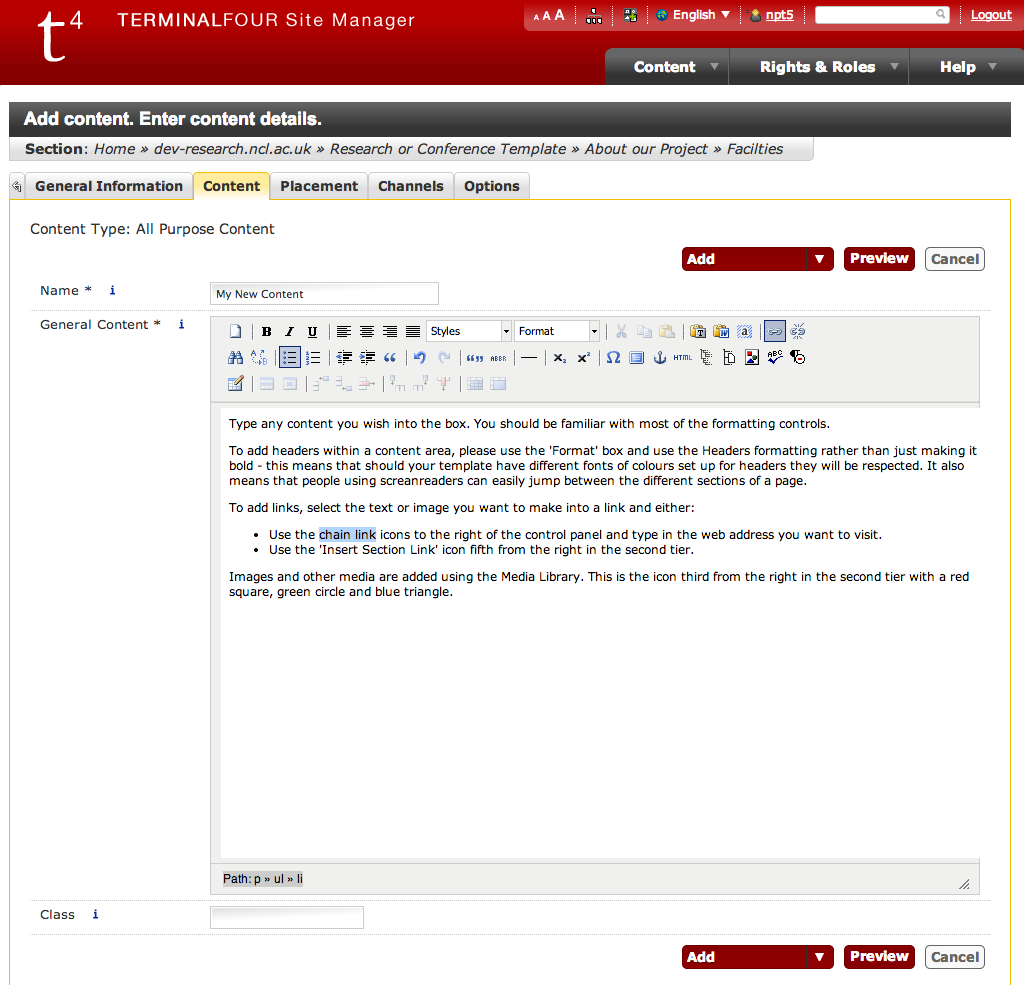
Media Library Menu

… or by using the Media Library Icon icon while editing content (it’s third from the right in the middle tier

Media Library Icon in Situ

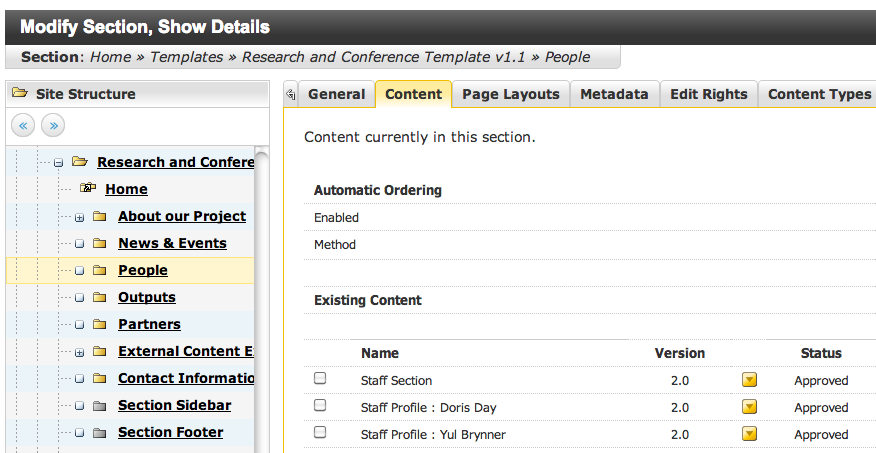
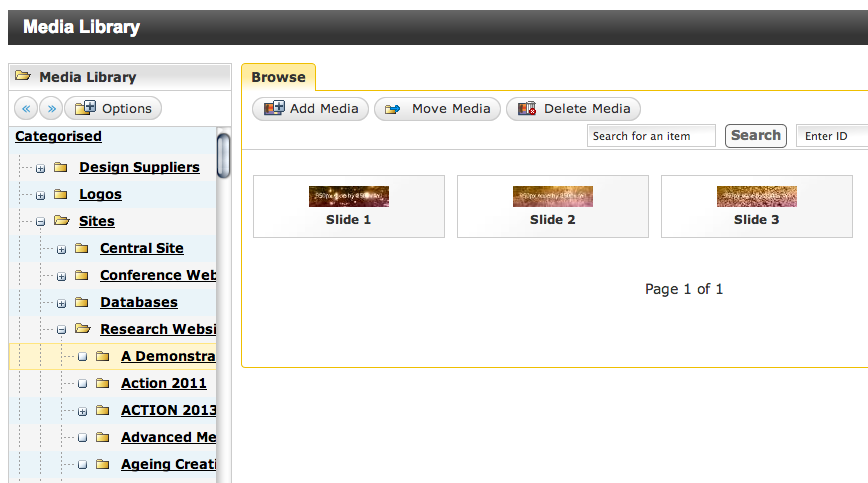
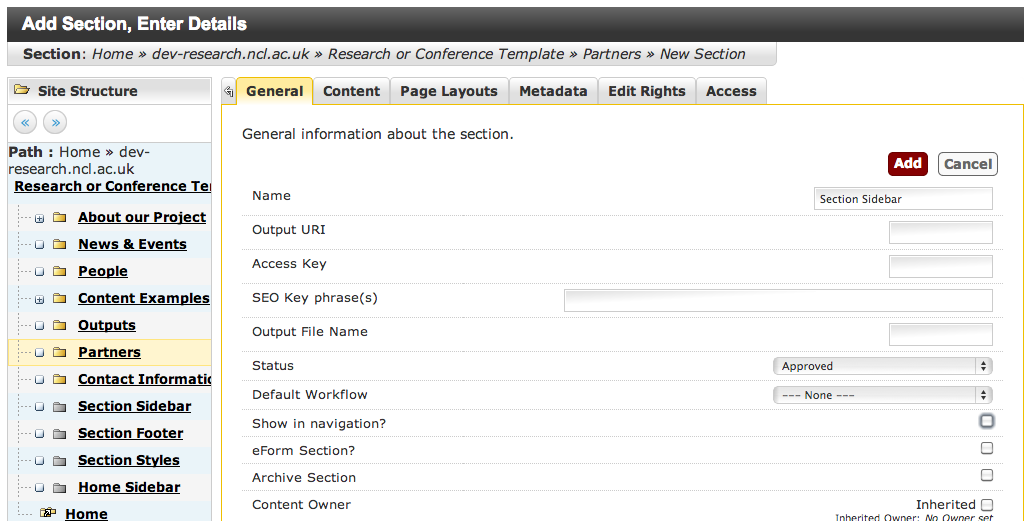
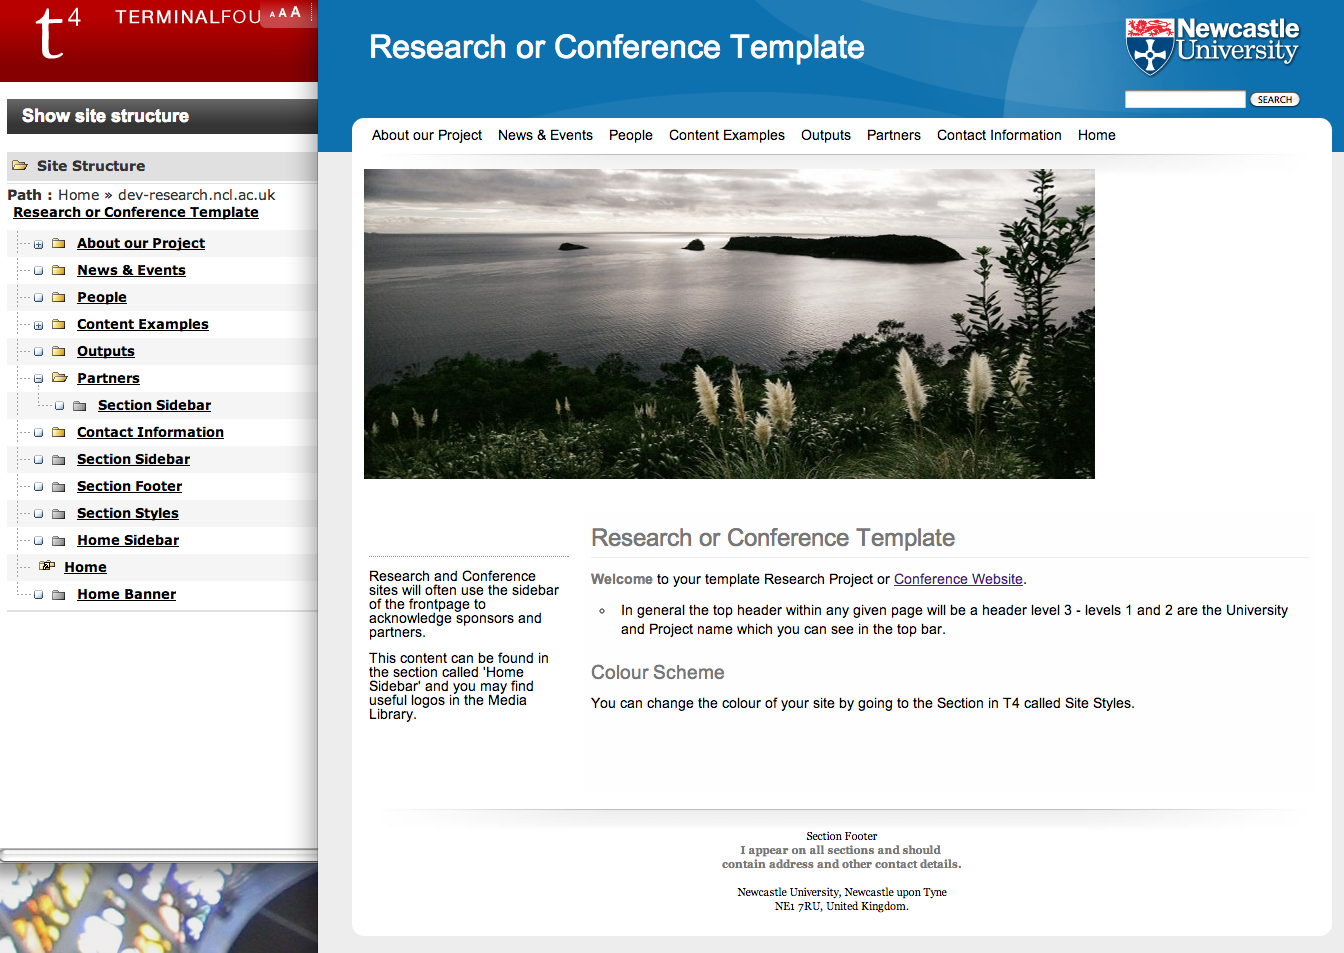
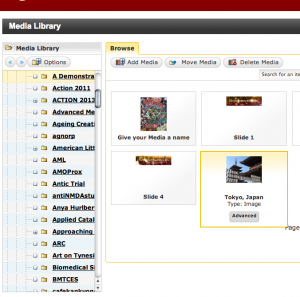
When you enter the media library, its folder structure is on the left and can be browsed using the + icons next to the folders. There is a top level section in which we are maintaing a set of useful icons (other university and funding body logo’s). You’ll find a section called ‘Sites’ in which you should have a folder set up specifically for your site, depending on its category.

NOTE: Browsing these long list can be fiddly. We’ll shortly be setting up shortcut links for all media library folders people have permission to edit.

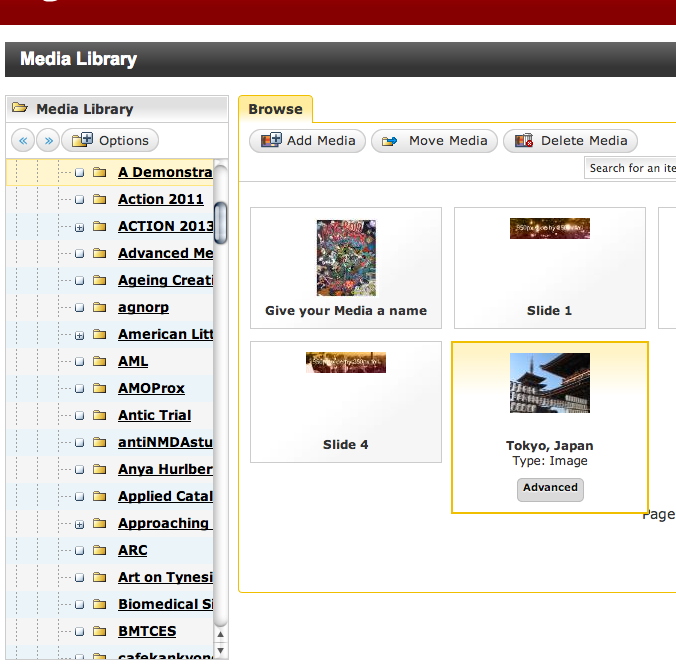
The contents of each folder appears on the right and at the top of this panel, if you are in a folder you have permission to edit you’ll see Add Media buttons.

Media Library with Slides in

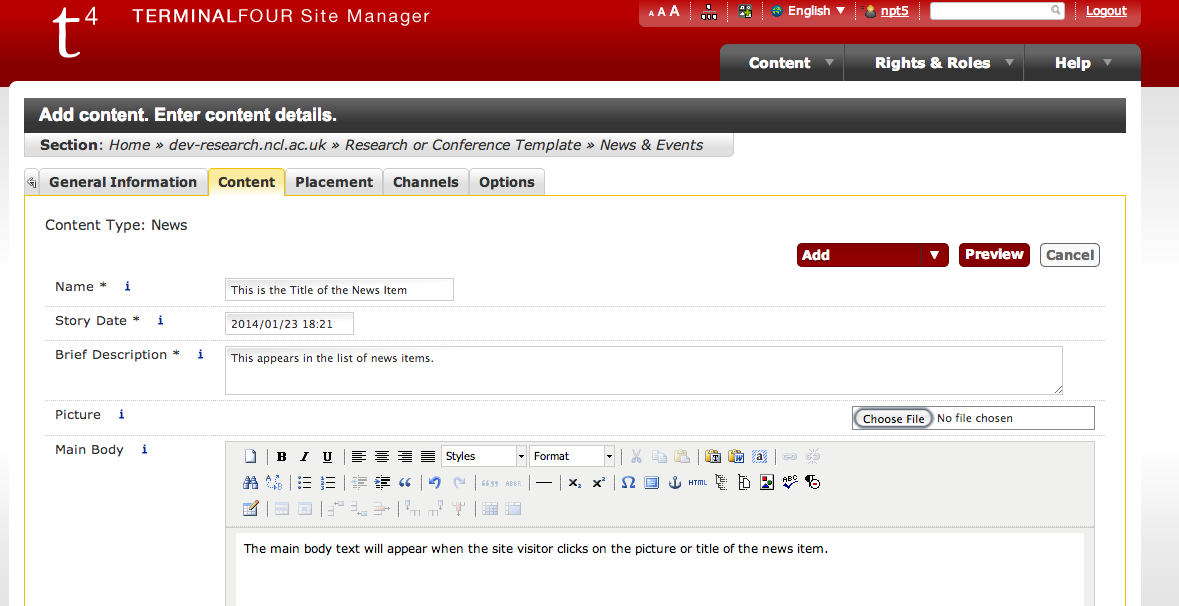
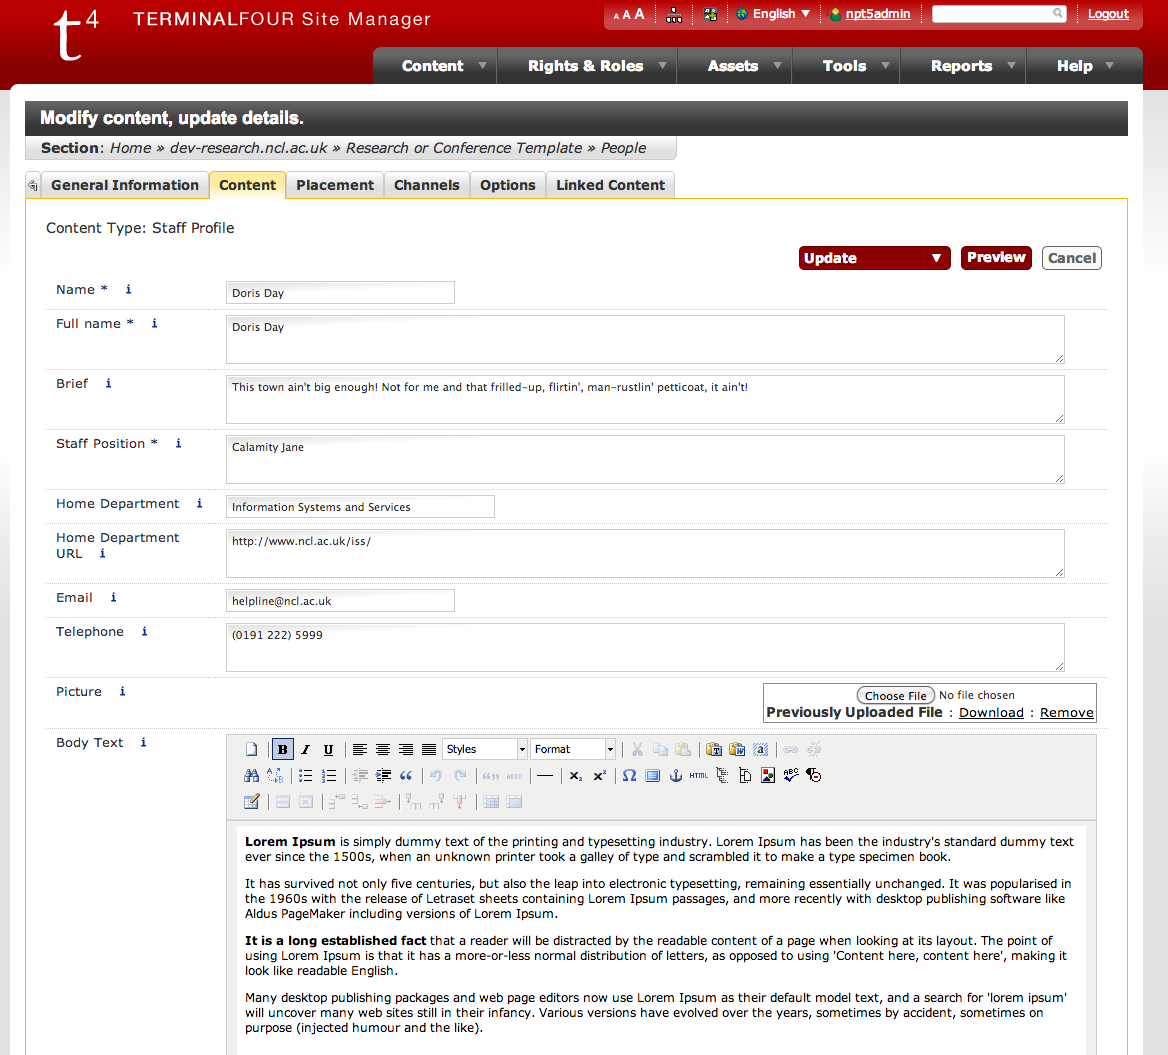
When you click on Add Media, you’ll visit a screen with quite a few fields. You only need to be interested in Name, Description and Media.

Media Library Upload

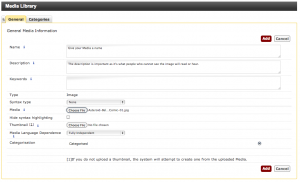
  • Name is what you’ll see in the list of media
  • Description is important since it’s what people will read or hear if they can’t see the images for some reason (they could have visual imparements and be using a screen reader, or on a slow network or mobile phone, for example). The description should convey (in so far is possible) the same information as the image, but if the image is purely a decorative flourish, this is not needed.
  • Media allows you to browse to the piece of media you wish to upload.

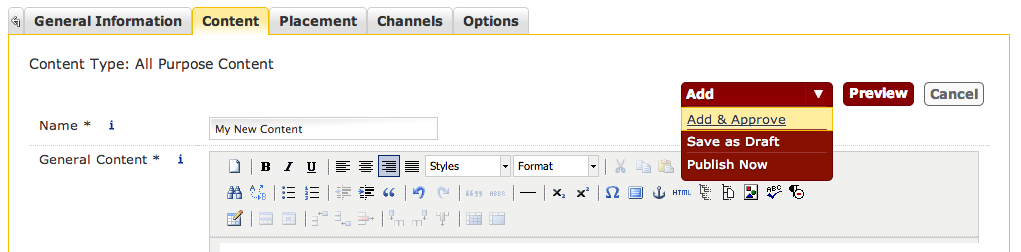
Fill these fields in and click Add – you’ll be returned to the media list.

Resizing and Cropping

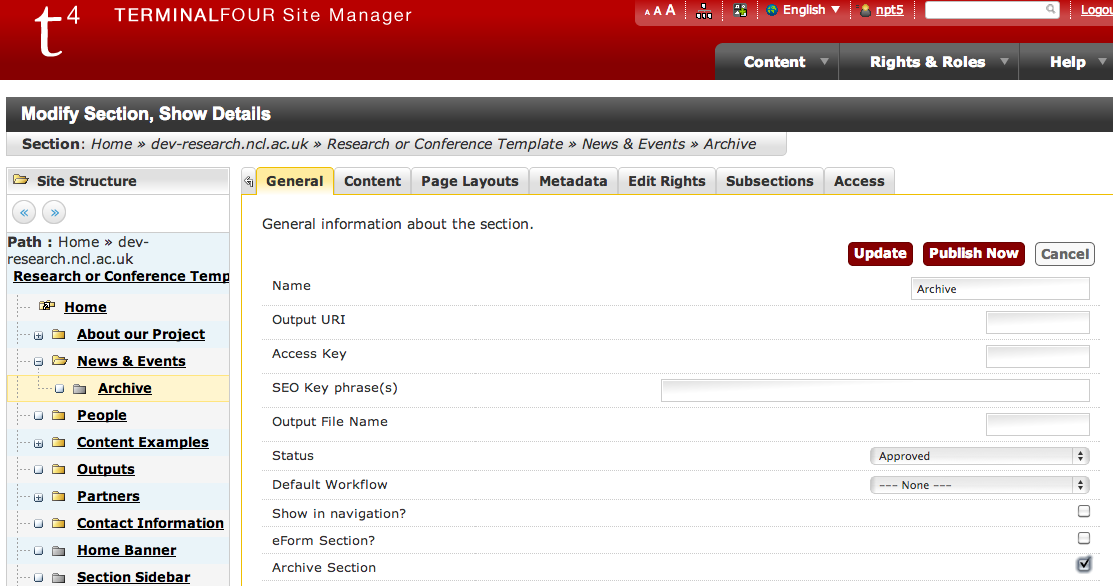
To resize and/or crop the image, mouseover the image and click ‘Advanced’

Advanced Media Library Action

You can then click on Modify to alter your original image, or Add Variant to create alternative versions of it.

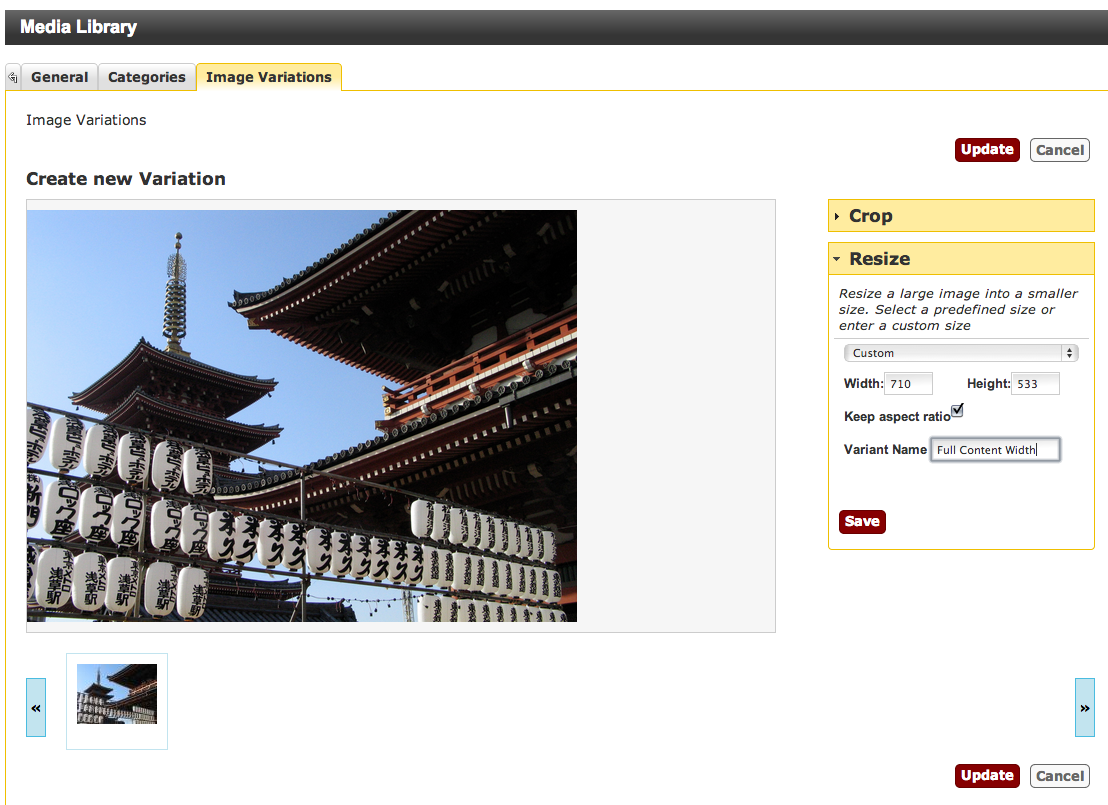
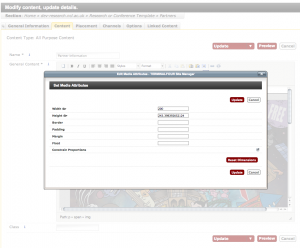
If you select Resize, you’ll be invited to enter the numbers for the width and height and give the new variant a name.

Resize

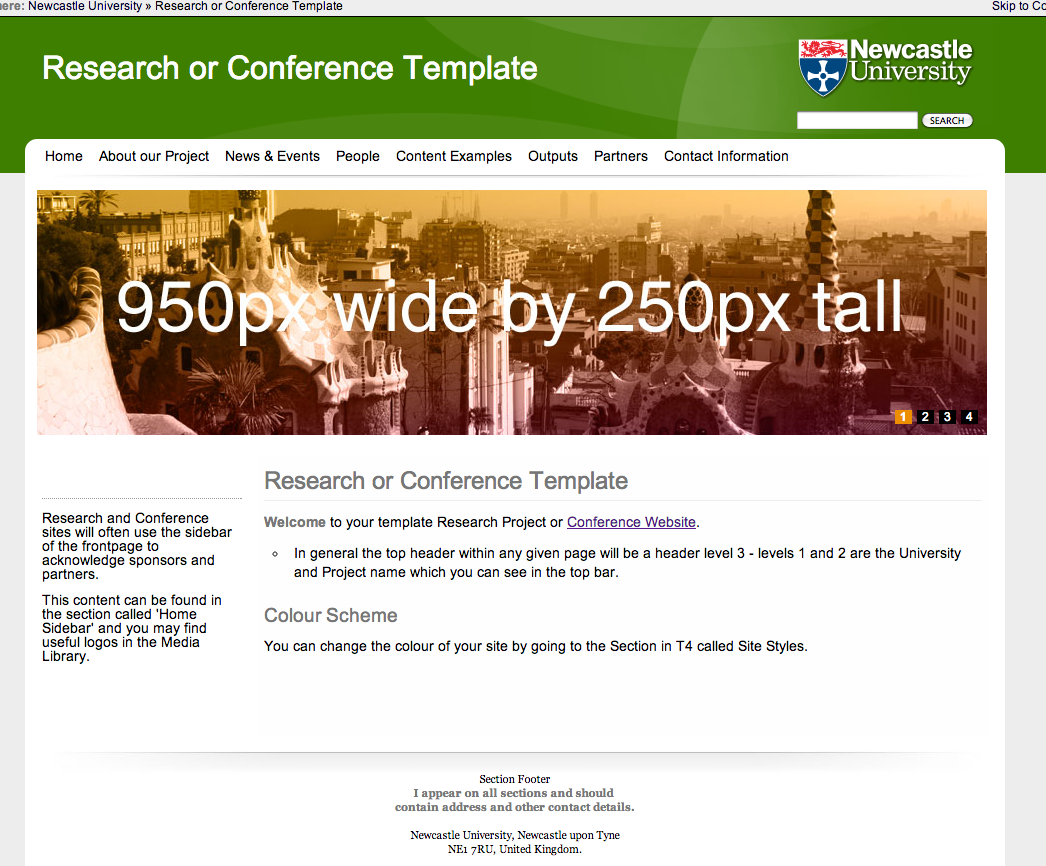
The full width of the content area of your website is 710 pixels, so this is a good width for landscape formatted images. If your image is portrait format, and you want text to flow around it, try 300 pixels for the width. Unless you want to stretch the image, leave the Keep aspect ratio box checked.

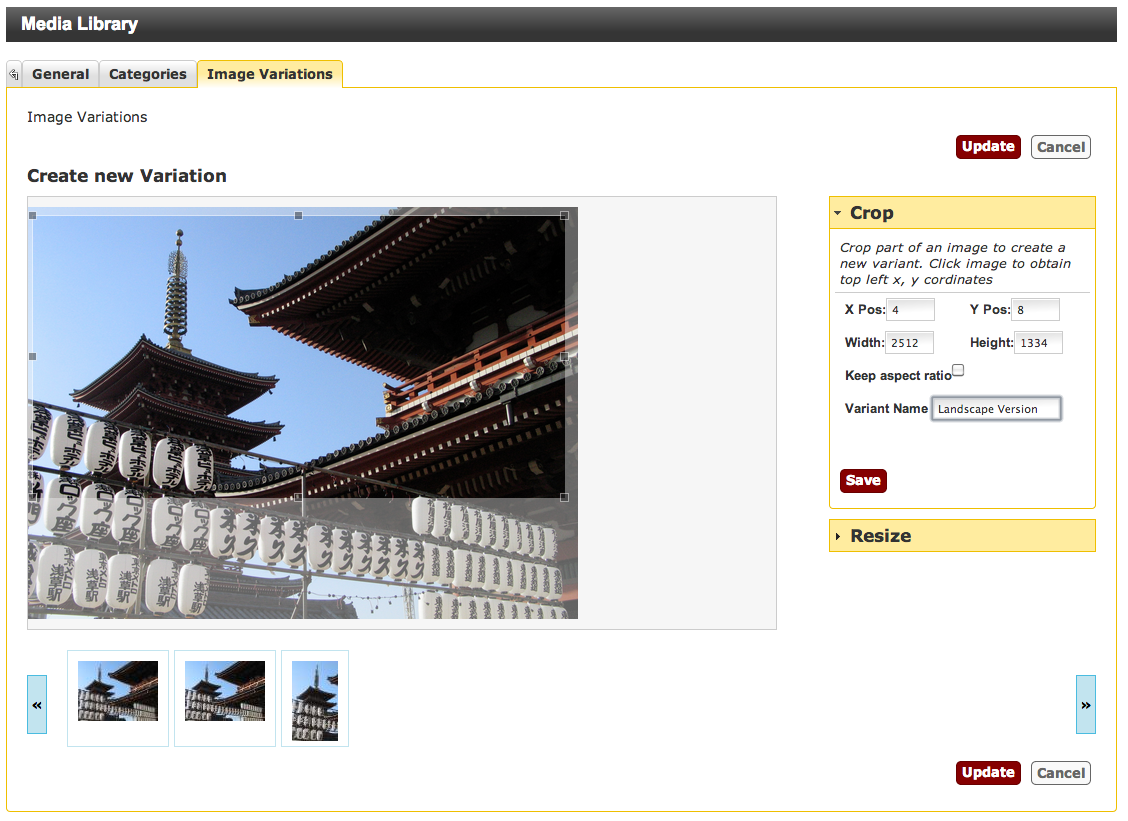
If you select Crop, you can draw a box over the image selecting the area you want to keep. Again, you give the variant a name a click Save. Your variants will appear along the bottom of this screen.

Media Library Crop

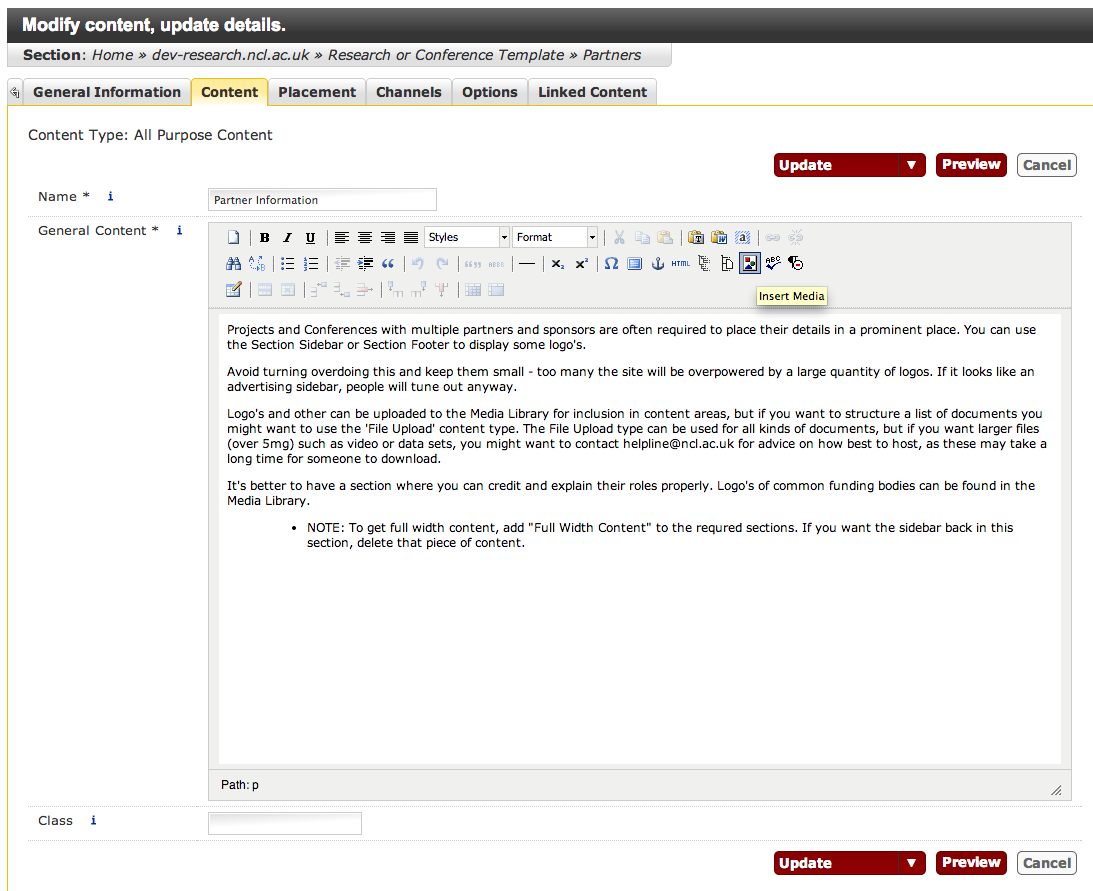
Inserting the Media into Content

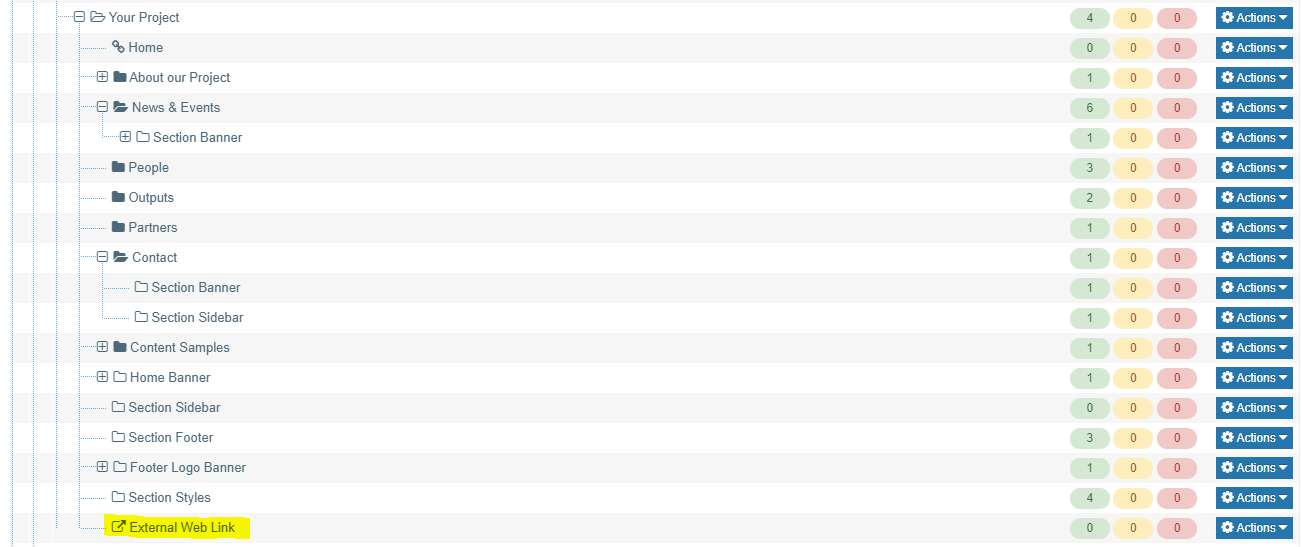
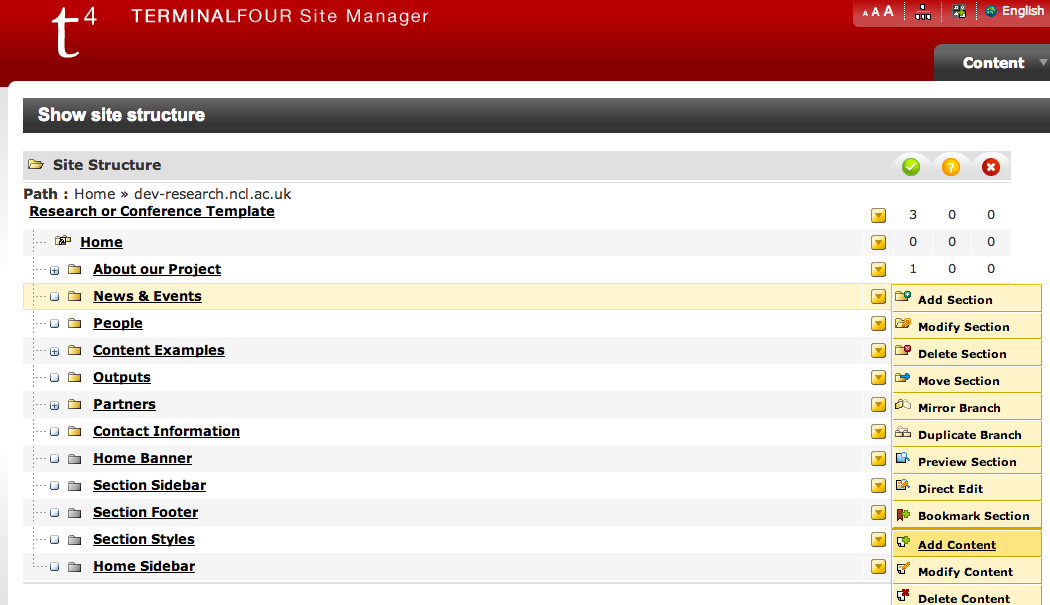
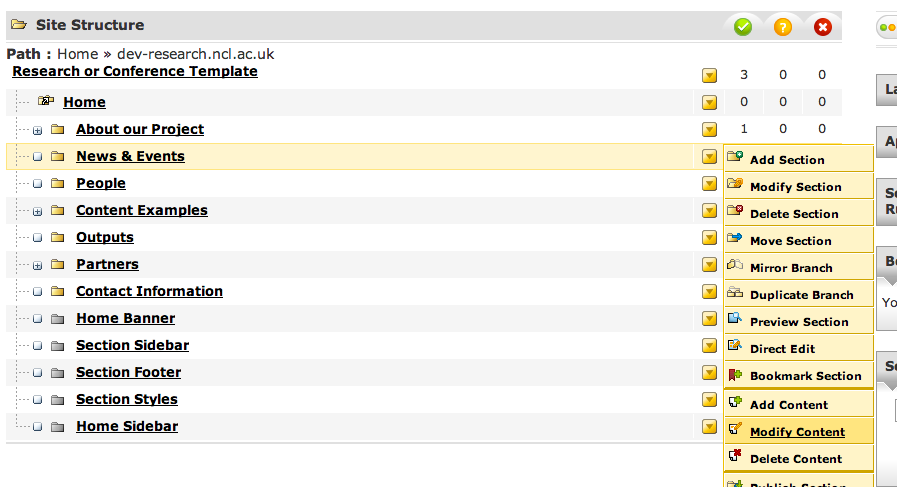
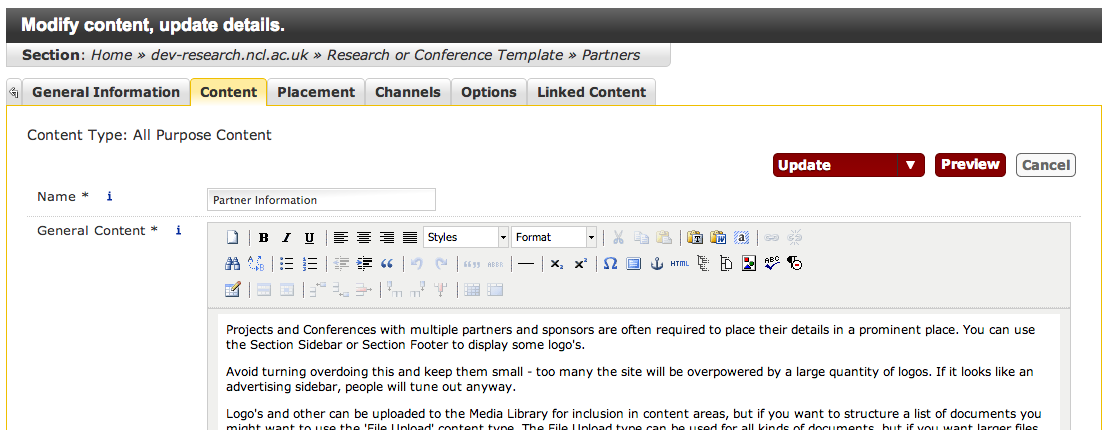
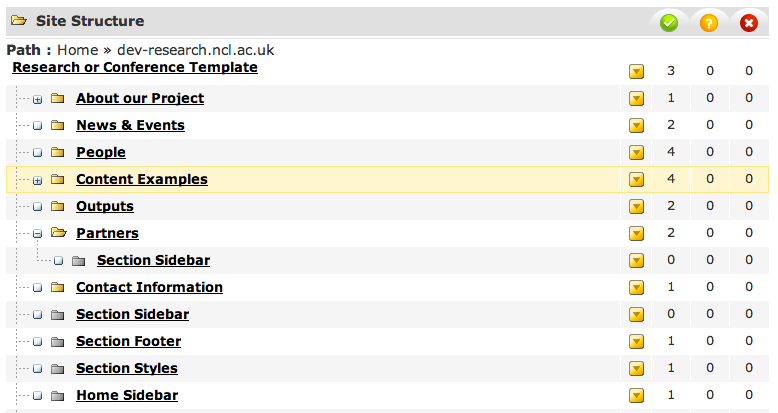
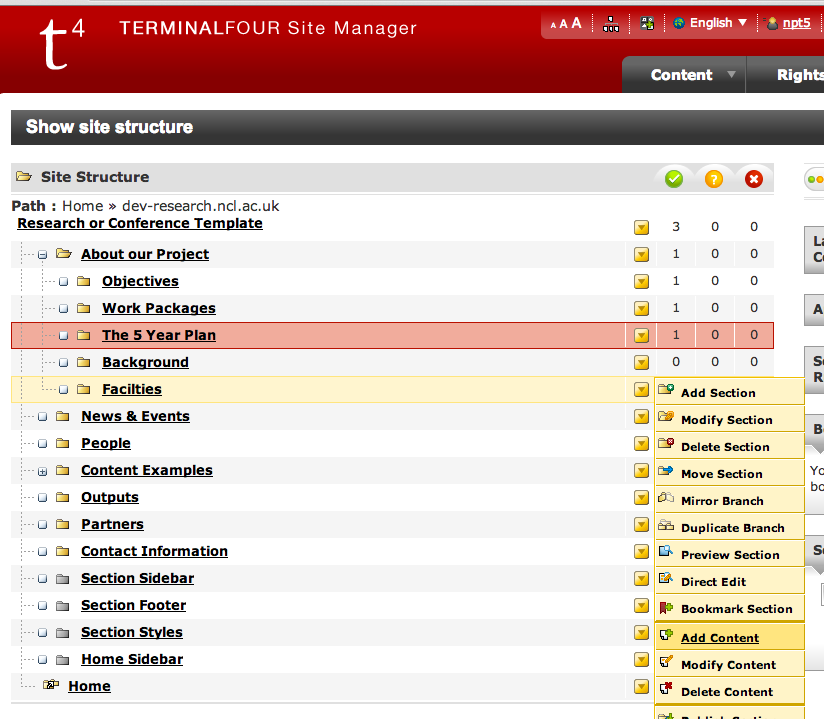
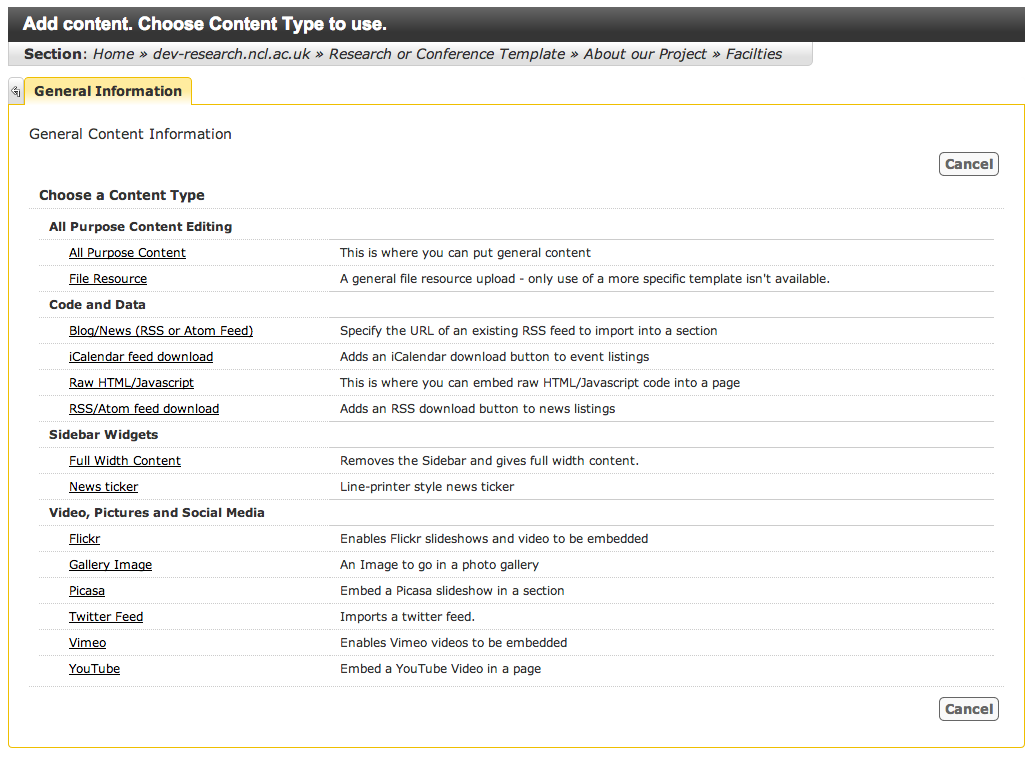
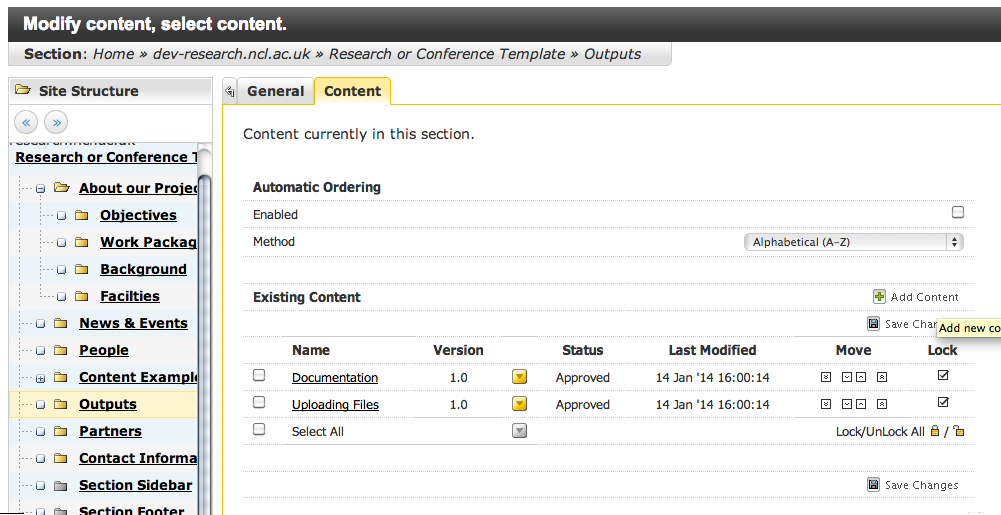
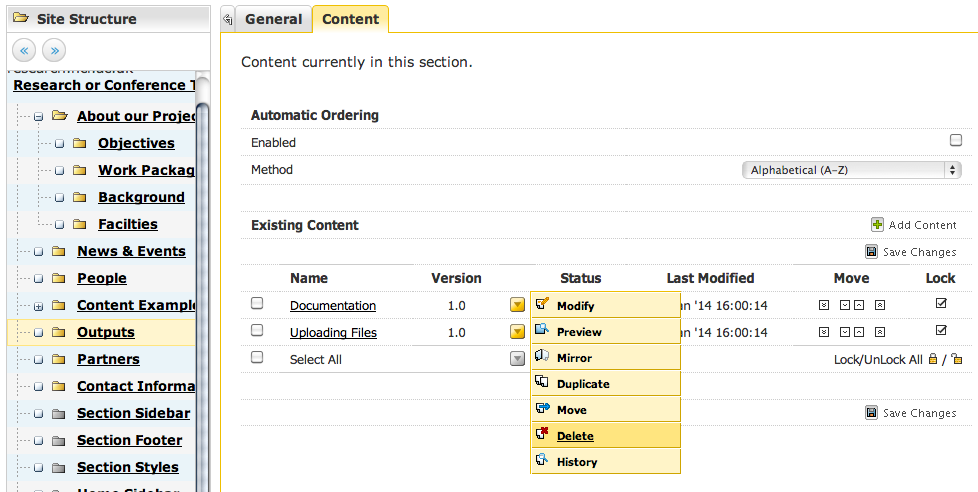
Go to the Site Structure and click Modify Content for the section you want to amend (or Add Content if it has no content yet).
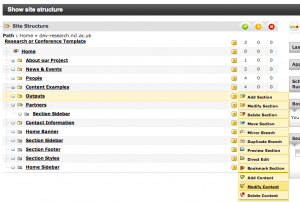
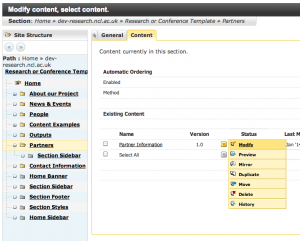
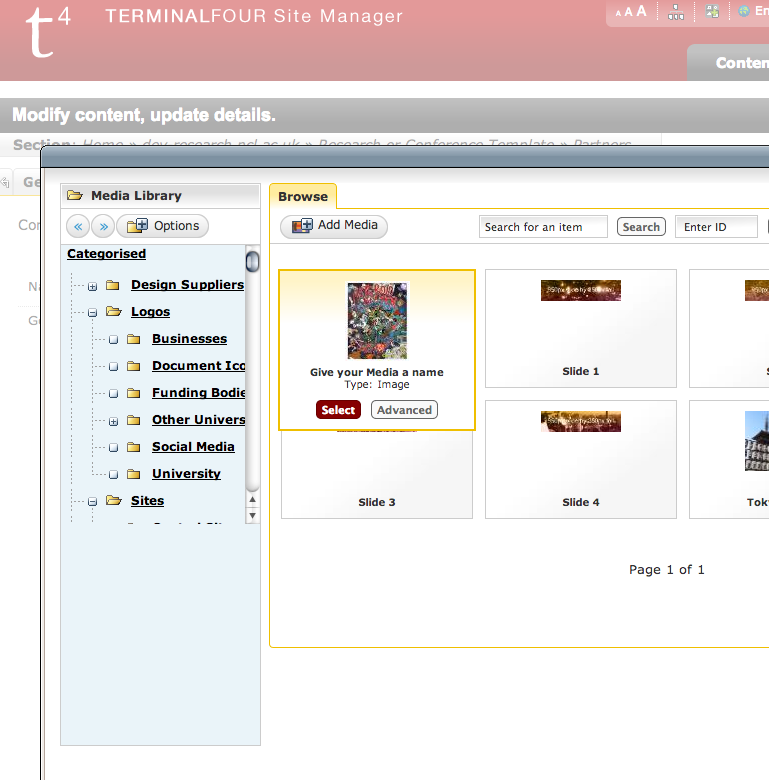
Modify ContentModify

Within the content, use the Media Library Icon icon to access the Media Library.

Click the Icon

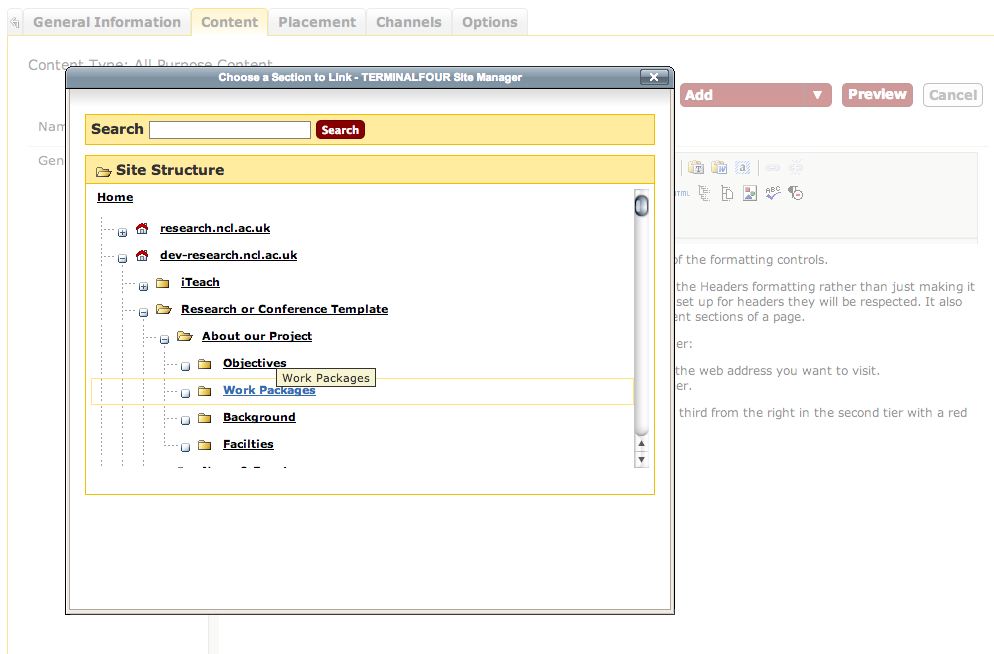
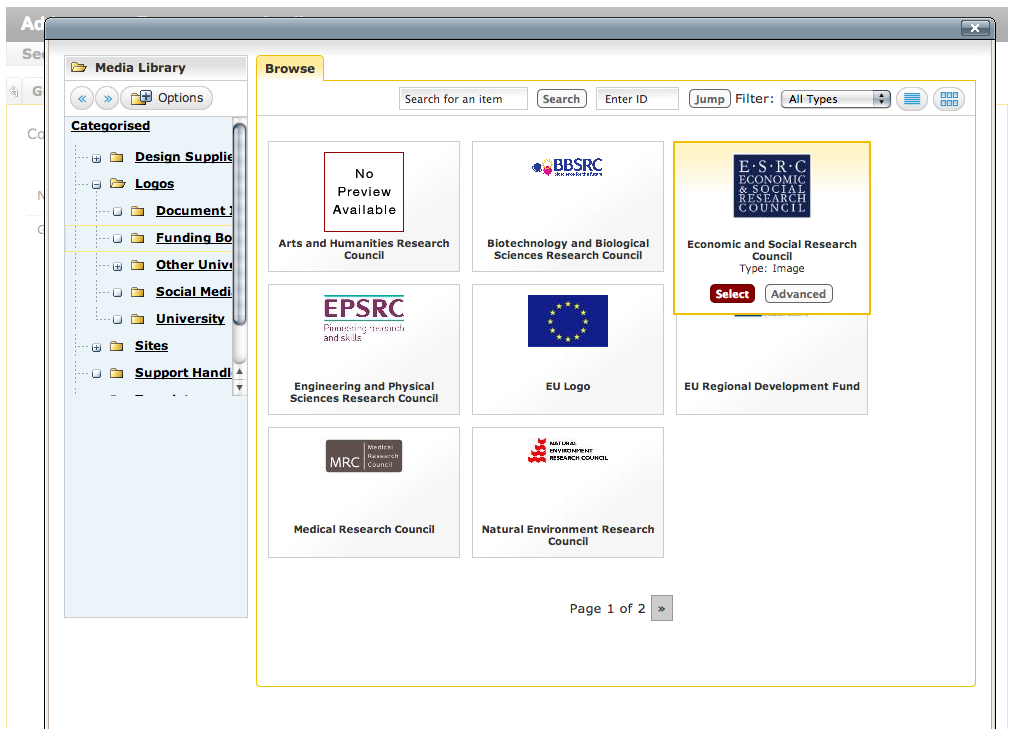
A window will pop up – browse to the correct folder, mouseover the image you want and click Select.

Select an Image

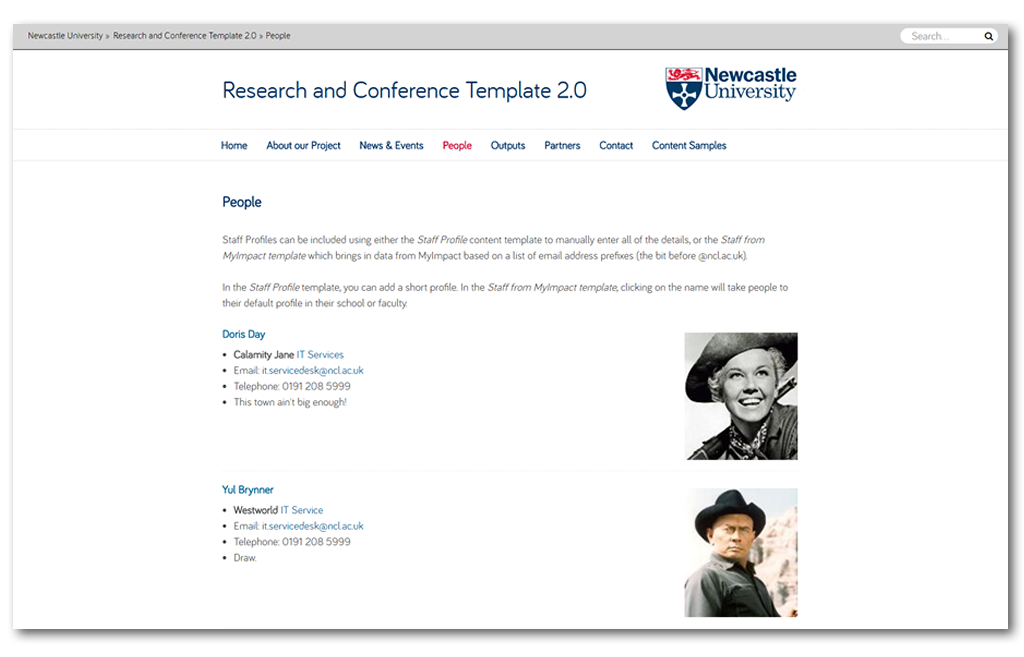
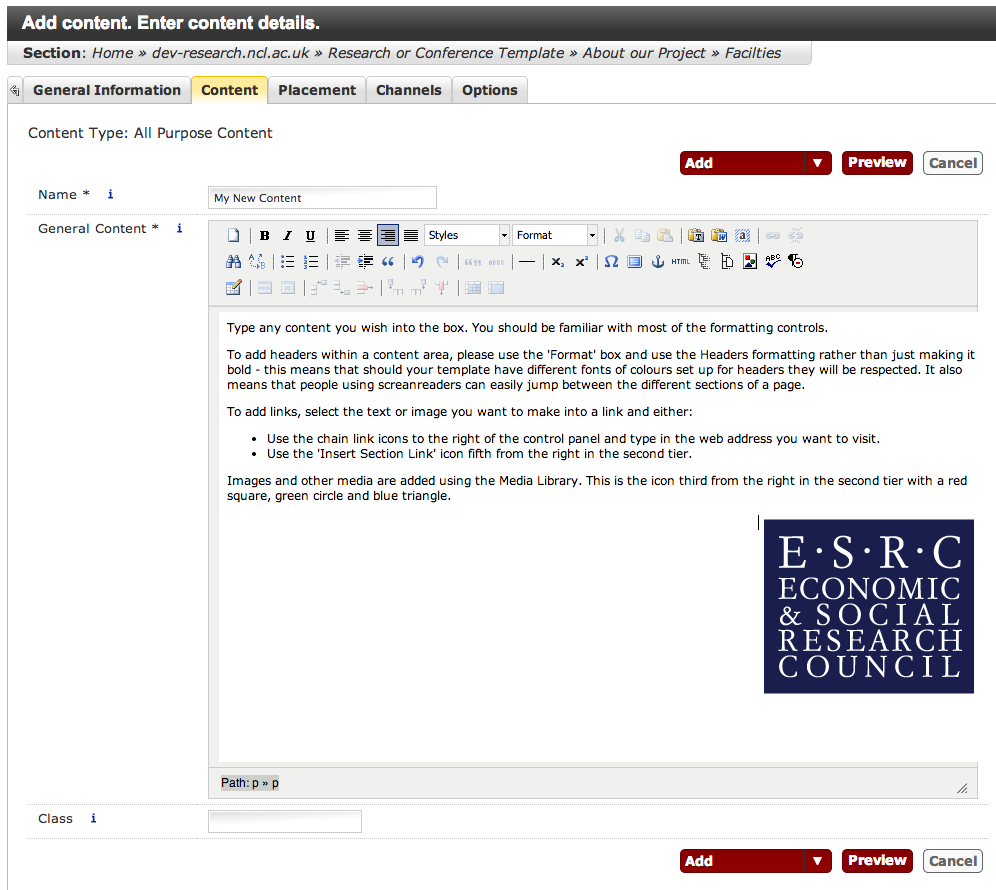
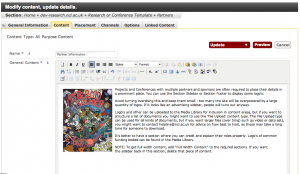
You’ll be returned to the content area with your image embedded. It may be the case that you need to resize it. If you’re using a good web browser such as an up to date version of Chrome you should be able to drag the corners of the image.

Too Big

Otherwise, you can double click on it and type in the width and height (click Constrain Proportions) to ensure that you don’t distort the shape of the picture. A width of around 200-300 is good if you want text to flow around the image.

Width and Height

Use the left/right alignment buttons to place the image to the left and right of the content.

Media Alignment

Please note that the web is not good at complex layouts of images on a page. If you really need precise positioning of images relative to each other or text, you are likely to be much better off uploading a PDF of your information.
Next:

Section Sidebars, Banners and Footers

The simplest way to get content into the sidebar is to create a piece of All Purpose Content in a section and give it the class ‘insidebar‘. This content will then appear in the sidebar (if there is one in the template you’re using). This is demonstrated on the Sample Components site homepage. Images used in the sidebar should be cropped to 200px wide. If you want to remove the sidebar from a section, you give a piece of content in that section the class ‘nosidebar‘.

If you want to alter the sidebar or footer across multiple sections, you will need to use hidden sections – the rest of this post describes how to do that:

Once you’ve got started with the Structure of your site and some basic Content, you’ll have noticed a number of Sections with grey folder icons in the Site Structure.

Initial Site Structure from Template

The grey icon simply means that these are Hidden Sections, however the template we use is set up to recognise certain naming conventions and place these in the relevant area of the site.  We’ll ignore Section Styles for now as it’s a special case. The names you can use are as follows:

  • Section Sidebar 
  • Home Sidebar 
  • Section Footer
  • Home Footer 
  • Section Banner
  • Home Banner

Section Footer and Home Footer

If you click ‘Modify Content’ for Section Footer, you’ll see a piece of content called Address. Modify this and you’ll see the fragment of content that appears on the footer of all pages of your website.

Section Footer

If you add the contact details for your site and click Add and Approve your changes will be reflected in the footer of all pages when the site next publishes.

So: content placed in these hidden sections appears in the part of the site its name suggests: the Sidebar content under the left hand menu, and the Footer content at the bottom of all the content. Banner content appears below the top navigation, but above the sidebar and main content area.

The prefixes Home and Section differ as follows: Home Sidebar/Footer will only appear in the sidebar or footer of that single section. Section Sidebar/Footer will appear in that section and all subsections.

Section Sidebar and Home Sidebar

So, if we wish to create a sidebar to override the rest of the site within only the Partners section (logo’s of funding bodies perhaps?) we click ‘Add Section’ to this…

Add Secton

… and give the new section the name ‘Section Sidebar’. Make sure you uncheck the ‘Show in Navigation’ checkbox half way down the right hand side.

Uncheck Show in Navigation

We then see that the Partners section has a subsection called Section Sidebar.

Add Sidebar Section

You can then Add Content to just the sidebar of the Partners section (and any subsections it might have in future). This overrides any Section Sidebar sections appearing higher up in the structure.

In the below screenshot, content of type File Resource was placed in the Section Sidebar of the Partners Section.

File Resource in Sidebar

Section Banner and Home Banner

Add a section called Home Banner to the top level of the site, remembering to uncheck the Show in Navigation checkbox.

Then go back to the site structure and Add Content to it. Any content you add will appear above the sidebar and content, but below the main navigation. In the screenshot below a large image has been added to the Home Banner section:

Home Banner

The Banner area is 950px wide.

950 Pixels Wide

Next:


Adding and amending Content

Adding Content

To add new content to a Section use the yellow box to its right, and click ‘Add Content’. You’ll then be presented with a list of Content Templates (this list may change depending on your site, and it is likely to get shorter as we find ways to simplify the system).

Content Templates

To amend content within a section, click ‘Modify Content’. You’ll be presented with a list of the existing Content within a section – click on it to edit.

Amend Content

The vast majority of pages on your site will be ‘All Purpose Content‘, which is the general purpose Content Template for formatting words and pictures on a webpage. Other content templates are available depending on where you are within your site (Staff Profiles and News templates, for example, are only visible within the People and News & Events sections).

All Purpose Content looks like this:

Amending Content

Type any content you wish into the box. You should be familiar with most of the formatting controls.

To add headers within a content area, please use the ‘Format’ box and use the Headers formatting rather than just making it bold – this means that should your template have different fonts of colours set up for headers they will be respected. It also means that people using screen readers can easily jump between the different sections of a page.

To add links, select the text or image you want to make into a link and either:

  • Use the chain link icons to the right of the control panel and type in the web address you want to visit. You can also use this to link to email addresses.
  • Use the ‘Insert Section Link’ icon fifth from the right in the second tier to link to a page within T4. If the page is moved or renamed, links created in this way will not break.
Section Link

Images and other media are added using the Media Library. This is the icon third from the right in the second tier with a red square, green circle and blue triangle.
Media Library Icon

The Media Library appears as a pop up window and has a folder set up for Logos. You’ll also find (within Sites) a folder for your own website project. The Media Library will be discussed in more detail in its own post.

Media Library basics

Click on Select and the item will be embedded within your content.

Embedded logo

You can Preview the content using the red button, which will create a popup window showing the content as it will look within the page.

To save the content, use the dropdown icon next to the word Add.

Publishing Options

  • Add and Approve – the content is approved and will publish the next time the site as a while is published. This happens automatically every four hours.
  • Save as Draft – the changes you’ve made will not publish. The version that publishes will be the last one you clicked Add and Approve or Publish Now for.
  • Publish Now – the content will be added to a queue to publish as soon as possible. This is usually immediate, but if many files are queued, or the page has a lot of images within it, can take a few minutes.

Deleting Content
Content can be deleted by going to the Site Structure, clicking Modify Content and then clicking Delete Content to the right of the piece of content. Its status will change to inactive until the system next tidies itself up.
Delete Content
Troubleshooting:
You should have been given the web address that your site will publish to. If you click Publish and notice that your content isn’t there after a few minutes there are usually a few things you can check:
  1. Press F5 to force a refresh of the page (your browser may have stored a cached copy of the page)
  2. Check that you haven’t saved the file as Draft.
  3. Check that you haven’t renamed the sections (which may make the page publish to a different address).
  4. Failing that, email it.servicedesk@ncl.ac.uk with the web address of the page you’re having problems with.

Next: