eMedLab VPN Access via Cisco AnyConnect VPN Client and Centos 6.8
This document is meant as a guideline for connecting a remote Centos 6.8 Desktop machine through eMedlabs Cisco VPN and connect to the Ubuntu terminal to gain access to the eMedLab HPC Cluster.
Where input is required from the end user to type into a terminal it is shown as boxed out Preformatted text.
Preformatted text example
Installation of Centos 6.8 Graphical Desktop with updates and repositories
Install Centos 6.8 x86_64 – http://isoredirect.centos.org/centos/6/isos/x86_64/
Select the Desktop option when prompted and the installation will proceed until you are prompted to create a User Account, add or amend the NTP service for time synchronization and finally prompting for a restart.
Restart the machine and log in as root.
From the Desktop Menu select Applications > System Tools > Terminal
At the command prompt type in: –
yum update
The machine will come back with any packages that need updating to which respond ‘Y’ to install. After that has completed type in: –
yum install epel-release
Respond ‘Y’ to install the epel repository (Extra Packages for Enterprise Linux)
Creation of Public and Private ssh keys
Log out from your root session and log in as the user account you created earlier. To create the ssh passwordless login you need to create a public and private key pair to send to eMedLab along with your request for a login account on the Cisco VPN Gateway.
From the Desktop Menu select Applications > System Tools > Terminal
At the command prompt type in: –
ssh-keygen -t rsa -f ~/.ssh/id_rsa.eMedLab
This creates two files in your /home directory in a hidden subdirectory .ssh
.ssh/id_rsa.eMedLab
.ssh/id_rsa.eMedLab.pub
The first one is your private key which you keep to yourself, the second one with the .pub extension is your public key and is the one to email to eMedLab. This key pair can be copied between multiple Linux machines and is named as eMedLab so that you can keep a handle of which key belongs to which service should you ever have a future need for a key pair for a different server at a different facility.
Installation of the Cisco AnyConnect VPN Client
Log in as root and from the Desktop Menu click the Firefox Icon  .
.
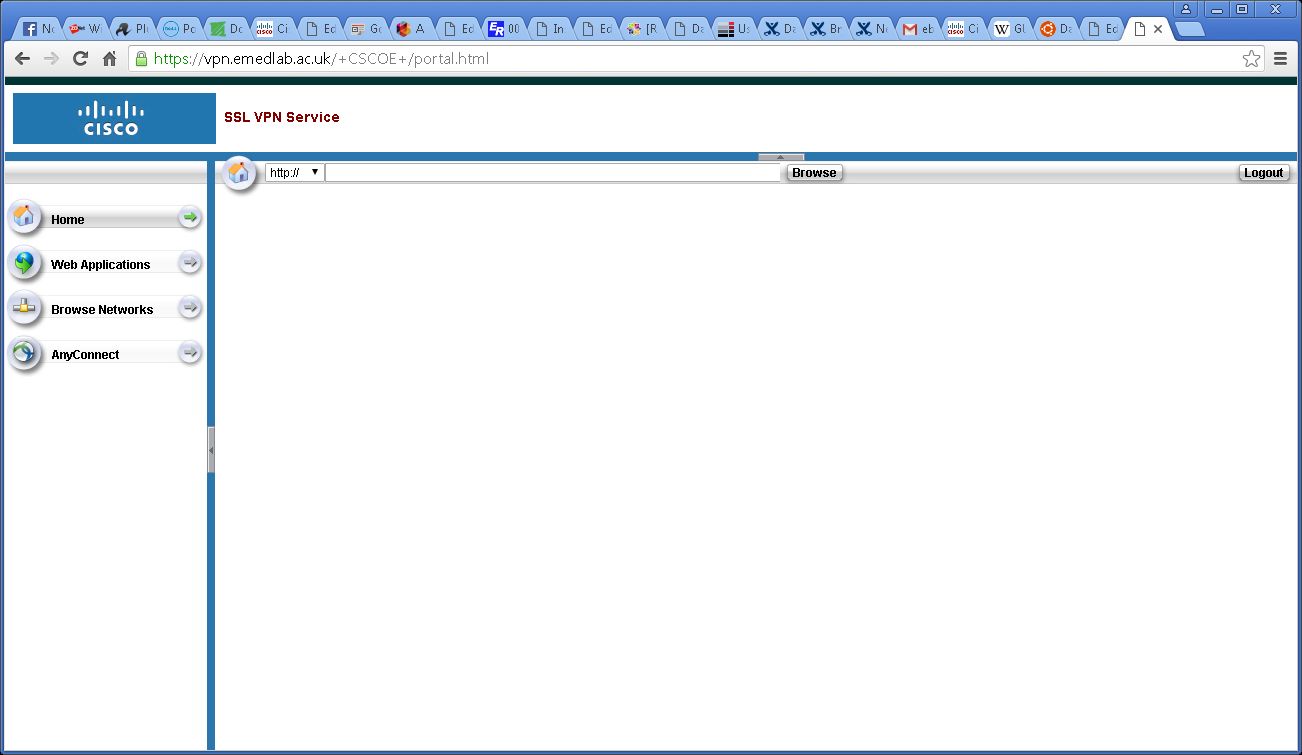
browse to https://vpn.emedlab.ac.uk
From the drop down menu select your Group and enter the Username and Password provided by eMedLab for the Cisco VPN gateway: –
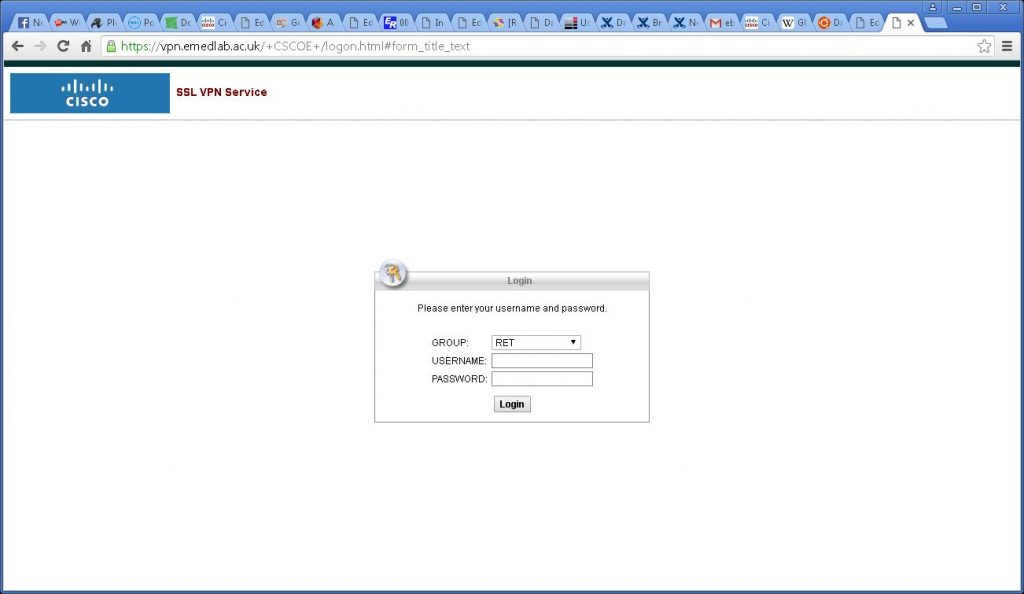
Click the Login button.
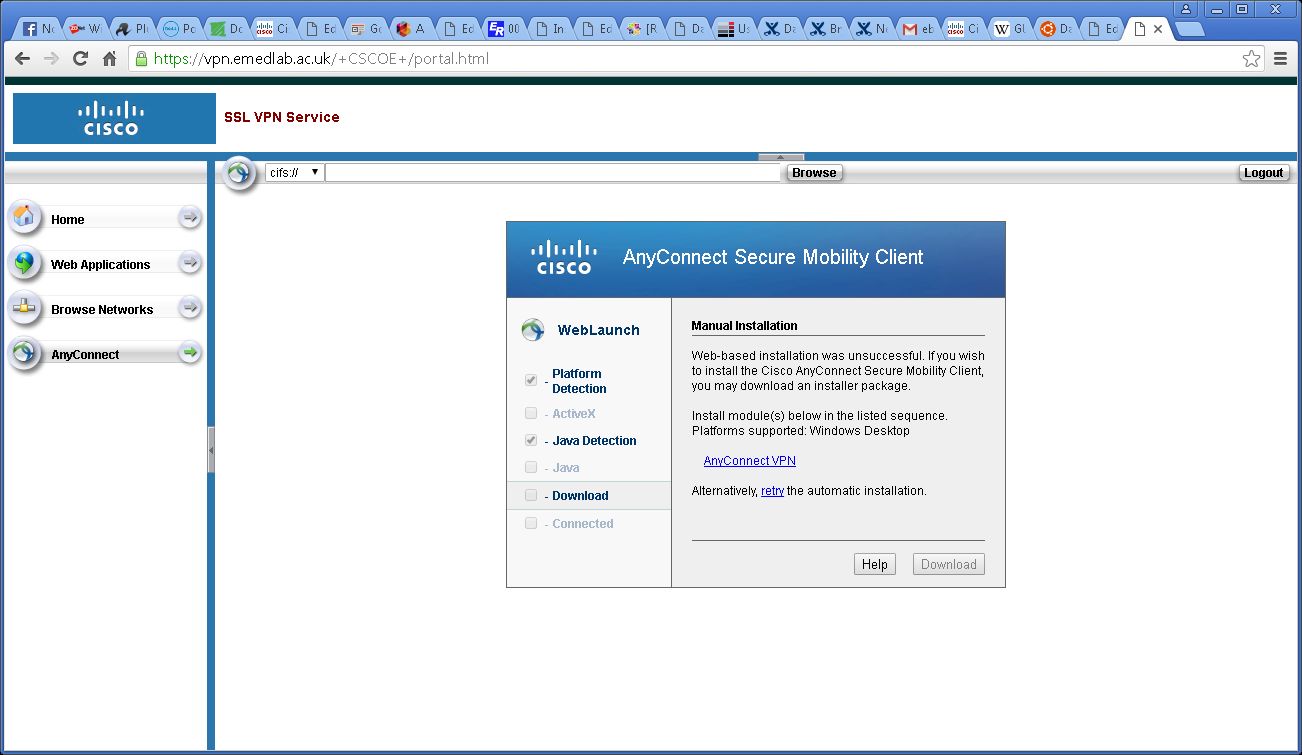
You should then see the following menu: –
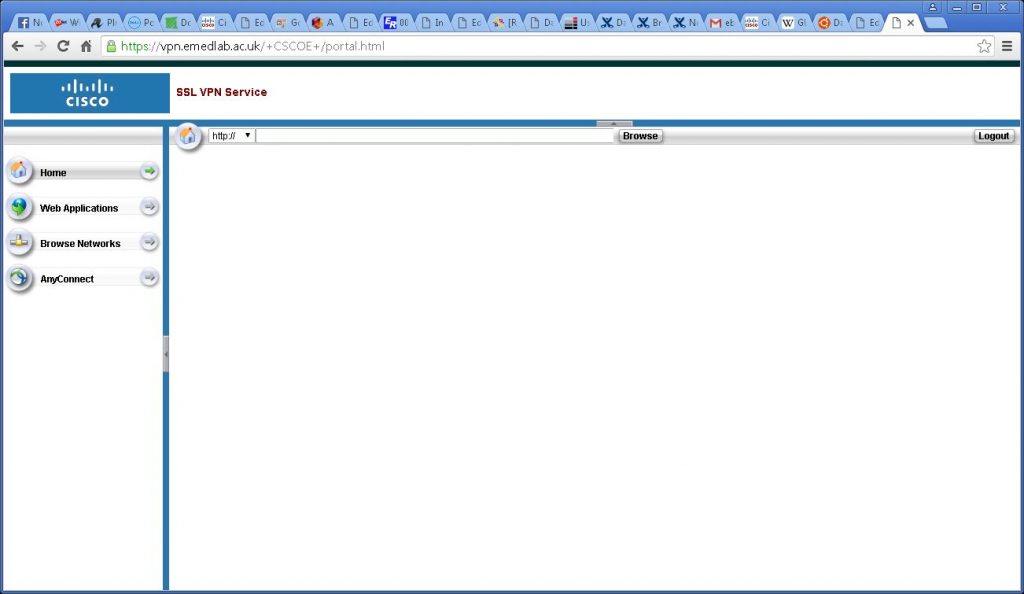
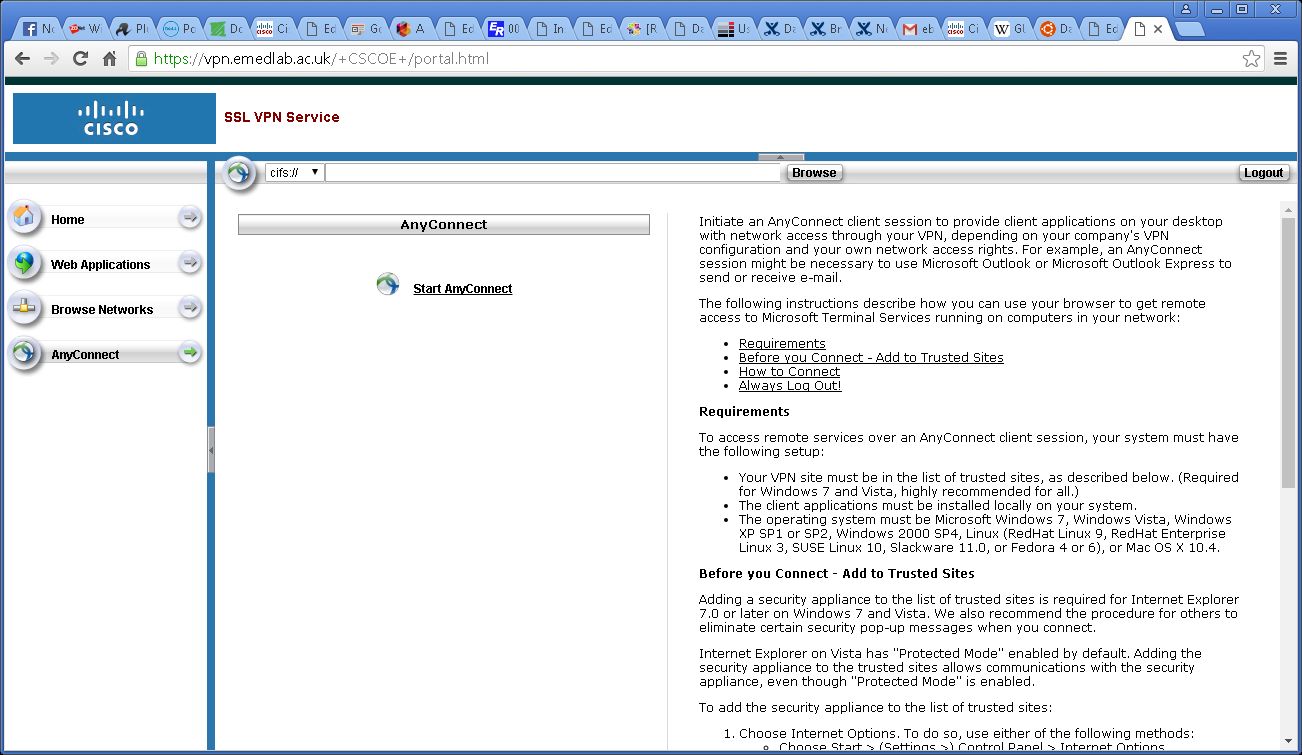
Click the AnyConnect button in the lefthand menu..

Click the Start AnyConnect button.
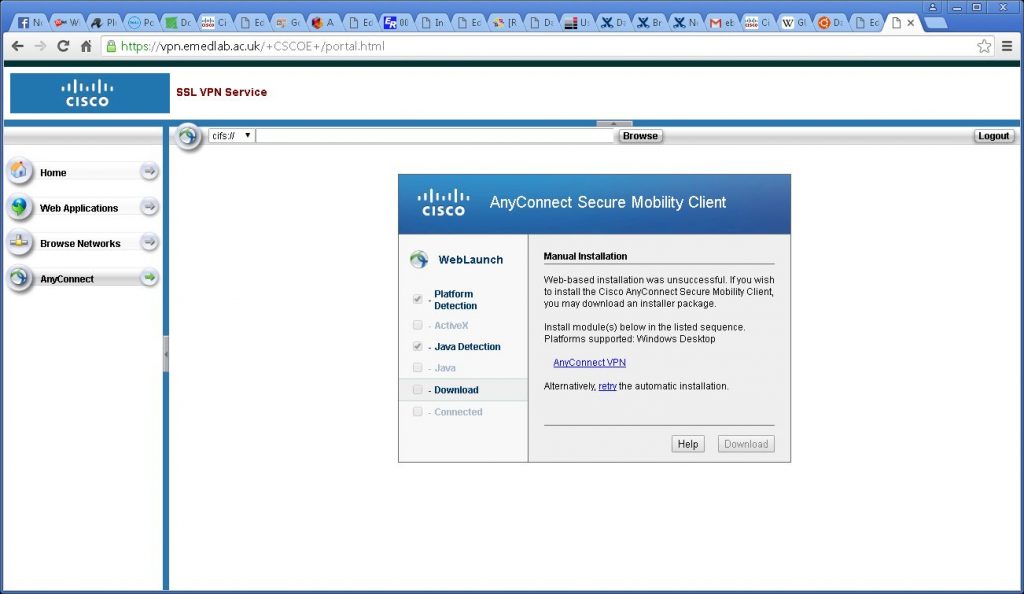
The java automatic connection will try and connect and fail and give you the option to manually download the software as above. Click the AnyConnectVPN link to download to your machine. The default download location is /root/Downloads – we need to know this location for installation as it needs to be modified.
From the Desktop Menu select Applications > System Tools > Terminal
At the command prompt type in the following: –
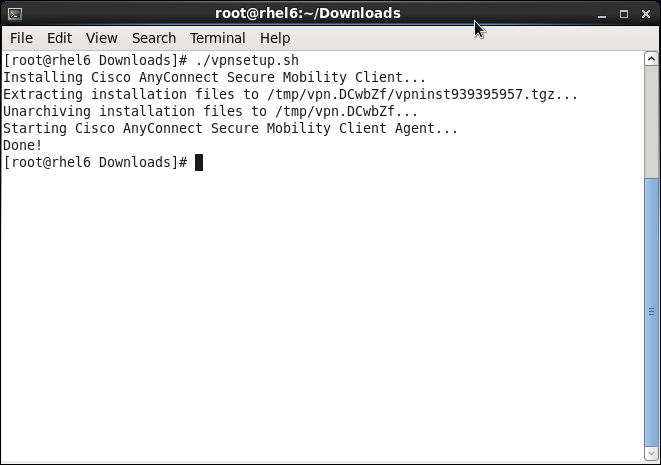
cd /root/Downloads
chmod +x vpnsetup.sh
./vpnsetup.sh
The script will run to completion ending with a Done! as below, there is no user interaction required.
**Centos 7 installation requires package pangox-compat to be installed for the graphical user interface**
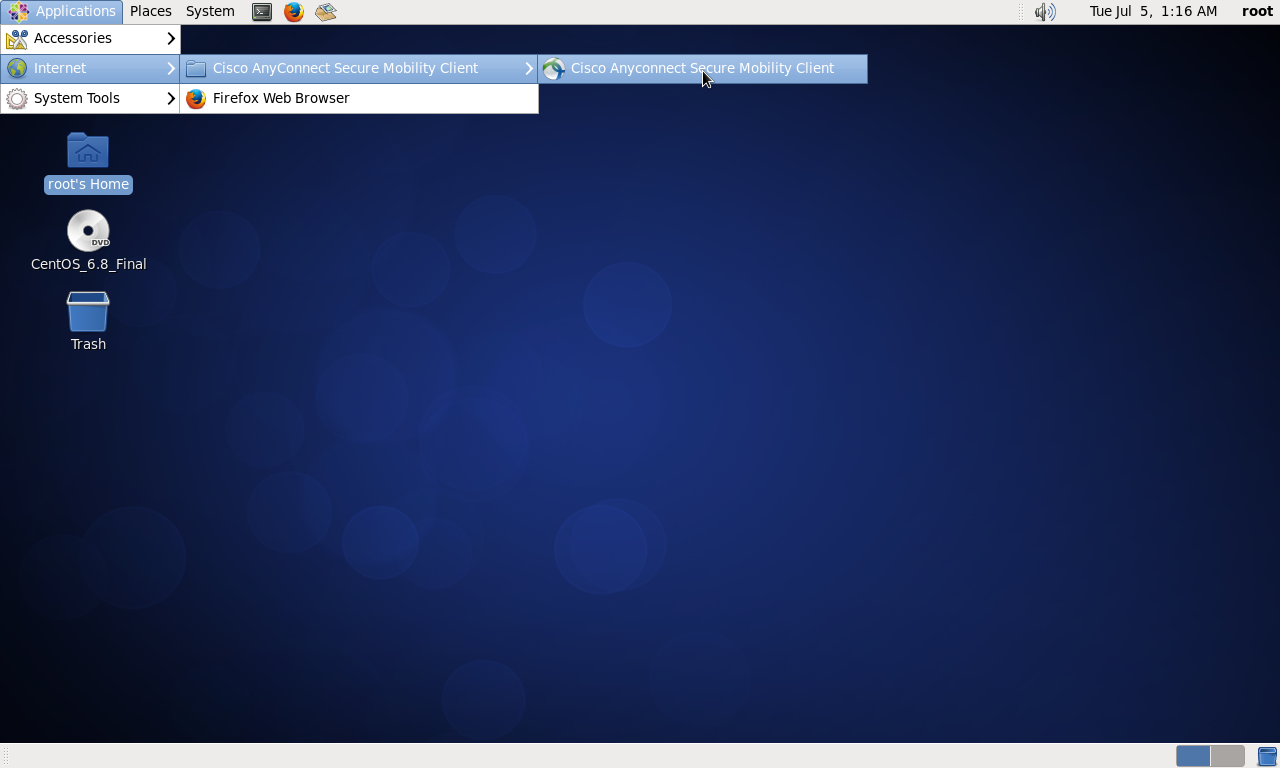
There will now be a new icon for the VPN in Applications > Internet > Cisco AnyConnect Mobility Client > Cisco AnyConnect Mobility Client as below: –

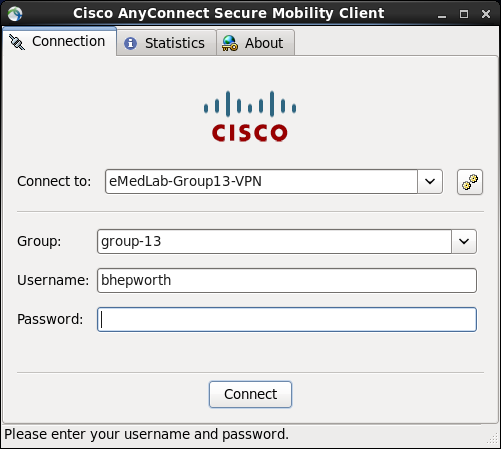
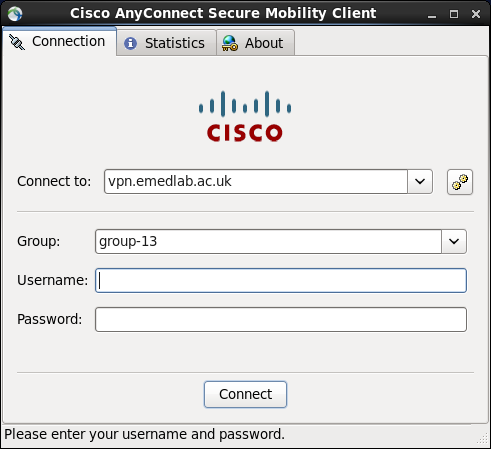
Follow the menu path and click on Cisco AnyConnect Mobility Client as above. You will be presented with the following Window: –
Fill the Connect to: details in as vpn.emedlab.ac.uk
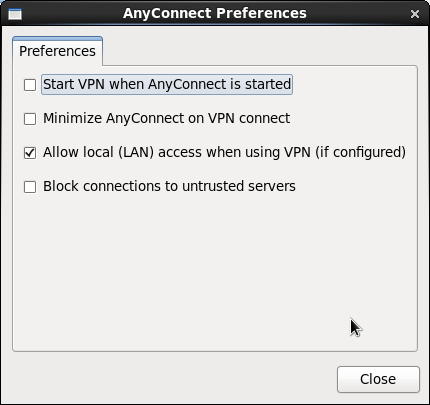
Click the two yellow cog button at the end of the Connect to: Dialog Box and adjust as per the second picture.
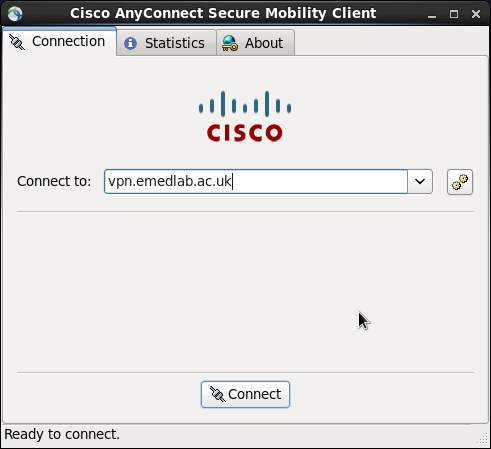
Click Connect
You will then be prompted for your Cisco AnyConnect Group, Username and Password as before, fill those details in and click Connect.
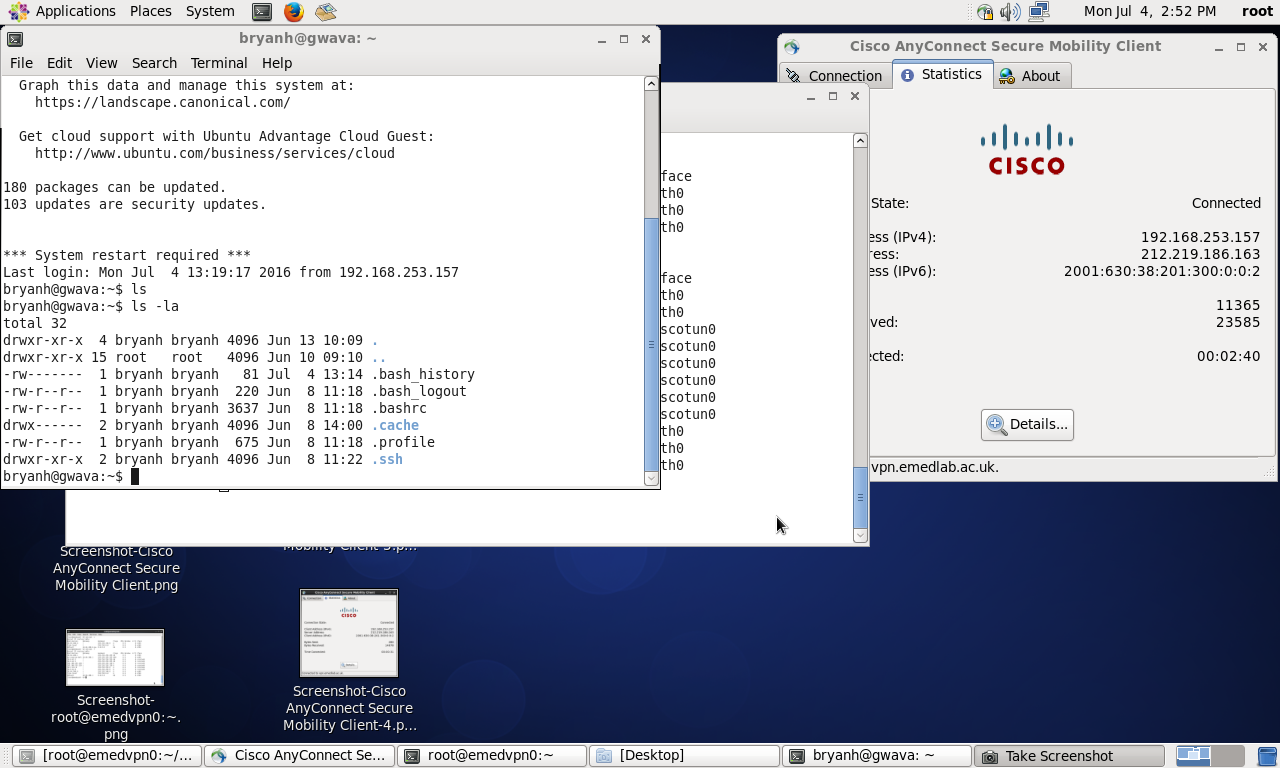
The vpn will come up and say connected as below: –
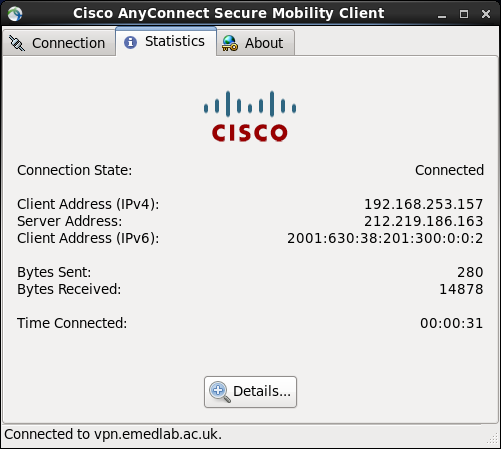
At this point you can then connect to the Ubuntu server at eMedLab with the second Username you have been given by eMedLab. You shouldn’t have to use a password to connect, it should use your keyless pair that we created.
From the Desktop Menu select Applications > System Tools > Terminal
shh username@10.2.213.130
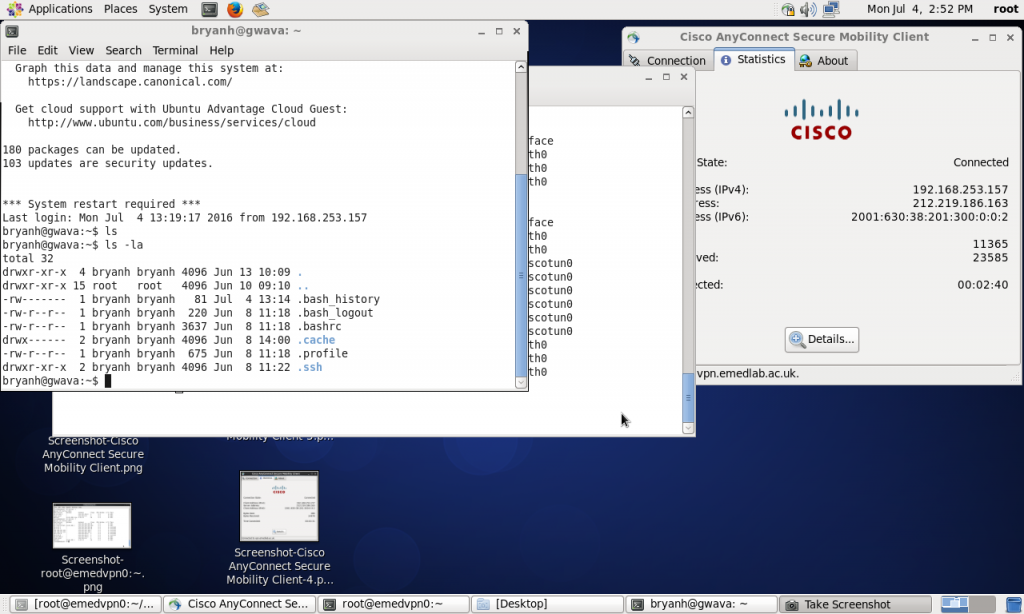
The picture below shows all the connections up with a session into the Ubuntu machine
The connection can also be brought up as an ordinary user, but there is only one person allowed at a time as far as I have found so far. This means that each user who can access the machine must bring down the vpn after use if someone else requires access.
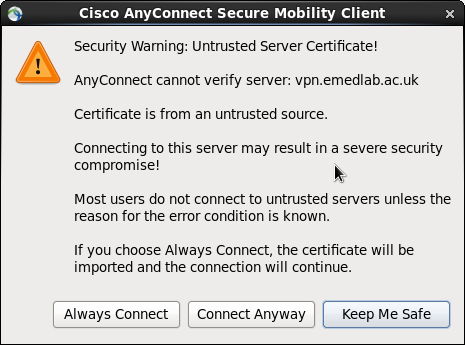
Once the link has been established once, it also appears to skip a stage and go directly to the Group setting and fail to connect. This can be overridden by stipulating vpn.emedlab.ac.uk in the Connect to: dialog box where it will prompt you for the vpn gateway Username and Password. You may be prompted that it is an insecure connection in which case click the Connect Anyway button