This post talks about grid layouts in the old Research and Conferences template, you can use this post to help you create grid layouts in the new template but we’ve written a new post for that (https://blogs.ncl.ac.uk/t4/2016/11/21/layout-examples-box-layouts/).
A lot of our websites have a homepage laid out as a grid of boxes containing images and text, where each box relates to a theme of the site or a set of related tasks. With a good choice of photography or illustration, this is a good way to make a site look alive and gets people straight to where they want to be. Here are some examples:
- http://www.ncl.ac.uk/sacs/
- http://www.ncl.ac.uk/openday/
- http://www.ncl.ac.uk/business/
- http://research.ncl.ac.uk/nufeb/teams/
Step 1) Remove the Sidebar
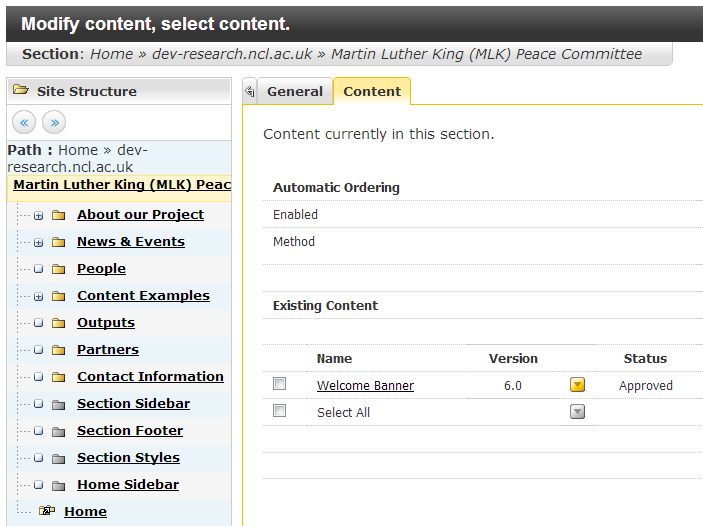
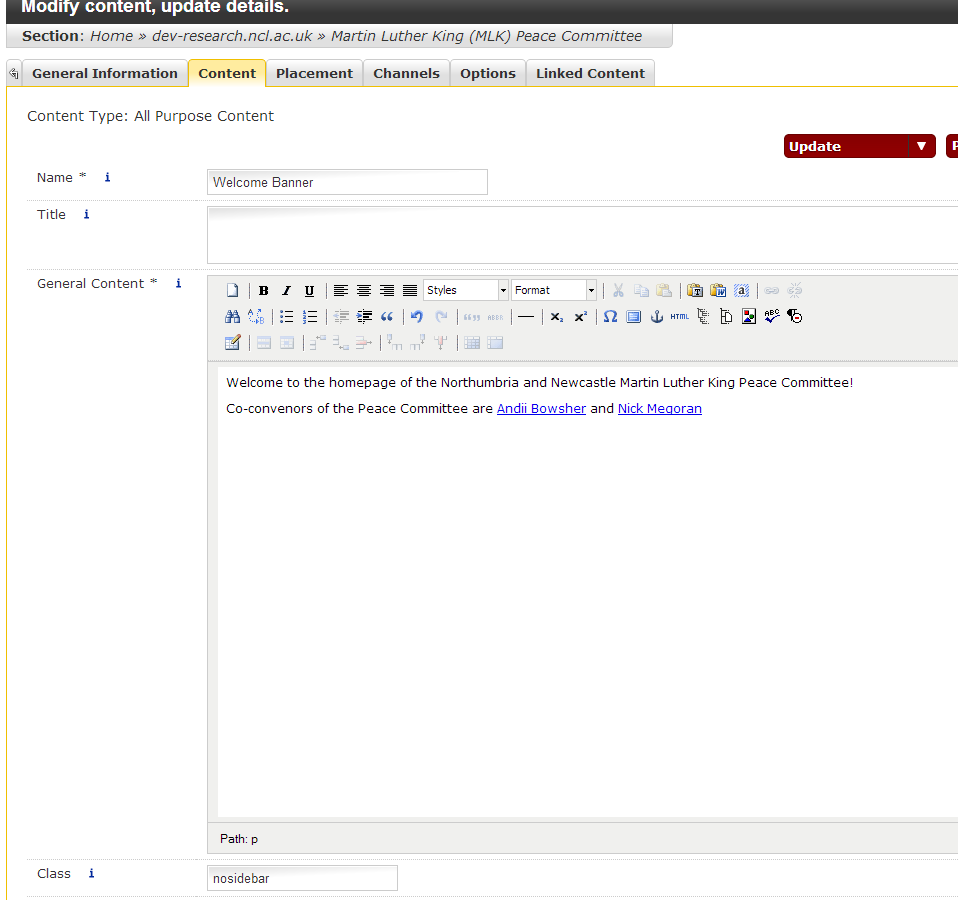
You’ll want to make use of the full width of the template. To remove the sidebar, Modify the Content of the homepage of your site (Modify Content is found in the column of yellow boxes) and add the word ‘nosidebar’ to the class field:
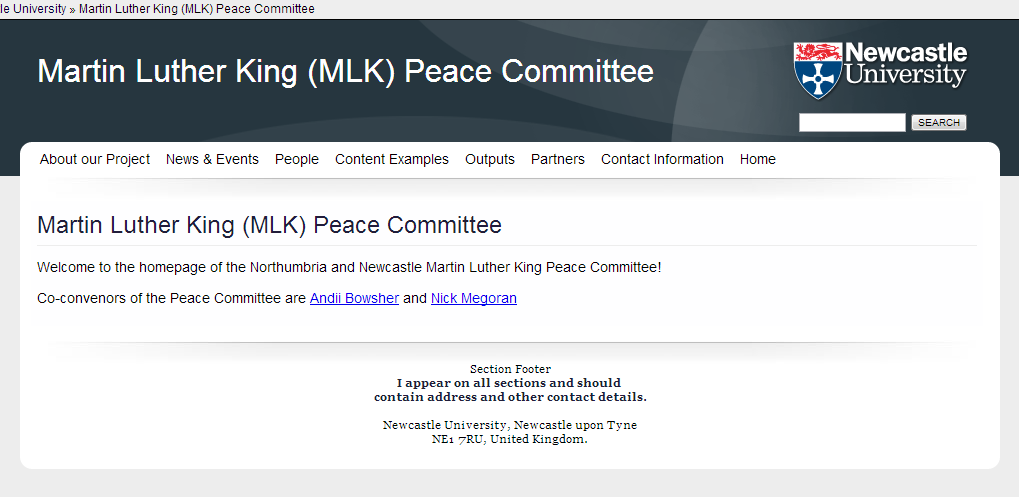
Preview or Publish the content, and your text will fit the full width of the template:
So far so good – note that if you want a full width image, it’ll need to be 960px wide. If you want an fading banner at the top of the page follow these instructions.
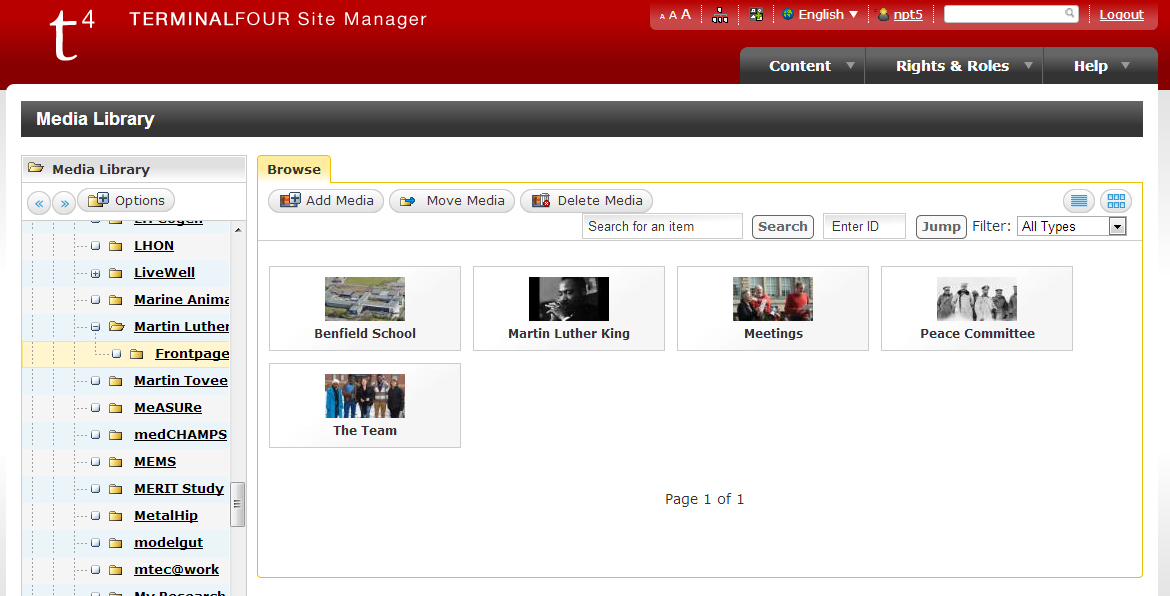
Step 2) Create and Upload your Images to the Media Library
It’s best if you resize all of your images to the same size and shape using photoshop and then upload them to the media library in one go, going back and forth between editing the content and uploading the images will take more time. The images i’m using in this example are 420px wide by 236px tall.
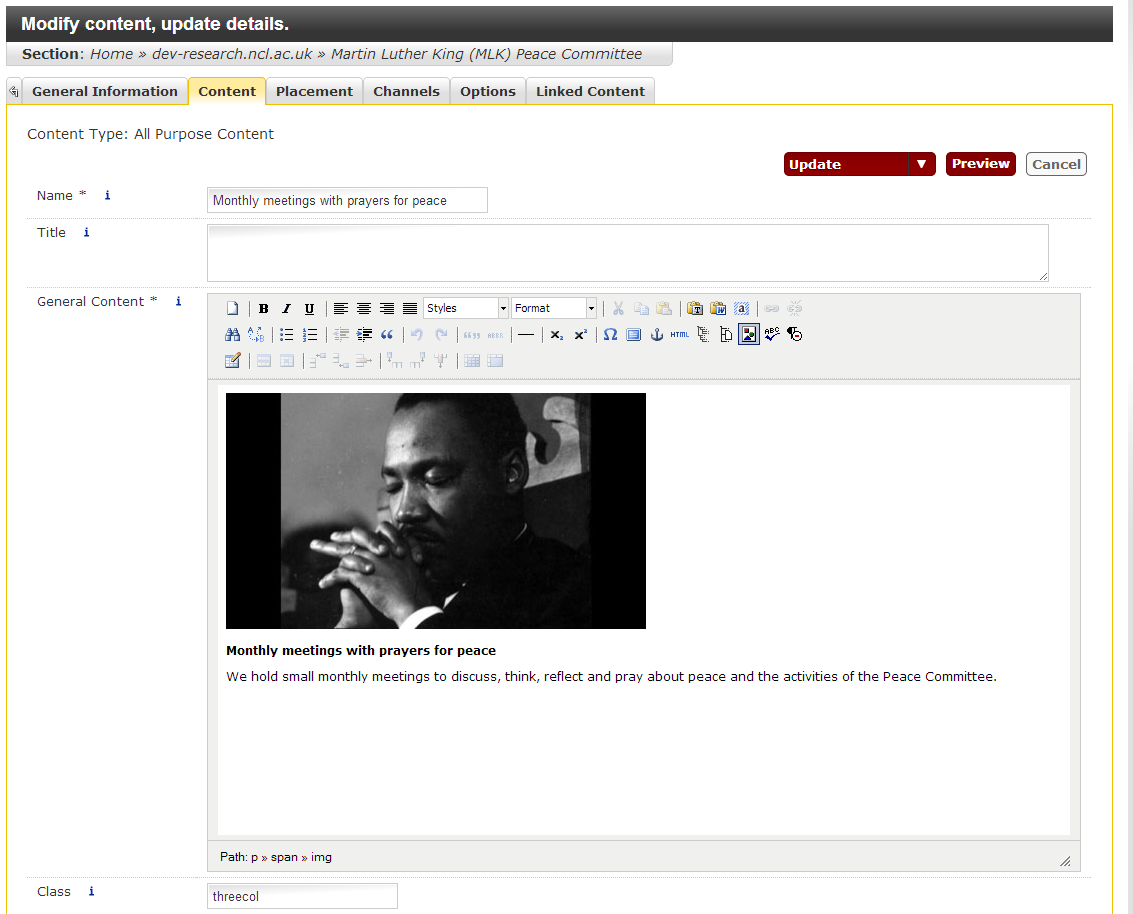
Step 3) Create a new piece of content for each box
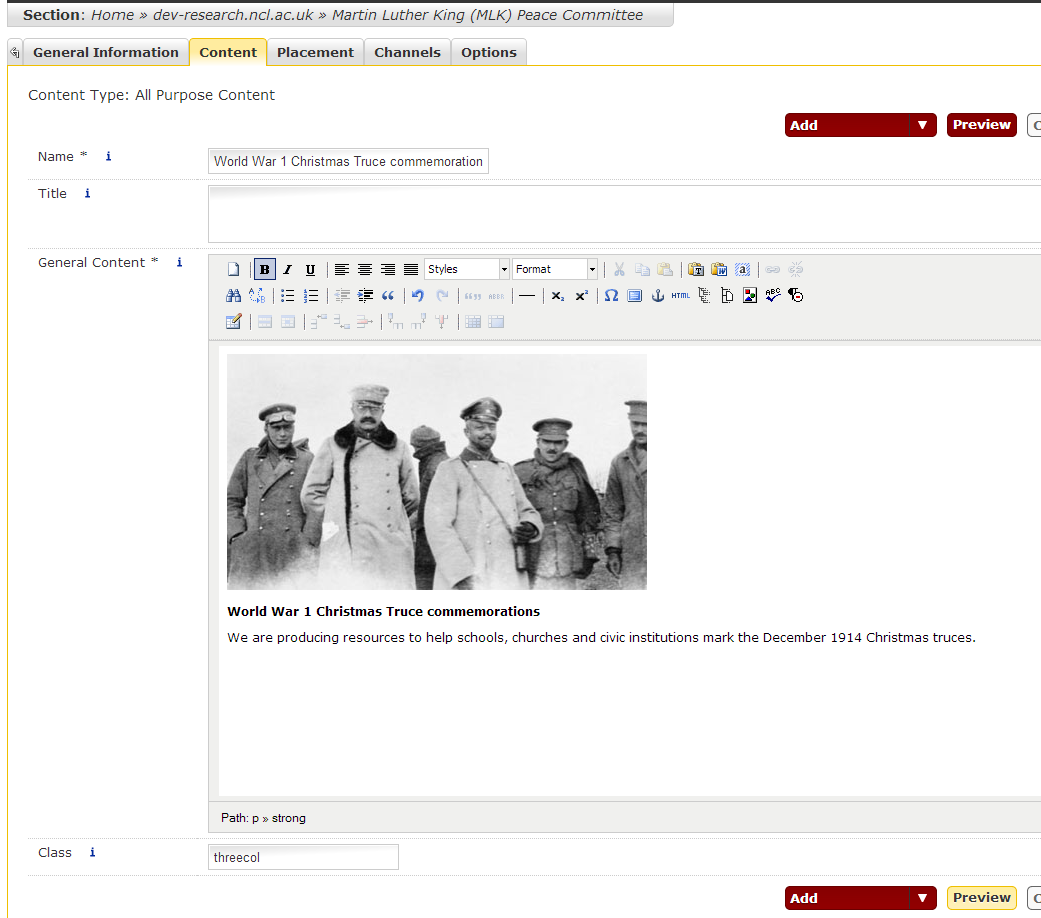
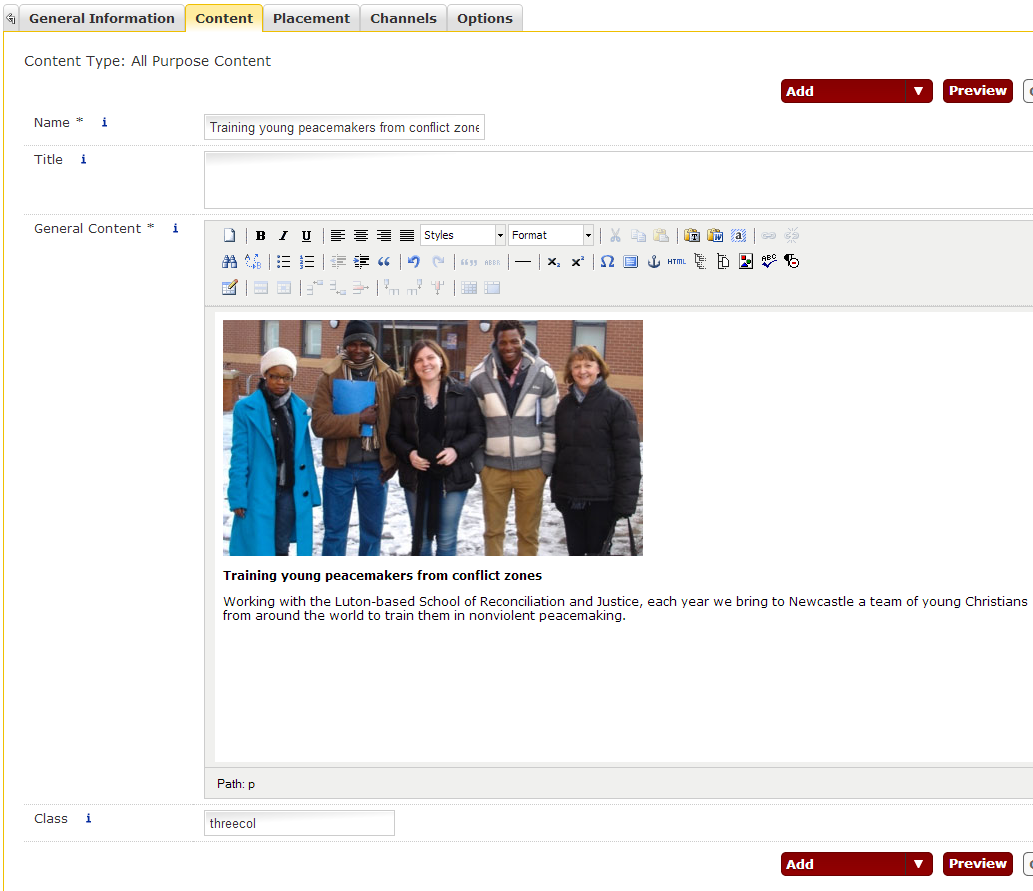
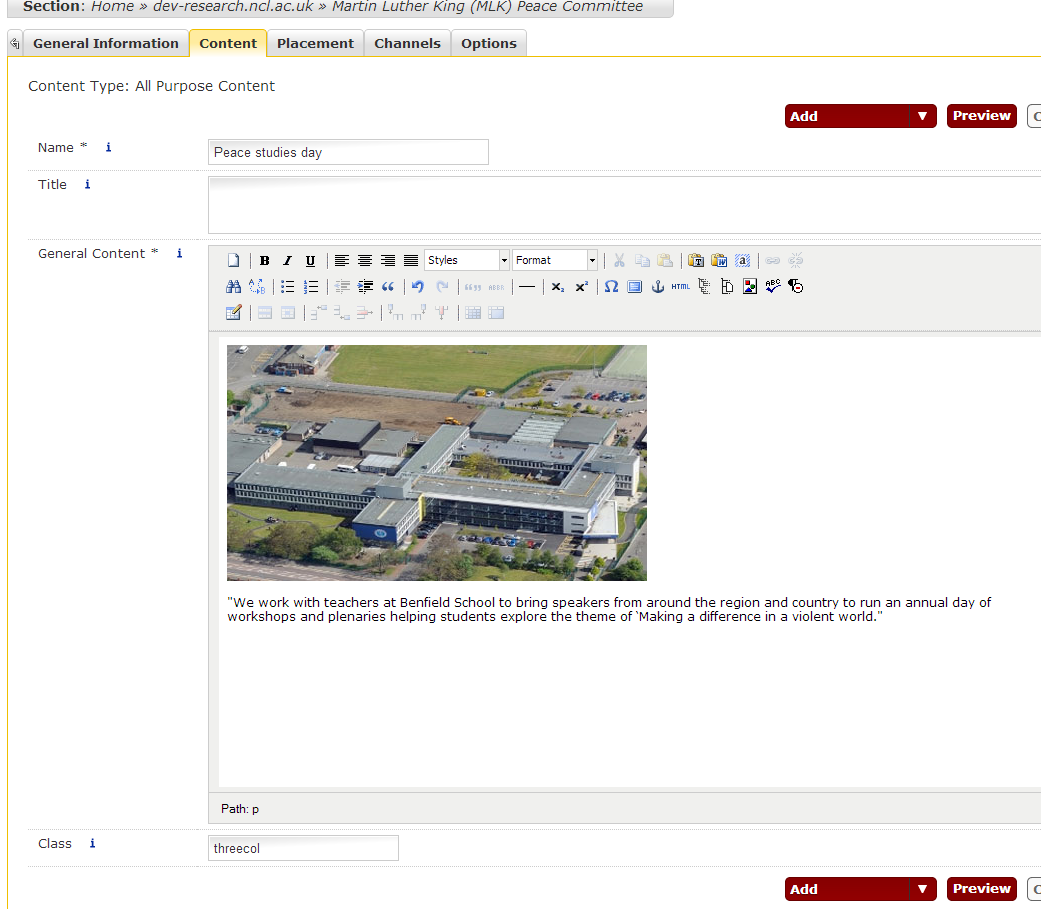
Each box on the page will be a new piece of All Purpose Content. Create three new pieces of content with an image at the top and some text. If you’ve already created them, you should make both the images and the text into links to the appropriate sections of your website. Give each of these new pieces of content the class “threecol” as shown in the screenshots below:
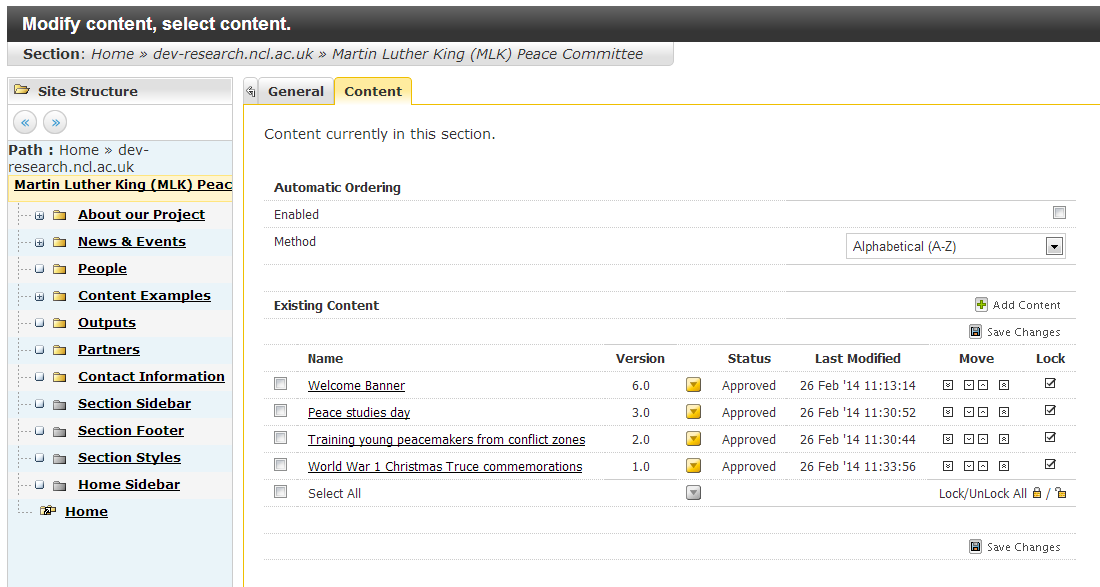
You can reorder them by returning to the site structure and clicking Modify Content to the right of the homepage – the move buttons are up and down arrows to the right of the screen. This can be a bit fiddly, so remember to click Save Changes before leaving this screen.
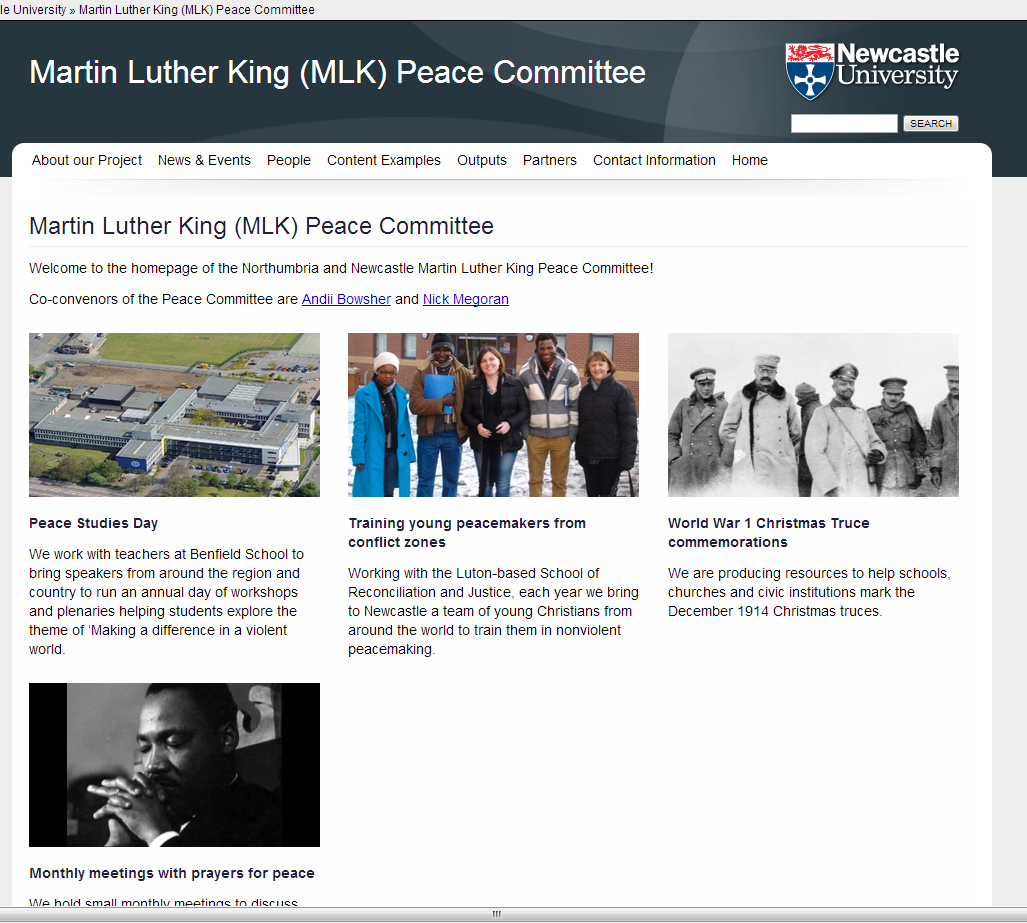
Publish or Preview your site and LO!, you will have three boxes laid out in three columns as in the screenshot below:

Step 4) But I want FOUR boxes!
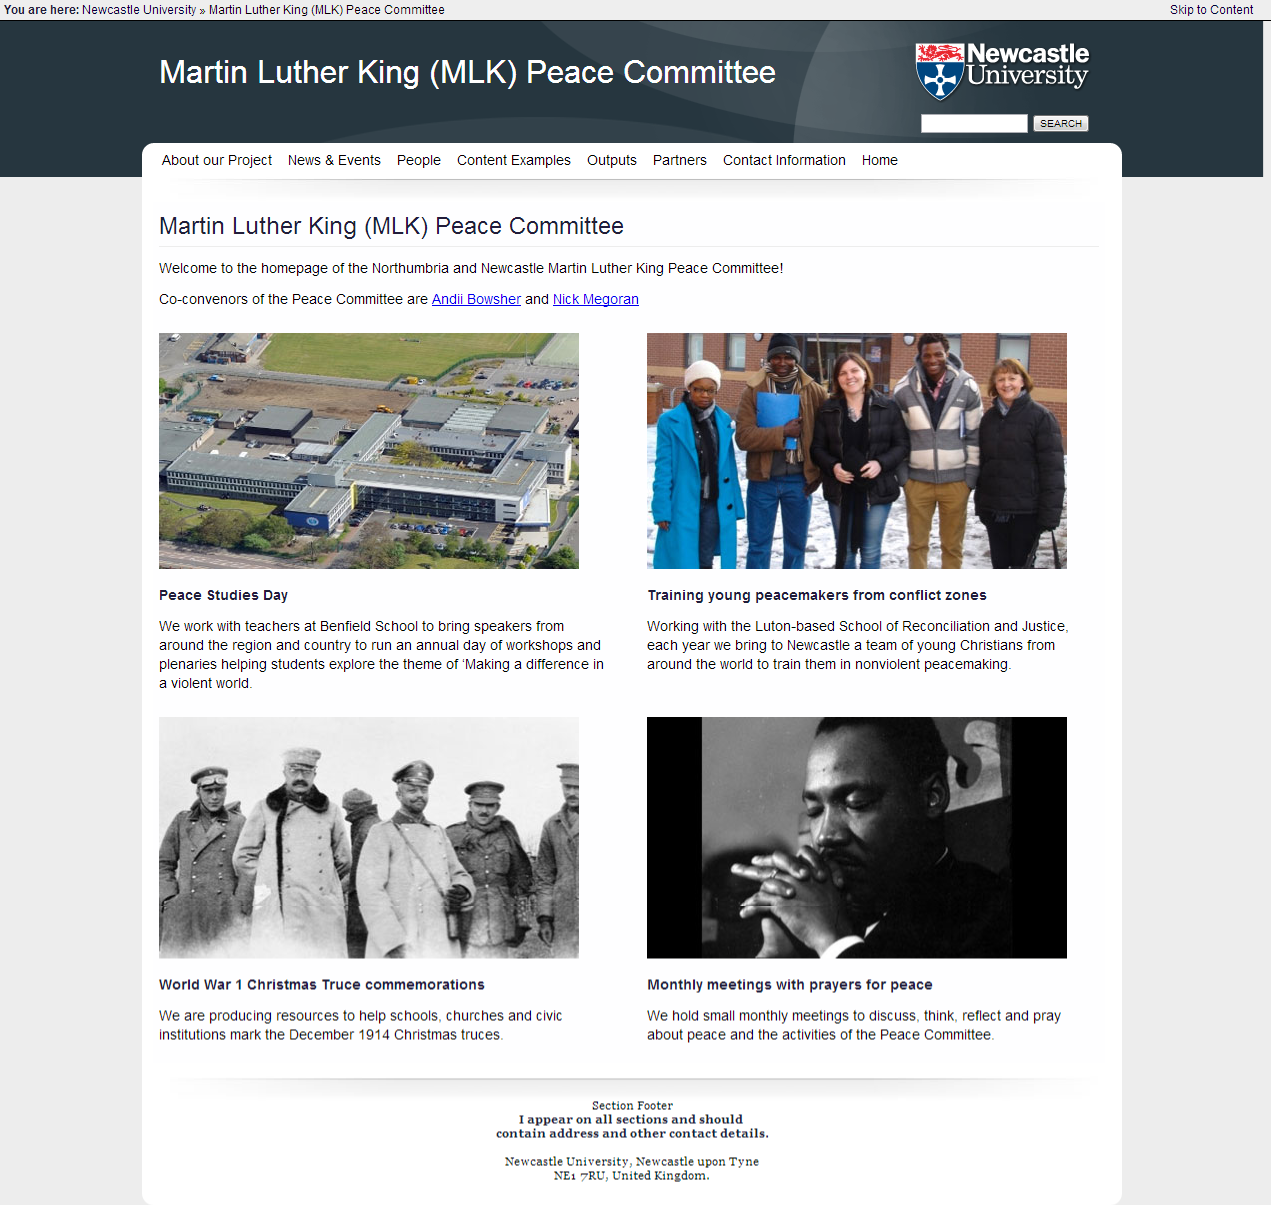
If you add a fourth box with the class threecol…
…You’ll find that when you publish it, it starts a second row:
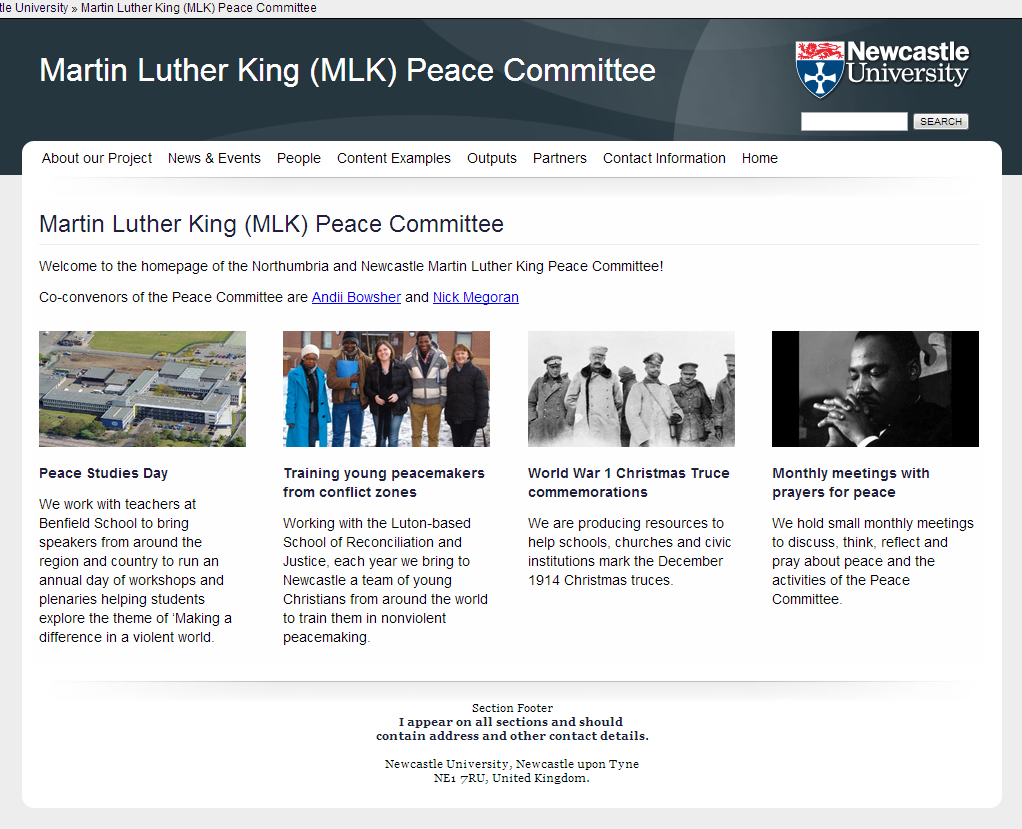
Using the threecol class is good if you have a number of boxes divisible by three, so if you have four boxes, you probably want to change all of the class fields for these pieces of content to either ‘twocol’ or ‘fourcol’ – which you choose will depend on the sizes of your images, quantity of text.
twocol:
To make this layout work with two columns, I should have probably formatted the images to be wider and narrower as the second tier now requires scrolling on many monitors, and a second tier may look like second class content, which you might not want.
fourcol:
The fourcol version means that the text ends up looking quite tall, so in this case i’d probably rethink how much text I need in each box – maybe consider just using the titles.
Step 5) But I want FIVE boxes!
We don’t always have the luxury of planning ahead. There is no facility for creating five column layouts at the moment, but you can combine a row of three and a row of two by giving the fist three items a ‘threecol’ class and the final two ‘twocol’. If you resize your images with this in mind it will look ok, but in this particular example it looks like this:

A bit weird. A better solution might be to turn your welcome text into a sixth box and return to a threecol grid by adding the threecol class to the very first piece of content.

It then looks like this:

It will probably look better if the new box also has a similarly formatted image to the others on the page, but hopefully this post has given a good overview of how to create two, three and four column grids on pages.
See also: