
| Microphone Type | Dynamic |
| Polar Pattern | Cardioid |
| Frequency Response | 20Hz – 17KHz |
| +48v Phantom Power Required: | No |
| Manual | AKG.com |
The AKG D112 is a dynamic microphone that is commonly used in professional recording studios and live sound settings. It is known for its strong bass response and high SPL (sound pressure level) handling, making it well-suited for capturing the low-end frequencies of instruments such as bass drums and bass guitars.
The D112 also has a unique diaphragm design and construction which is essential for the microphone’s effectiveness in capturing the low-end frequencies, The bass-reflex design, which improves the handling of low frequencies.
The AKG D112 is a popular choice for recording bass drums and bass guitars, and it can also be used for other low-frequency instruments such as cellos and floor toms. It’s not only a favourite among engineers and producers, but also among touring sound engineers, thanks to its durability and built to withstand the rigors of life on the road.
Overall, the AKG D112 is one of the go-to microphones for recording low frequency instruments. Its strong bass response and high SPL handling make it well-suited for this application. With its durability and build it’s a great option for those who needs it for touring or studio recording.
In terms of using the AKG D112, it is typically placed in front of the instrument or sound source, with the grille facing the sound source.
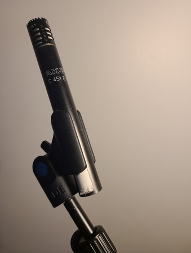
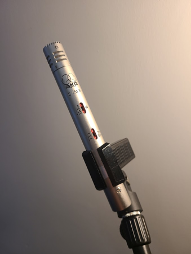
Using the D112 MKII is simple. The microphone’s built-in clip attaches easily to a microphone stand for stability. The original AKG D112 has a separate clip. Connect the XLR cable to the bottom of the microphone and the other end to a patch bay, and select the correct input in your recording software or mixer.