| Microphone Type | Ribbon |
| Polar Pattern | Figure of 8 |
| Frequency Response | 30Hz – 15KHz |
| +48v Phantom Power Required: | No – Phantom power will break this microphone! |
| Manual | Interstage |
The Coles 4038 is a microphone that has a long and illustrious history in the world of broadcasting. Originally designed by the British Broadcasting Company (BBC) in the 1950s, it has been a mainstay in the industry ever since. Despite its history in broadcasting, the 4038 has found a home in many studios thanks to its unique capabilities.
What sets the 4038 apart is its extremely flat frequency response. This response provides an accurate and natural reflection of sound, making it an ideal choice for recording spoken word. The microphone is also highly sensitive, able to capture even the most delicate signals with clarity and precision.
In a studio setting, the 4038 is a versatile microphone that can be used for a variety of recording tasks. Its response to an instrument’s natural sound makes it ideal for use as an overhead microphone for drum recordings, and its clarity and warmth make it a great choice for guitar recordings as well.
The Coles 4038 is a microphone that provides a sense of warmth to all of the instruments it records while still delivering exceptional clarity. With its flat frequency response, it is versatile enough to be used in a variety of studio recording applications.
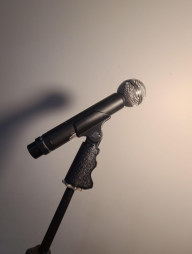
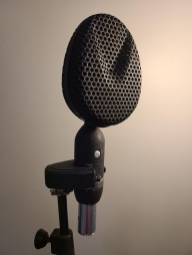
To use the 4038, remove the microphone from the case and protective velvet bag, along with the small allen key, microphone stand adaptor and 2 allen keys (these can sometimes be found stuck to the microphone due to its strong internal magnet). Align the holes on the bottom of the microphone’s stalk with the stand adaptor, insert the screws and tighten until secure. Next, insert the silver XLR adaptor into the bottom of the microphone (this can be released later using the metal band just above the base of the stalk. You can then attach the microphone to a sturdy and stable (the microphone is heavy!) microphone stand by holding the micropohone still and screwing the boom arm of the microphone stand into the microphone adaptor you secured earlier.
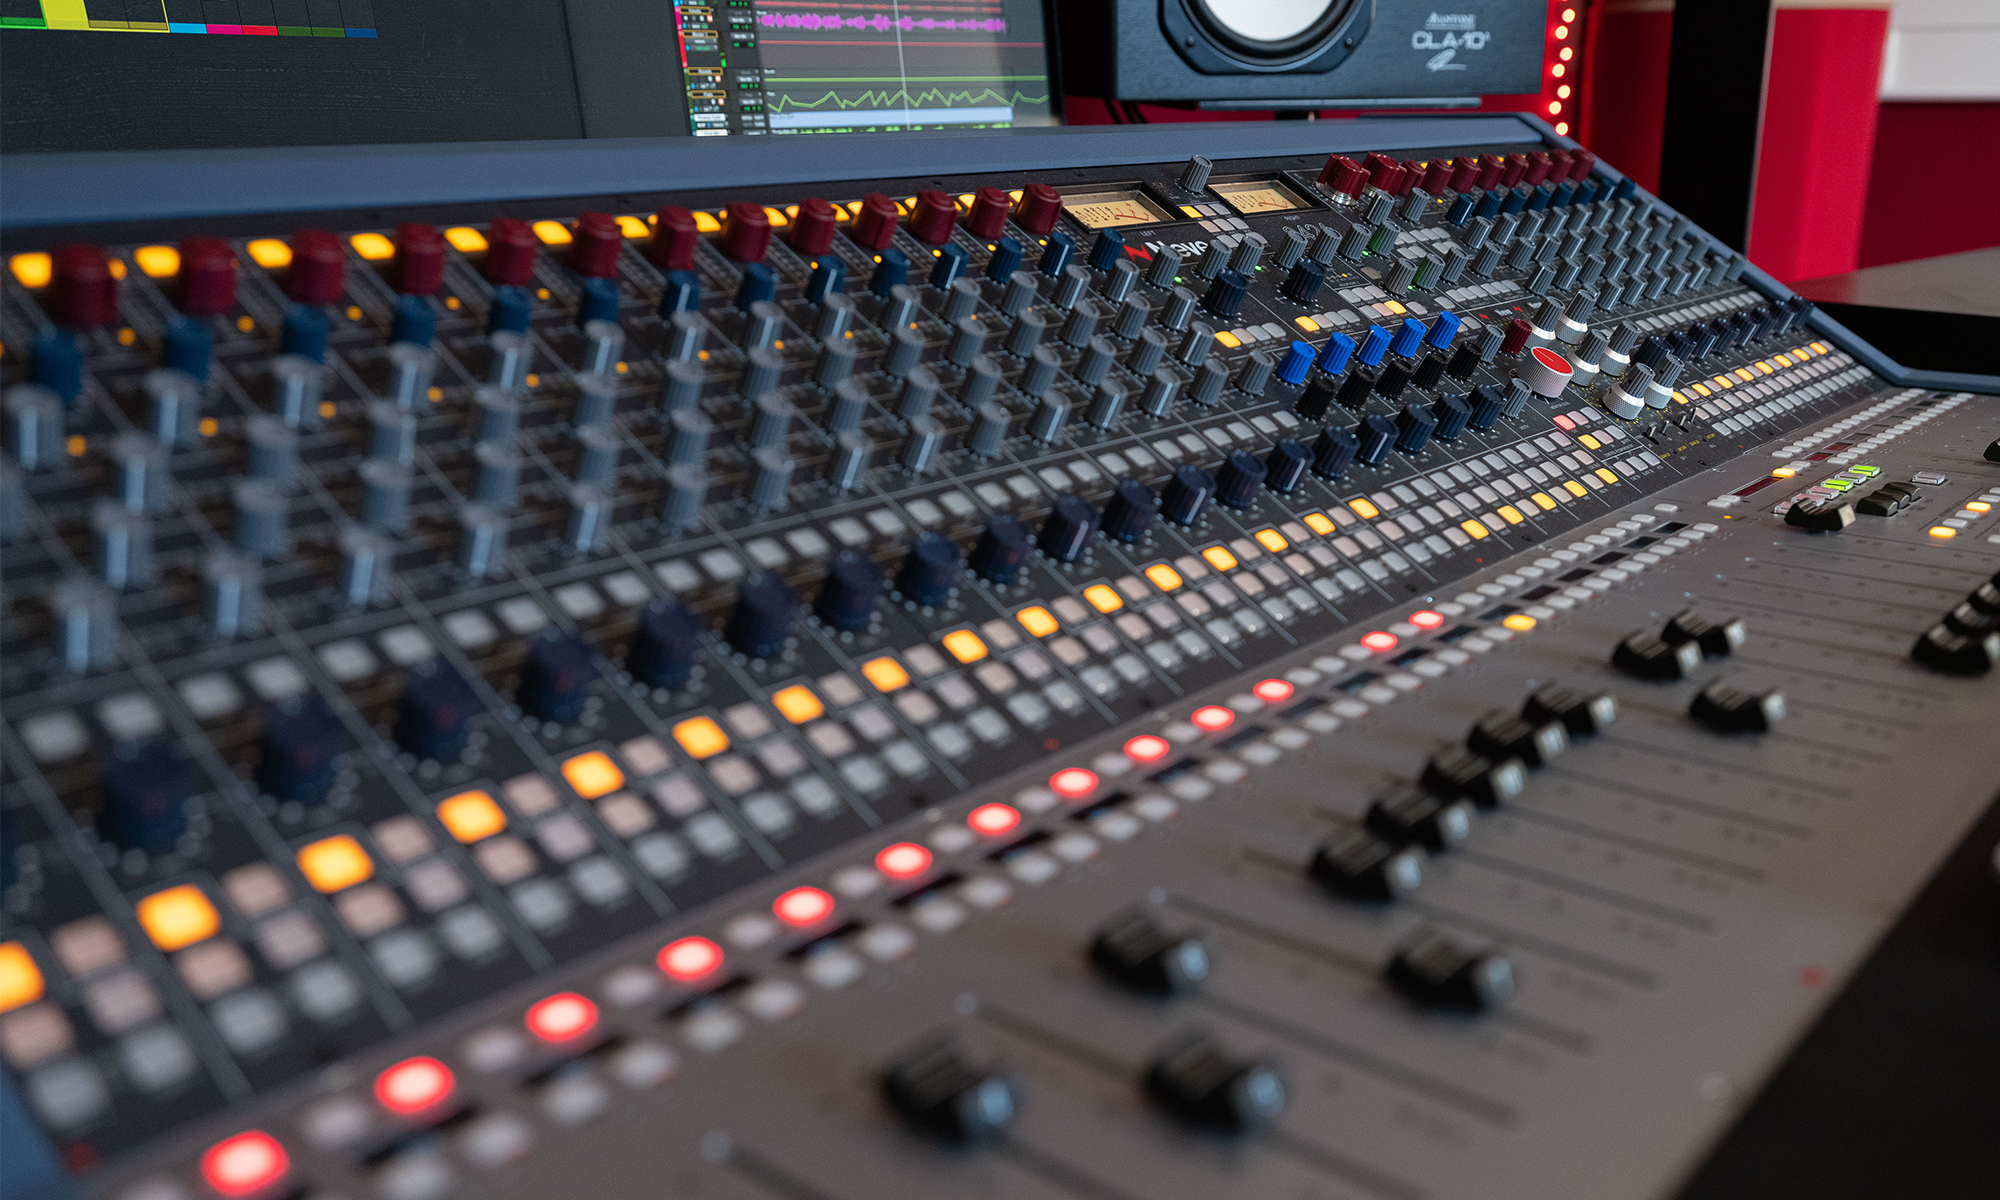
Then, ensuring phantom power is turned off, plug the XLR into the connection at the bottom of the microphone and the other end into the patch bay. Select the correct input in Pro Tools (the number of the input on the patch bay) or on your mixer and set the gain.
WARNING: This microphone is susceptible to damage if Phantom Power is used. Always ensure Phantom Power is turned off before plugging this microphone in.