Inspera Authoring Videos Guides now available

LTDS now have a new range of short (10 minute and under) videos about creating your Inspera Digital Exam using the Authoring tool. These are available on our website, under the header Video guides for authors : https://www.ncl.ac.uk/learning-and-teaching/digital-technologies/inspera/

The content of these videos is designed to more briefly cover the 1-hour webinar available on the Learning Management System (LMS) ‘Creating and managing exam questions in Inspera’. These short videos group the content into more manageable self-help guides.

Video titleContent covered
Getting started with Authoring Questions on InsperaHow to access the Author tool via Canvas
Navigating the Author tab
Filtering and Labels
The difference between questions and question sets
Creating Questions sets on InsperaCreate and edit question sets
Adding /amended marks awarded per question
Previewing your question/question set 
Adding previously created questions into a question set
Basic Question set functionalitySharing a question set with colleagues
Printing a question set
The Design tab
Advanced Question set functionalityUsing sections in your question set
Question randomisation
Candidate selected questions
Using stimulus
Adding allowed resources

For all Inspera Digital Exams running in the standard Semester 1 assessment period, the deadline for the finalisation of Questions Sets within Inspera is November 17th.

We do still have some spaces left on our 1-hour webinar ‘Creating and managing exam questions in Inspera’ which is taking place on October 23rd virtually. Book your space on the Newcastle University LMS.

Sharing video – ReCap or Stream?

In an earlier post we showed demonstrated how to host videos on ReCap and Stream and then add them to Canvas.  But how do they compare?

Let’s take a student perspective what are the differences between these two as a consumer?  If you are making notes from video you’ll value things like variable playback speed, the ability to view full screen and the option of viewing or searching the caption/transcript — all of these are easy to find whether video is hosted on Stream or ReCap.

ReCap

ReCap has a handy rewind facility – if you miss something you can go back 10 seconds with one click. It also lets you make private timestamped notes on the video – so you can mark places you want to go back to.  If the video is long you can help students find their way around by adding Content items.

Stream

Stream videos can be added to a watchlist, they can be liked and, if you permit it, students can add comments to the videos.  These will be visible by anyone with permissions to view the video.  Stream helps you find your way around content by converting any timestamps you put in comments or the video description into clickable links.

There are good reasons to turn comments for particular circumstsances – eg are providing feedback, pointing out helpful sections or taking part in peer review.

Permissions

Stream videos are only available to people with @newcastle.ac.uk email addresses, so you’ll need to sign in to view the content above. ReCap videos are normally shared with those on a particular course, but you can make them public as we have done with the first video here.

Video length

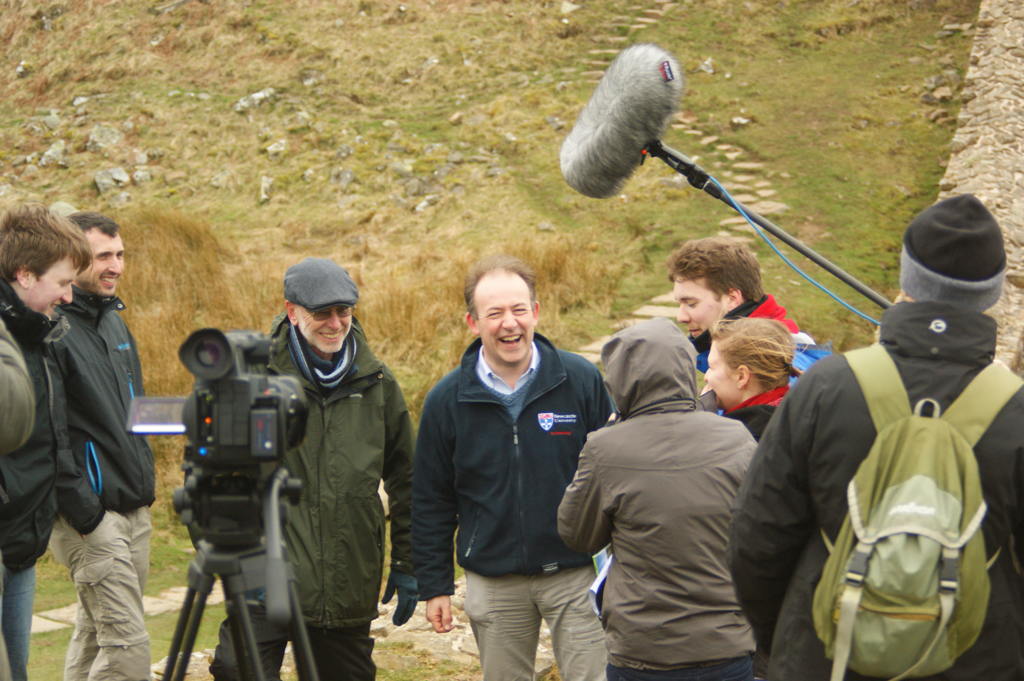
On location at The Wall.

On our second run of Hadrian’s Wall we’ll be using this blog to address some of the frequently asked questions that arise on the course.  A couple of learners have asked about the length of the videos.

You’ll find that all of our videos are under 5 minutes in length. That has been done intentionally so that no single step requires too much time. While this can be disappointing for a topic you are interested in, it works very well in practice, particularly if you consider the course in full with approximately 20 steps in each of 6 weeks.  The short videos also force the educator to distil in a clear way what the main points are.

We know from research (eg this paper from Philip Guo) that when videos are longer that learners can lose interest.  If you’d like to read a little more about some of our thinking on building the course have a look at our blog post on Educational Vodka.

Filming for Learning

Video materials are essential to distance and on-line education and can transform campus based teaching (see for example flipping the classroom). The filming process is both enjoyable and challenging. Whilst much can be done with simple technologies (web cams, screen-casting software and mobile devices) a film crew (such as Newcastle’s Digital Media Team) can produce polished, professional material.

Planning the filming is essential and will save time and improve quality in the long run. Start by understanding what the video brings to the learning. You can then plan each shoot in detail. Finally, do not underestimate the logistics in bringing everything together.

Pre-Production

Plan the learning

  • Ensure you know what each clip is trying to achieve. What exactly does the learner need from the clip? What will the learner know/be able to do after the clip? What will prompt the user to view the clip? eg watch this video in order to answer a quiz, or participate in a discussion about a particular question.
  • What steps/activities will set up the learning and follow up on outcomes. Will there be a discussion/test or assignment?  what should the learner be thinking about whilst watching?
  • Remember that people are unlikely to watch long clips. 5 minutes is a maximum for most MOOC participants, but aim for less. Catch their attention in the first 15 seconds
  • You will need an accessible alternative eg a transcript of the text. This will also help people who don’t necessarily need it for accessibility reasons (for example so they can read it on the bus, make notes on the text etc)

Planning each shot

  • The film crew need to know exactly what you are aiming for, including what kind of shots, what style and who will be involved. A storyboard and/or detailed textual description will pay dividends
  •  Try to scout the location beforehand and use a mobile device if possible to try out some of the shots and see if they work.
  • Screen tests for performers can save time later. The film crew can help get the best performance
  • A script in outline or storyboard can help all participants understand what the shot is about.  Who will talk and what about? How long will people speak for? What objects/scenery will they will refer? This helps the film crew plan the shot, and the performer(s) deliver, even when you want them to improvise during filming
  • As a rule of thumb, allow an hour to shoot a five minute clip. This will depend on a variety of factors, but several takes may be needed and it takes time to set up equipment
  • Establishing shots help give the learner context, for example, by showing people arriving at the scene, showing a building from the outside. This prepares the viewer for what they are about to see and here eg by explaining why there is background noise so that viewers expect it and then ignore it rather than being distracted by it. Allow time for this
  • If time, plan to shoot from a range of angles to provide a more interesting sequence.  Don’t forget to shoot enough variety of cutaway shots – this can include wide (establishing) shots of the location, shots of hands as people talk, etc.
  • Allow extra time if detailed shots are required eg a close up of an artefact in a museum
  • Sequence of the shoot – plan the location shooting to reflect a logical order based not on the final product, but on the most efficient use of resources and travel / location set up
  • Allow extra time for cutaway shots eg a shot of something relevant that an interviewee is talking about. Cutaways also allow the video to be re-cut in different ways to allow for mistakes in interviews, taking bits out and so on, without having a choppy looking video as a result
  • Remember that whilst reality TV and documentaries make things appear spontaneous (almost as if they were shot in take), in fact it  can require planning, multiple takes from different angles and even scripting to produce something watch-able and seemingly natural
  • Shot logs – ensure that someone is logging the shots, takes, how it fits into the bigger picture and any potential issues that the post production team might need to be aware of

Logistical planning

  • When arranging transport, allow space for equipment as well as people (crew, academics, any students attending).
  • Permission for filming must be arranged with the organisation responsible for the location. Keep a copy of documentation related to this permission safe
  • Ask participants being filmed to complete a model release form in advance.
  • Health and safety risk assessment forms should be completed in advance. You may need a trained first aider on location
  • Remember that Copyright may apply to things in shot eg the cover of a book, an artwork etc
  • Allow plenty of time for editing after filming. You may also need additional images and footage (with appropriate Copyright clearance) to be cut into the sequence

Post Production

  • Editing – think about the pace and especially if dialogue driven. People generally don’t like to watch one wide shot of two people talking for a long time without any close ups of the speaker / or ‘noddies’ of the interviewer
  • Keep it short. Make every second count
  • Remember to have a transcript or alternative that gives some meaning to the text.
  • You can host materials in Youtube or Vimeo, and there can be very good reasons to do so, but the University has a streaming service ‘NuVision‘ giving you more control over the video and who can see it

Many thanks to the Digital Media team and Steve Herron for their input.