To support curriculum transformation LTDS colleagues have redeveloped a number of new resources.
A new LEC landing page on the Learning and Teaching Site
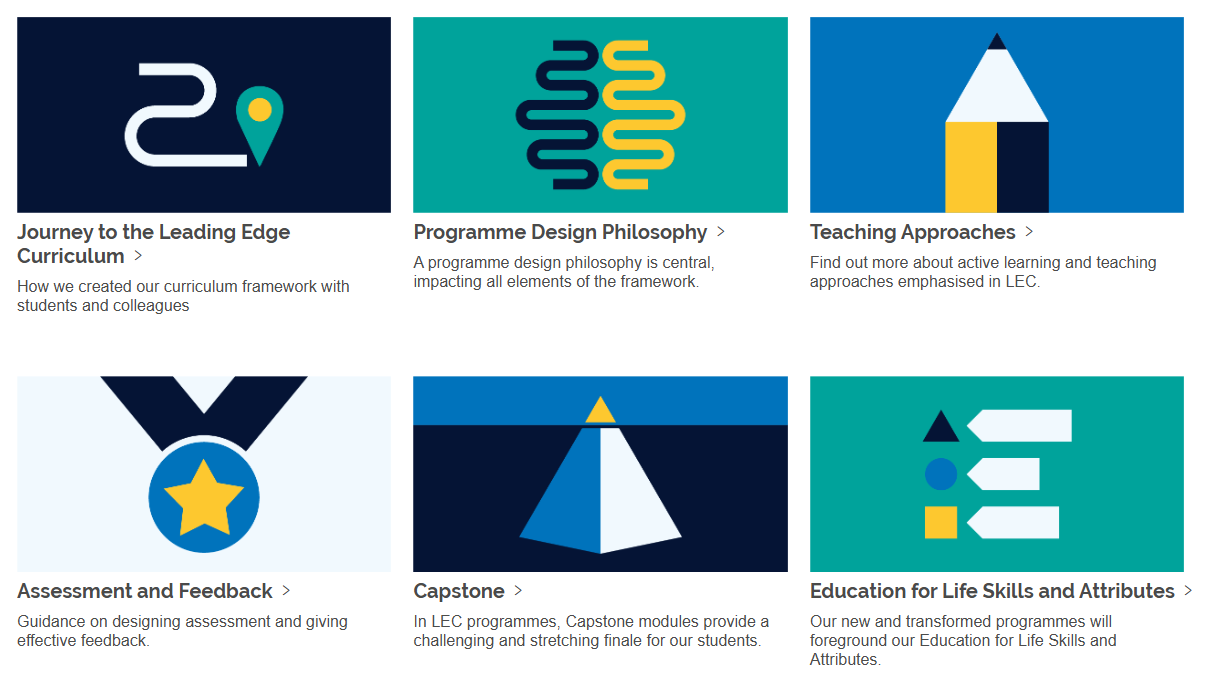
Our University Learning and Teaching site is provides guidance on learning and teaching, digital technologies and professional development. We have taken the “effective practice” branch and reorganised it around the eight sections of LEC.
We have also published a short self-paced Canvas course designed for colleagues to work through before curriculum transformation. It outlines the benefits that our Leading Edge Curriculum Framework will bring, introduces key LEC requirements, and directs you to key resources that will be useful to explore before a supported design period supported by the Curriculum Transformation Team.
Colleagues are working on new resources we will be adding in examples from the Curriculum Transformation pilot, guidance from the Encounters workstream and LEC Fellows, as well as case studies illustrating LEC parameters.
Do get in touch (ltds@newcastle.ac.uk) if you have feedback or have examples of practice you would like to share.
Newcastle University’s Digital Exams Service in LTDS is a finalist for Best University Digital Assessment Programme at the 2026 International E-Assessment Awards. Recognised for its ambition, collaboration and impact, the team – Maddie Kinnair, Kimberly May-O’Brien, Susan Barfield, Michelle Waters and Katy-Rose Brennan – were recognised for building a digital exams service that is sustainable, secure, accessible and trusted across the University. Continuously improved through staff and student feedback, the service has transformed assessment delivery at scale while making exam administration and marking more efficient. We’ll hear the result on Tuesday June 9th!
Following on from our last blog all about our new Digital Drawing Tool, we’ve complied some best practice about how to create accessible question and enable students to use this tool effectively.
Hints and Tips following Universal Design for Learning (UDL) principles.
1. Accessible question design aims to remove irrelevant barriers, do consider the language and instructional text being used. Avoiding instructions which could be ambiguous will greatly help your student’s clarity within their exam. Even if student choice is applied as to whether they use the drawing tool; short, clear instructions would be best practice
Unclear example: ‘access the drawing tool to supplement your answer if you’d like to illustrate a diagram’
Clear example: ‘You may draw a diagram using the drawing tool’
Don’t: use idioms or references which are culturally specific
Do: use short sentence structure
2. Consider students using assistive technology and over-allocate time for drawing. Drawing using the Digital Drawing Tool can generally take longer than text entry, has the exam duration been designed to incorporate sufficient time for use of the tool?
3. Ensure colour use is not a marked requirement. Although within the Digital Drawing Tool interaction, students can draw using the different tools, colours, and shapes; using colour alone could impact students who are colour-blind. Consider contrast options or labelling to ensure colour information is accessible information to all.
Alternate options: have you considered arrangements should your student(s) not be able to use the new Digital Drawing Tool? You could:
4. Provide an alternative response option
Clear example: ‘If you are unable to use the drawing tool, you may provide a written entry of your answer in the text box below’
Further questions? If you have any questions about your Inspera exam, please contact the Digital Exams Team via Digital.Exams@newcastle.ac.uk
Got a quick digital exams question? Why not join our Teams Community about all things Inspera!
Inspera have developed a new digital drawing tool which has increased functionality beyond the existing drawing tool. In terms of what is new, the new tool allows you to enable the drawing tool at a question level, rather than at a test level. Colleagues can choose what questions they wish to enable the drawing tool on for their students to use in their Inspera digital exam.
The new Digital Drawing Tool is now available to use on Inspera as of Friday 27th February 2026.
Within this blog post you can find out how you can enable the new drawing tool on your Inspera exam questions in your question sets and the functionality available within the tool.
Within Inspera, the standard exam set up is a secure locked-down exam environment where students are only able to access their Inspera Digital exam. They are unable to access internet search engines, their own notes or other applications.
Web pages and PDF documents can be ‘allow listed‘ so that they can be accessed securely within an Inspera Digital Exam. Allow listing of web pages or documents is completed while creating your Question Set.
The resources (when allow listed) are made available for students in locked down Inspera Digital Exams. A network filter ensures students are not able to navigate away from the page specified. All links, except allow listed resources, are blocked.
This blog post has been created to share some best practice around allow listing use in order to ensure the best experience for our students.
We’re currently within the Semester 1 Exam period for 2025-26. For anyone marking using Inspera we’ve collated some handy tips which you may find helpful.
Hints and Tips
To access your exam(s) to mark, click the link within the assignment point in Canvas. You must be a teacher or teaching assistant on the Canvas module.
If you need to search for a specific student, within the Inspera ‘Grading Overview’ section, use the search bar – you can search for a student ID.
To download raw marks from Inspera, as an Excel file. Click the ‘Options’ button at the top right of the Grade screen and navigate to ‘Downloads’. Select ‘Marks and Explanations as Excel file’.
Inspera Exams are always set up initially within the Canvas assignment as out of 100 points. You can edit the points on the Canvas assignment after the exam if needing to display raw marks (edit the Canvas assignment)
For manually marked questions, Markers can add Annotations to student submissions.
Within the student’s submitted text, click the left mouse button to select the text you want to annotate. Click Annotate.
Once marking is complete within Inspera, don’t forget to Confirm Marks, this will complete the grading step and push the completed marks from inspera to Canvas Gradebook.
It is now possible to port Inspera digital exam grades from Canvas Gradebook into NESS. For instructions on how to do this please see NESS Guidance.
Video demonstrations: There are a range of marking videos available which provide on-screen demonstrations of grading tasks. See Video guides for Markers.
The January Exam period (for 2026) is taking place from Tuesday 6 January 2026 to Tuesday 20 January 2026 (including Saturday 10 January and Saturday 17 January). Inspera Digital Exams will be running throughout this. This blog aims to share communications Module Teams are asked to share with their students ahead of their Inspera exams, along with information around support with marking once your Inspera digital exam is over.
Communications for Students
Module Teams are encouraged to share communications with their students if sitting an Inspera digital exam. Note: Students must know their own University log in details (username and password). It may not be possible to reset forgotten log ins on the day of the exam. Please remind students of this. Below is some draft text that you can use in an email and/or Canvas announcement.
[Title] Preparing for your [MODCODE] digital exam: make sure you know your log in details
To sit your upcoming Inspera digital exam you will need to know your University login details (username and password).
Please check that you know your login details before the day of the exam and that you can successfully sign into a campus Cluster PC. If you do not know your login details on the day of the exam it may not be possible to reset them before the exam starts.
Your username begins with a letter (usually c) followed by the middle 7 numbers from your student number, which you can find on your smartcard. E.g. if your smartcard shows your student number is 212345678, your username is c1234567.
To help you prepare for your assessment, you can try out our demo exams via Canvas. There is a locked down demo and an open book demo. Both demo exams reflect the same demo content. The locked down demo allows students to experience the in-person Inspera exam security, therefore this particular demo should only be taken within a Campus PC cluster (as the required software will be installed).
There is also a student page on the Academic Skills Kit about Inspera which students may wish to look at ahead of your exams.
Colleagues in the Inspera Digital Exams Team of the Learning and Teaching Development Service (LTDS) invited colleagues from Inspera Assessment to visit Newcastle University for the third year in a row to host an on campus event with our users.
Fiona Orel and Ishan Kolhatkar visited Newcastle on Wednesday 5th November for this year’s ‘Inspera: Sharing Best Practice’ Event.
Our Inspera users were invited to come along to find out updates about using Inspera at Newcastle and upcoming features on the Inspera roadmap. The event is a great opportunity for colleagues to learn about how they can enhance their use of Inspera and ensure best practice. The Inspera Digital Exams Team arranged for some demonstrations on features and functionality listed in the agenda below.
The agenda included:
Welcome and Introduction – An update from the Inspera Digital Exams Team and update from Inspera Assessment around their Roadmap
Inspera demonstration – Rubrics Functionality, Manually Marked Multiple Attempts Assessments and Feedback Release Features
Questions and Discussion – Colleagues submitted their questions for Inspera to answer.
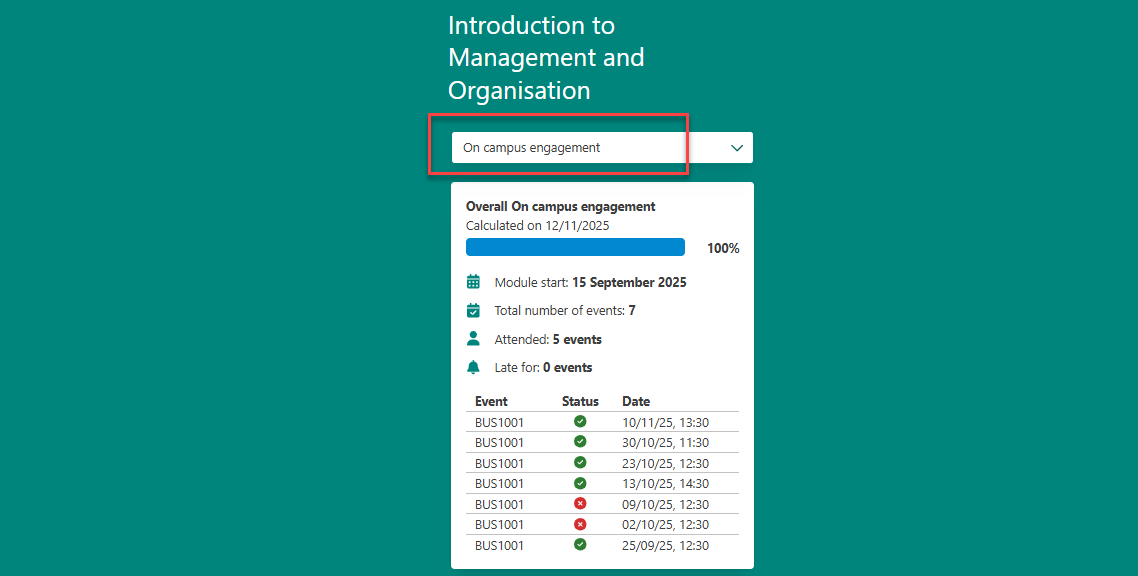
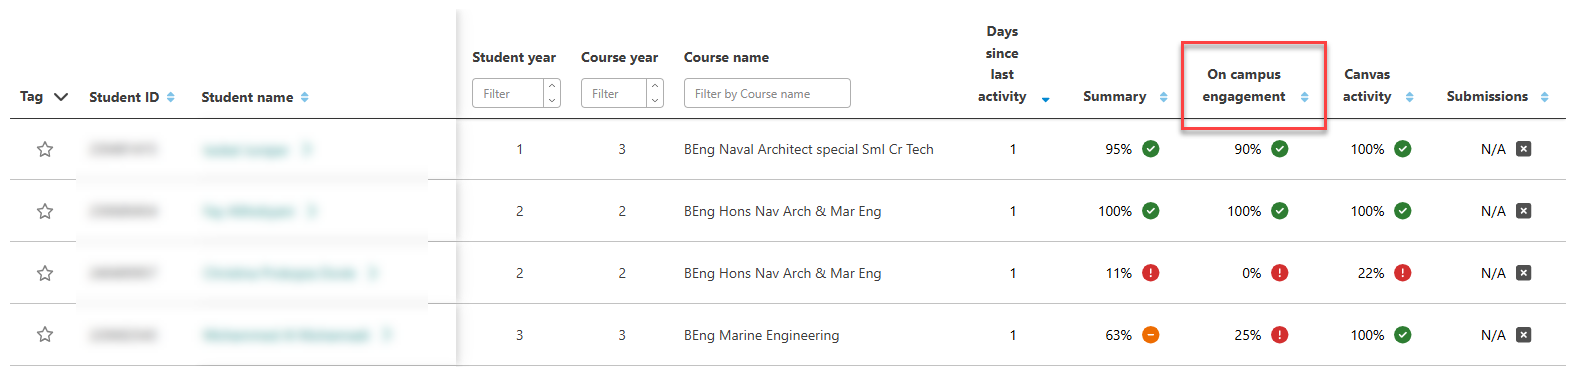
We’d like to share an important update about how student engagement data is presented in NULA. The metric previously labelled ‘Attendance’ has now been renamed to ‘On campus engagement’.
This change is now live in the system.
Why we’ve made this change
The ‘Attendance’ metric in NULA shows a student’s engagement across all in-person, timetabled sessions available to them in their active modules — including both monitored and non-monitored activities.
Because this metric reflects more than just formal attendance, we felt that ‘On campus engagement’ better captures the full picture of a student’s participation in scheduled learning opportunities.
What this means for staff and students
Students will notice only a label change — from ‘Attendance’ to ‘On campus engagement’. There are no changes to the underlying data or calculations.
We’ve updated this terminology consistently across:
We’ve also expanded our messaging to students to make it clear that the on campus engagement metric is not a formal attendance record and will not impact academic records.
What this looks like
In the student interface:
In the staff interface:
Supporting student understanding
We will be communicating this update through our student channels, but if students come to you with questions, please feel free to use or adapt the message below:
Your ‘on campus engagement’ in NULA shows the opportunities available to you to take part in all timetabled events in your active modules. This gives you a clearer picture of your overall engagement and can help you notice any gaps so you can make informed choices about how you learn.
Please note that ‘on campus engagement’ data in NULA is not your formal attendance record and will not impact your academic record.
The system is designed to give you real-time insights that support your learning and any conversations with your personal tutor or support teams. It is not used in a punitive way.
If something does not look as expected, it may be due to data processing delays or how activities have been recorded.
For more information, please visit the NULA pages on the Academic Skills Kit website.