Section Sidebars, Banners and Footers

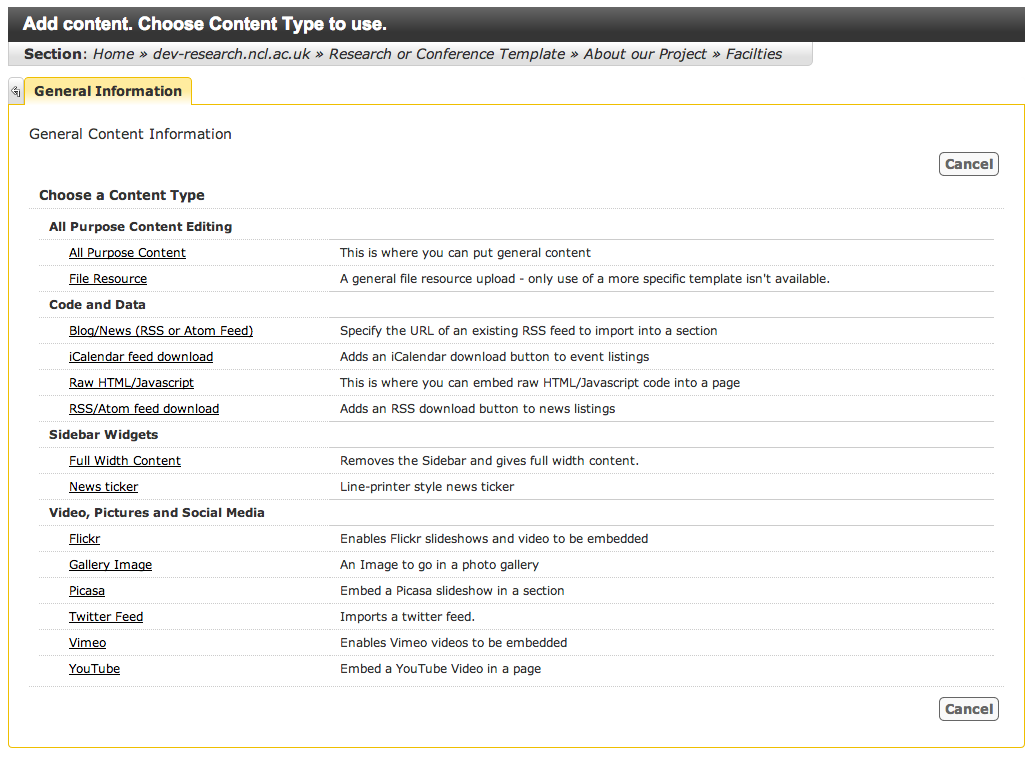
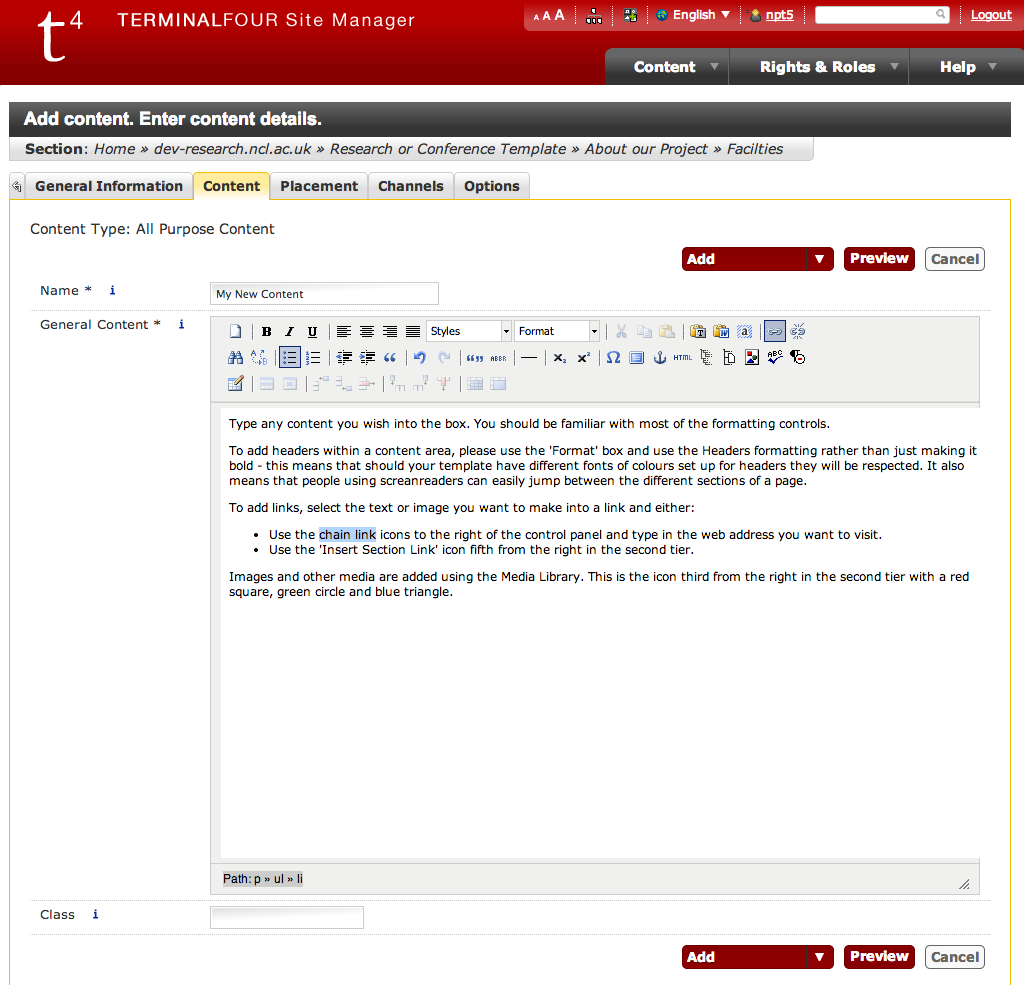
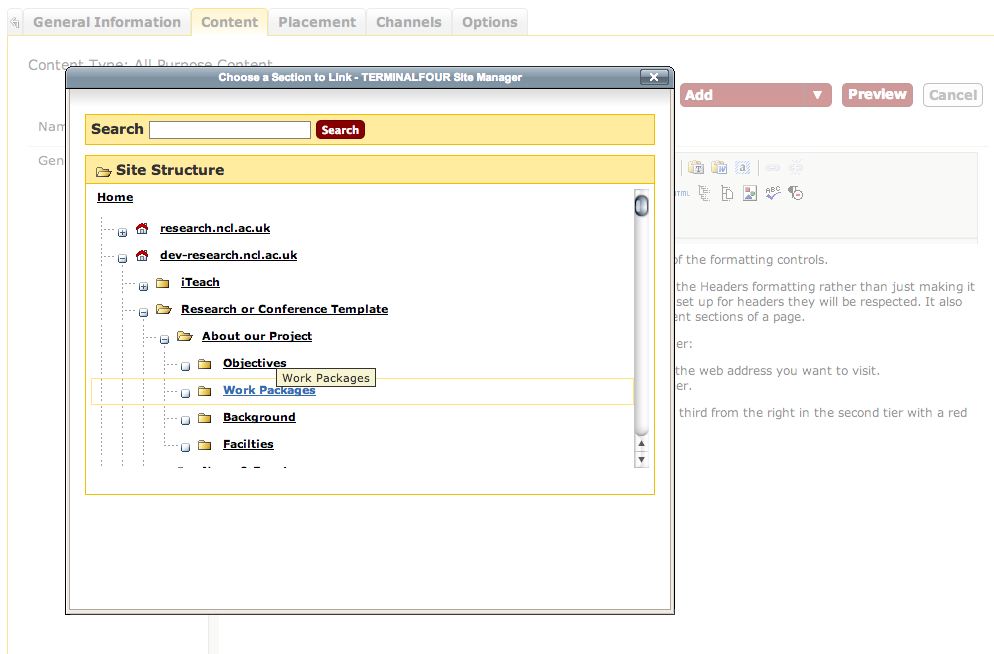
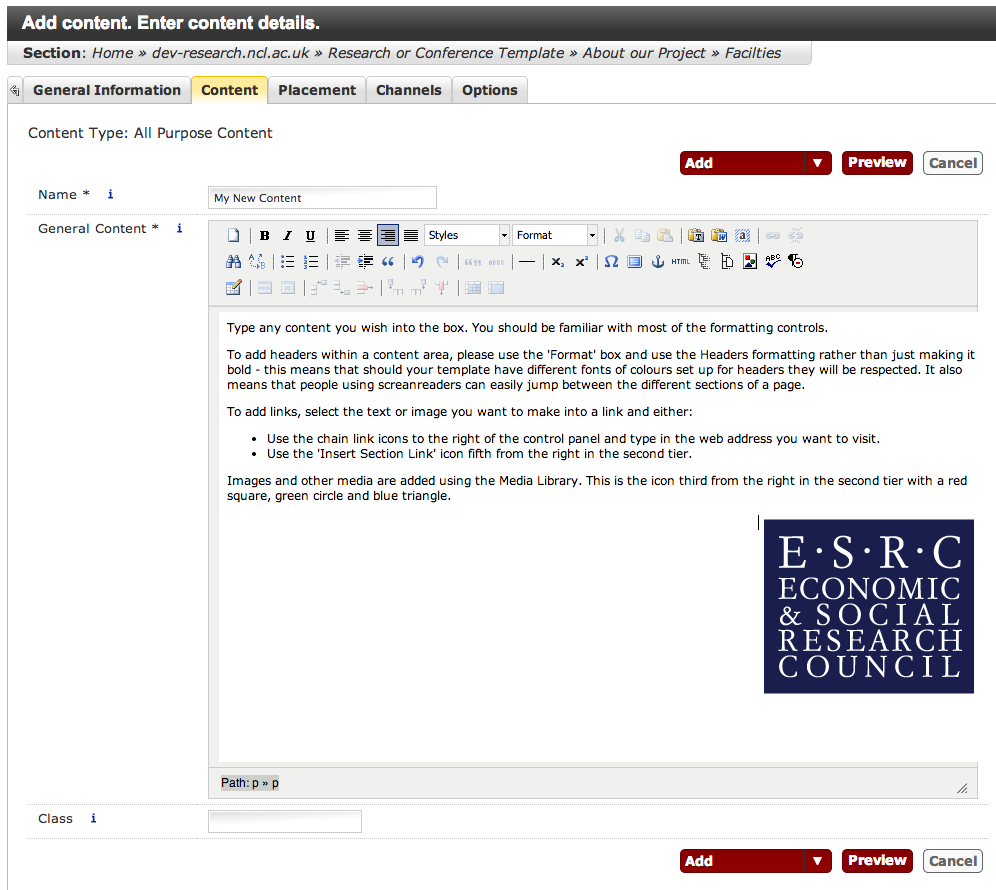
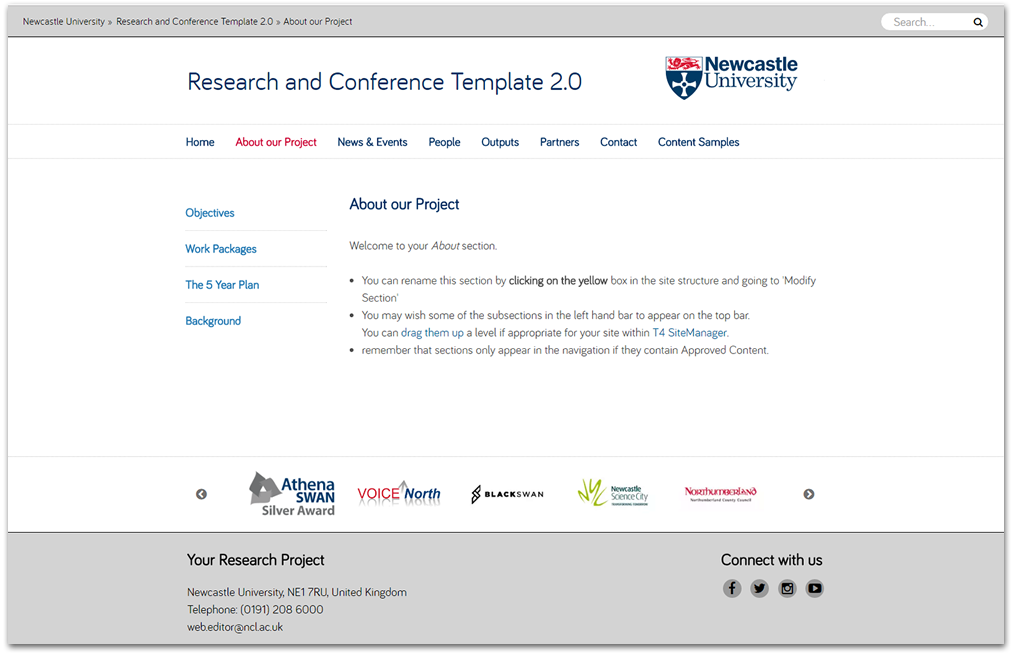
The simplest way to get content into the sidebar is to create a piece of All Purpose Content in a section and give it the class ‘insidebar‘. This content will then appear in the sidebar (if there is one in the template you’re using). This is demonstrated on the Sample Components site homepage. Images used in the sidebar should be cropped to 200px wide. If you want to remove the sidebar from a section, you give a piece of content in that section the class ‘nosidebar‘.

If you want to alter the sidebar or footer across multiple sections, you will need to use hidden sections – the rest of this post describes how to do that:

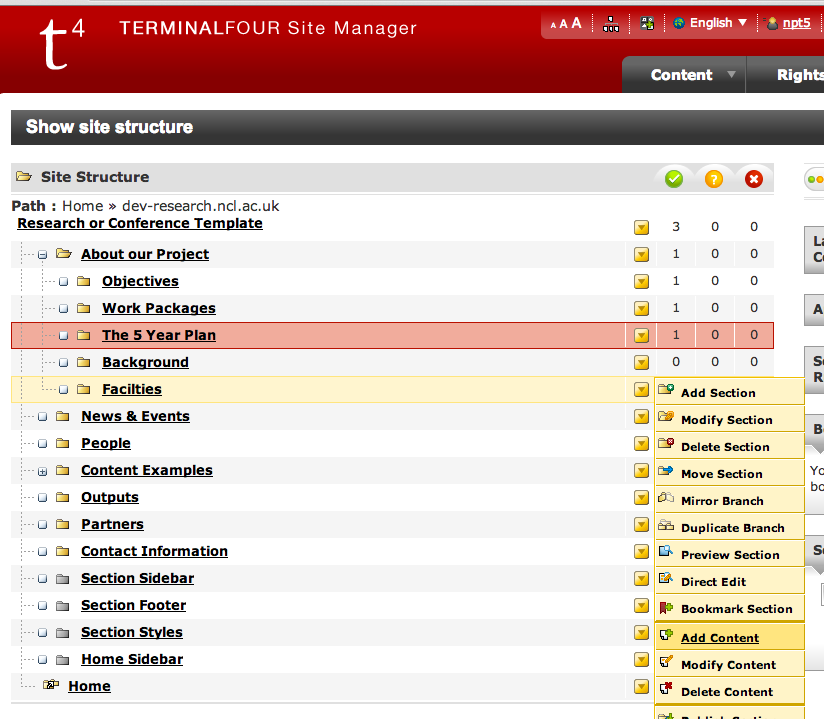
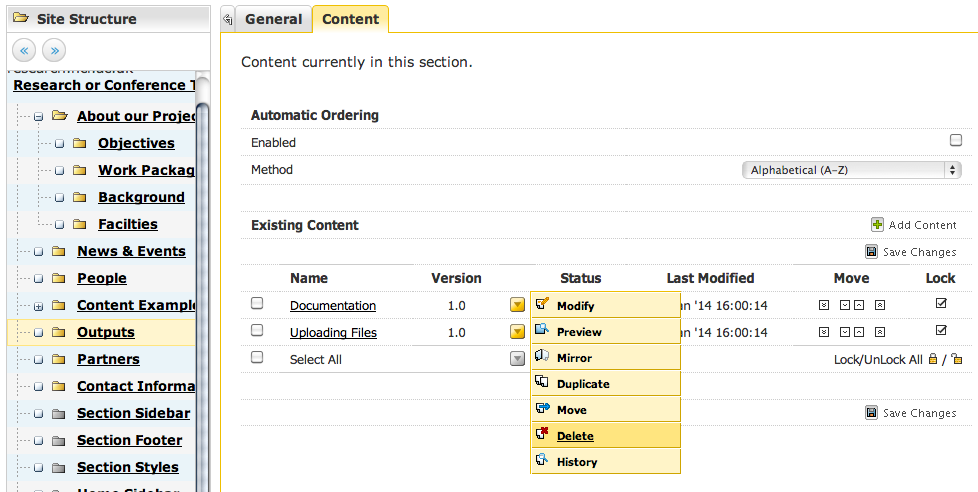
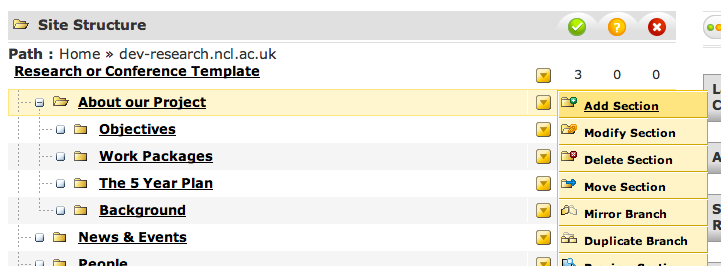
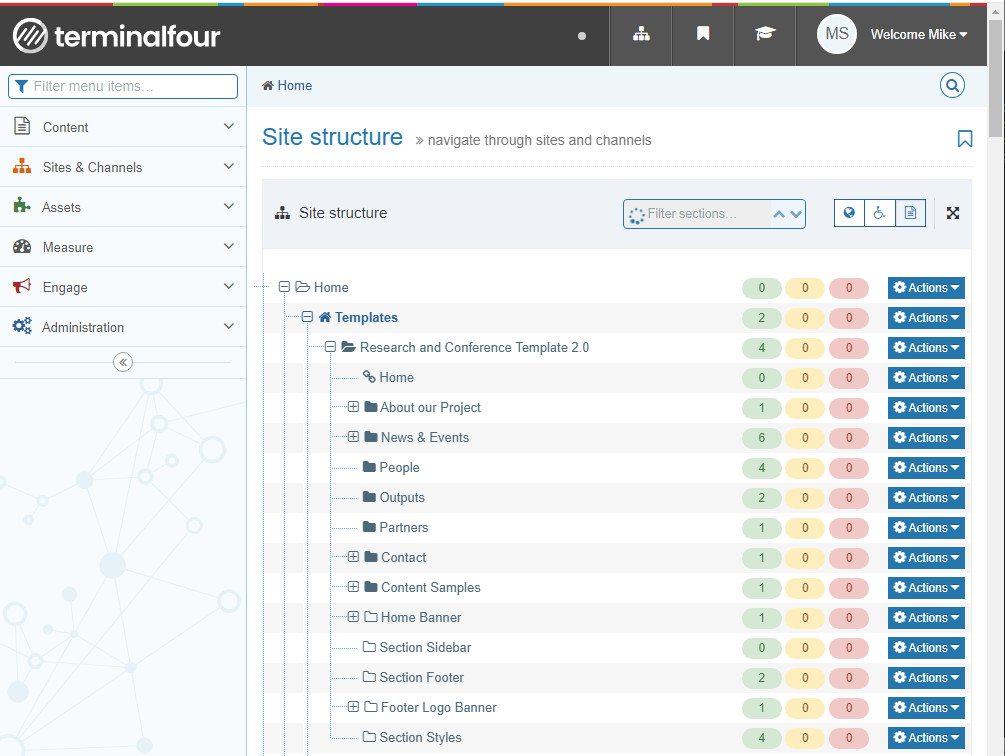
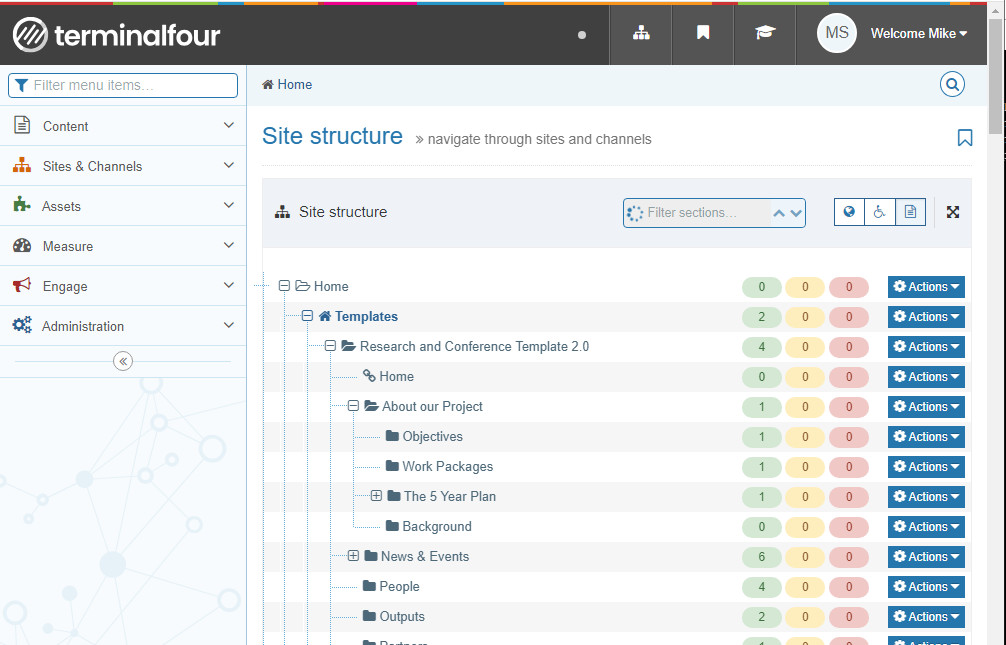
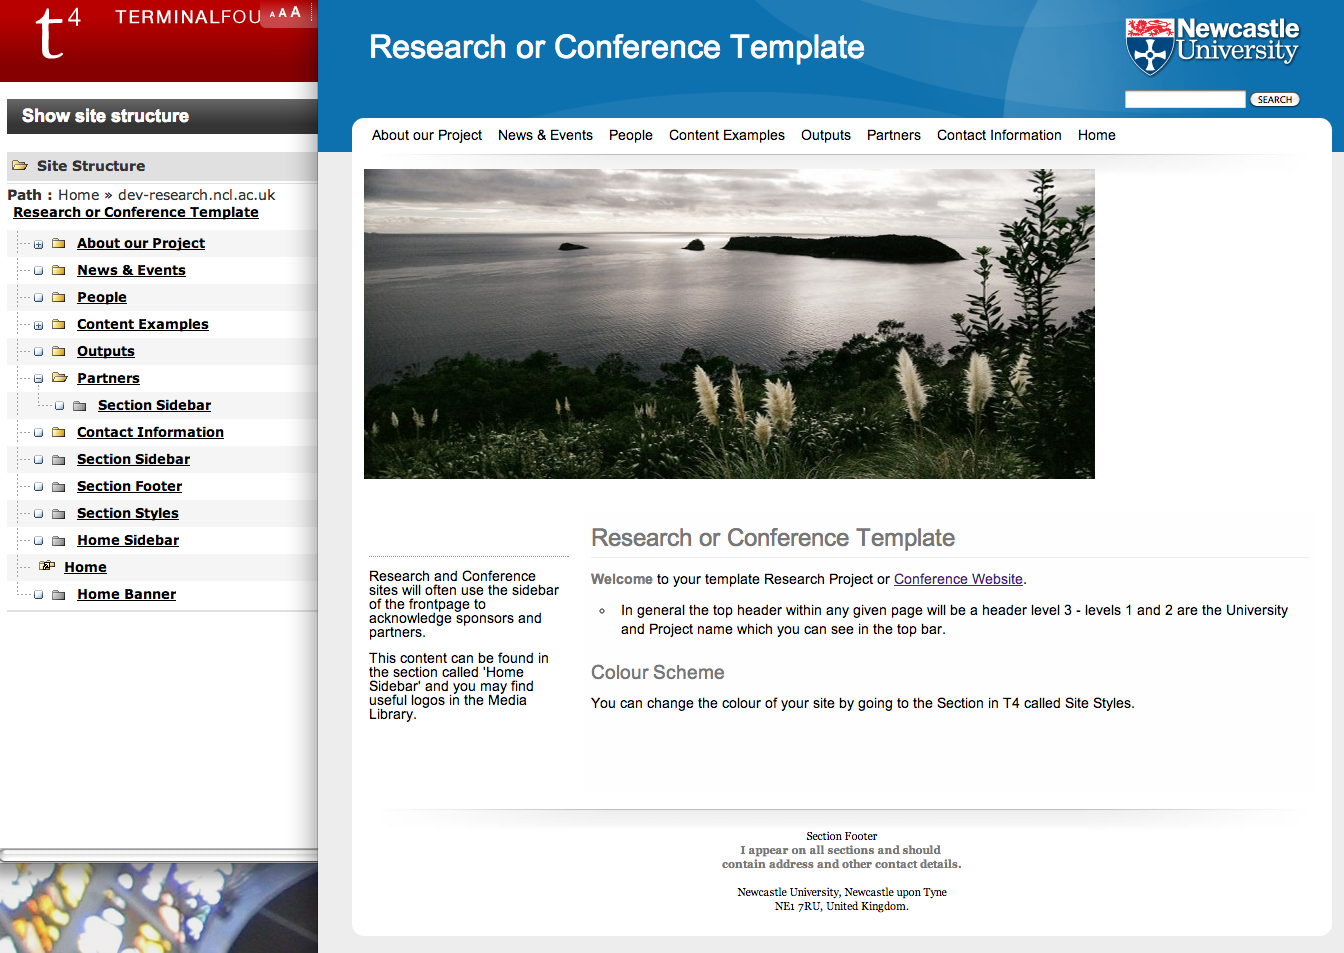
Once you’ve got started with the Structure of your site and some basic Content, you’ll have noticed a number of Sections with grey folder icons in the Site Structure.

Initial Site Structure from Template

The grey icon simply means that these are Hidden Sections, however the template we use is set up to recognise certain naming conventions and place these in the relevant area of the site.  We’ll ignore Section Styles for now as it’s a special case. The names you can use are as follows:

  • Section Sidebar 
  • Home Sidebar 
  • Section Footer
  • Home Footer 
  • Section Banner
  • Home Banner

Section Footer and Home Footer

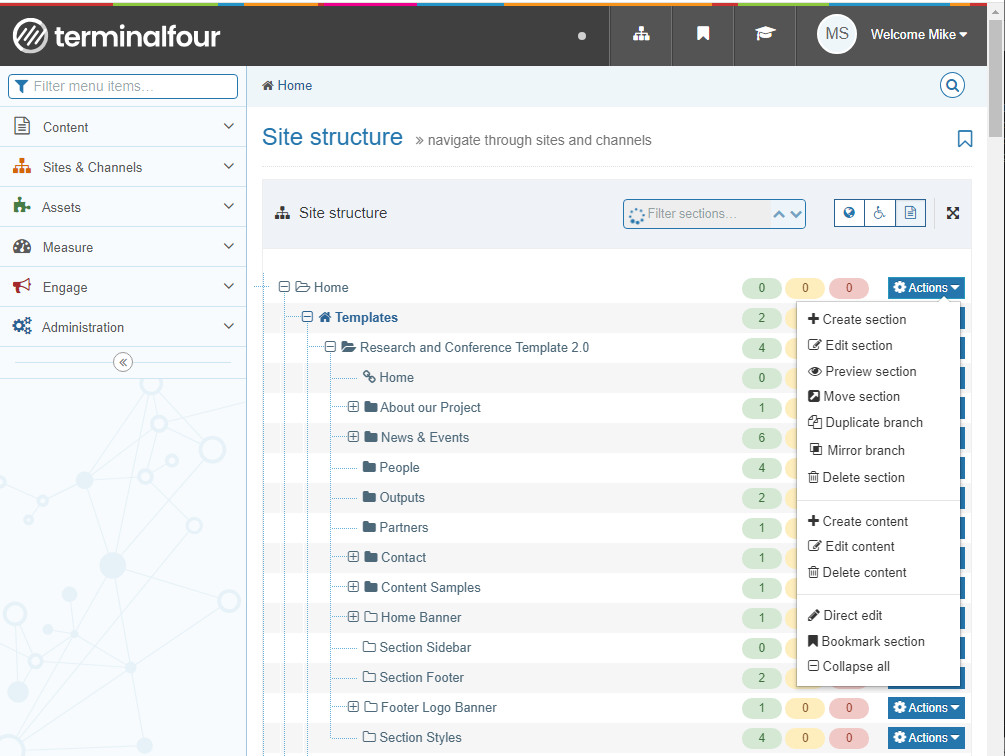
If you click ‘Modify Content’ for Section Footer, you’ll see a piece of content called Address. Modify this and you’ll see the fragment of content that appears on the footer of all pages of your website.

Section Footer

If you add the contact details for your site and click Add and Approve your changes will be reflected in the footer of all pages when the site next publishes.

So: content placed in these hidden sections appears in the part of the site its name suggests: the Sidebar content under the left hand menu, and the Footer content at the bottom of all the content. Banner content appears below the top navigation, but above the sidebar and main content area.

The prefixes Home and Section differ as follows: Home Sidebar/Footer will only appear in the sidebar or footer of that single section. Section Sidebar/Footer will appear in that section and all subsections.

Section Sidebar and Home Sidebar

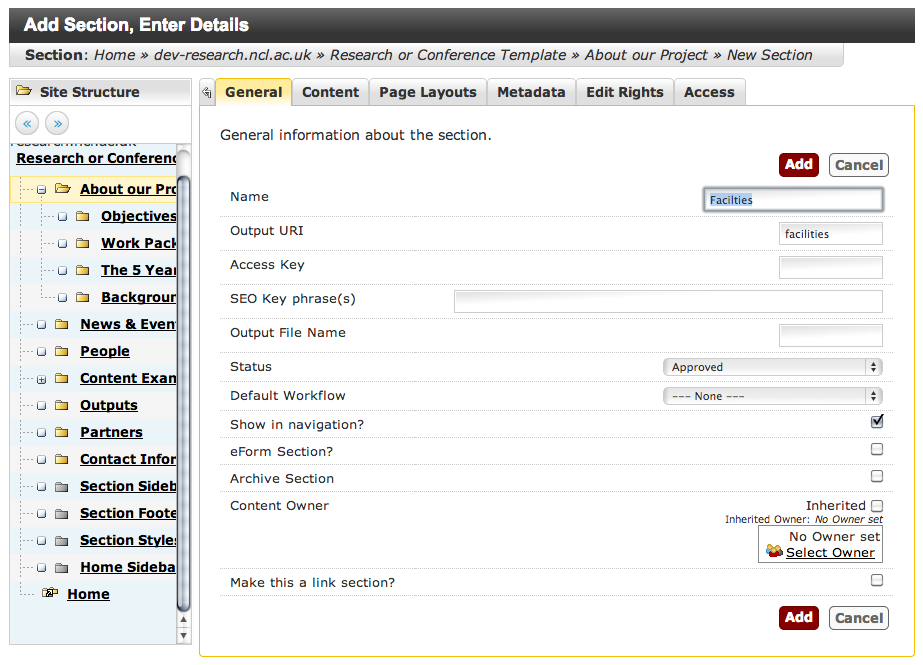
So, if we wish to create a sidebar to override the rest of the site within only the Partners section (logo’s of funding bodies perhaps?) we click ‘Add Section’ to this…

Add Secton

… and give the new section the name ‘Section Sidebar’. Make sure you uncheck the ‘Show in Navigation’ checkbox half way down the right hand side.

Uncheck Show in Navigation

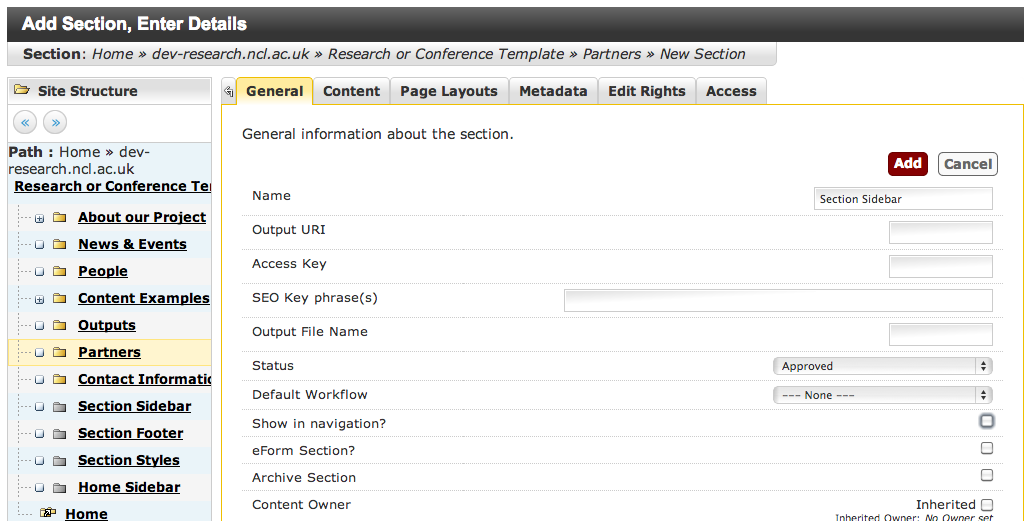
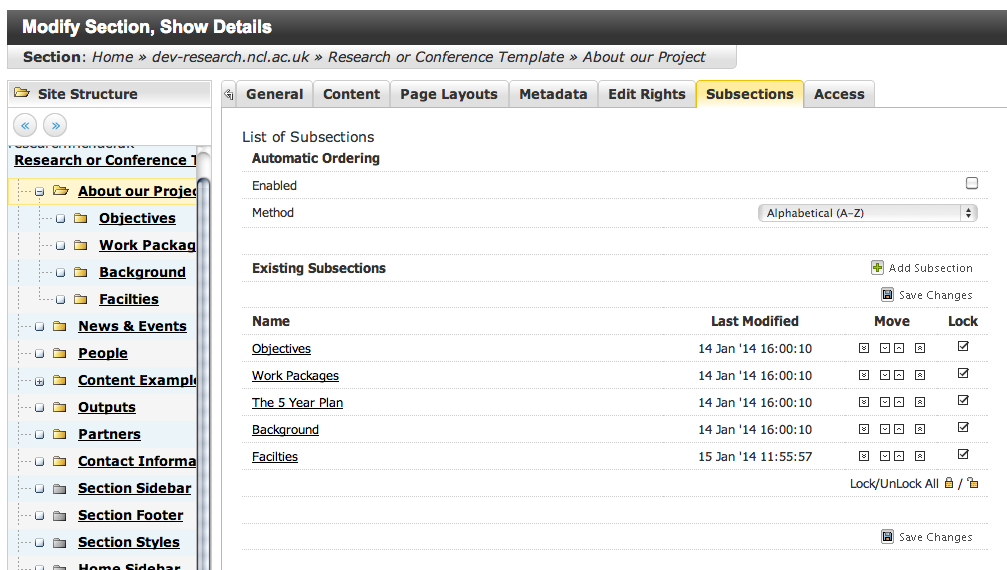
We then see that the Partners section has a subsection called Section Sidebar.

Add Sidebar Section

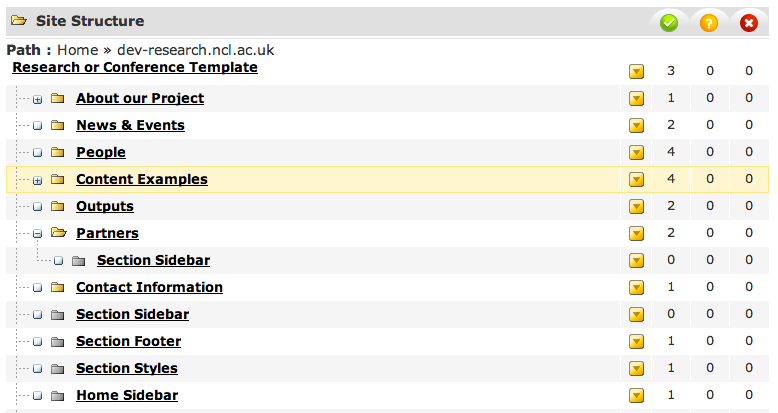
You can then Add Content to just the sidebar of the Partners section (and any subsections it might have in future). This overrides any Section Sidebar sections appearing higher up in the structure.

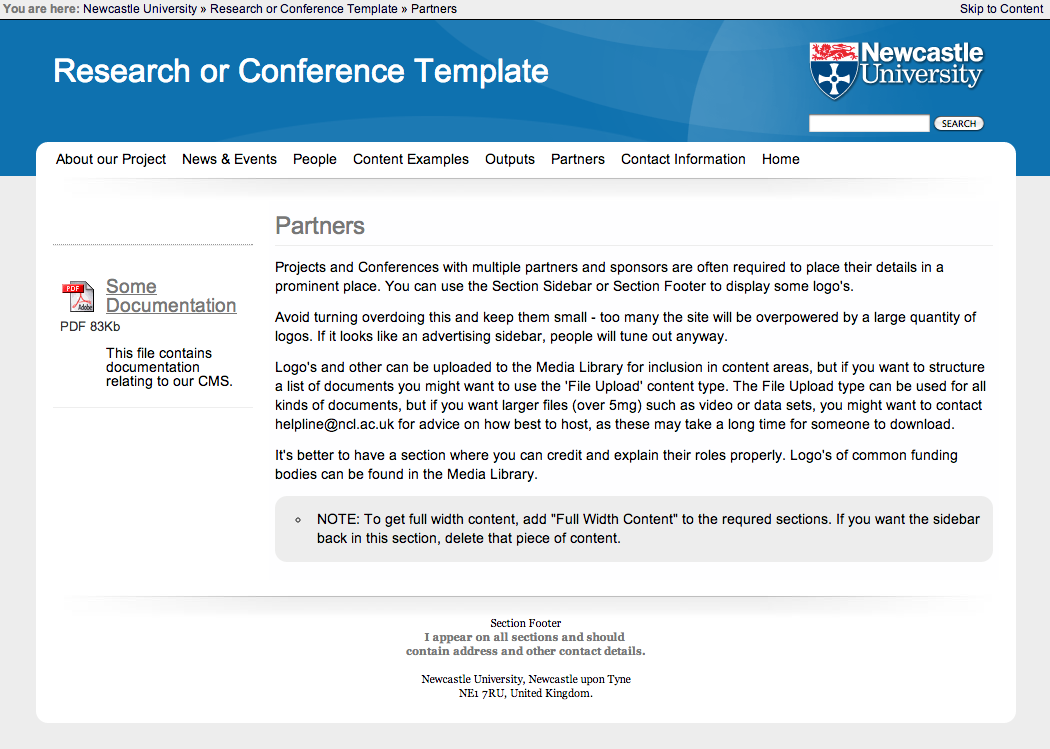
In the below screenshot, content of type File Resource was placed in the Section Sidebar of the Partners Section.

File Resource in Sidebar

Section Banner and Home Banner

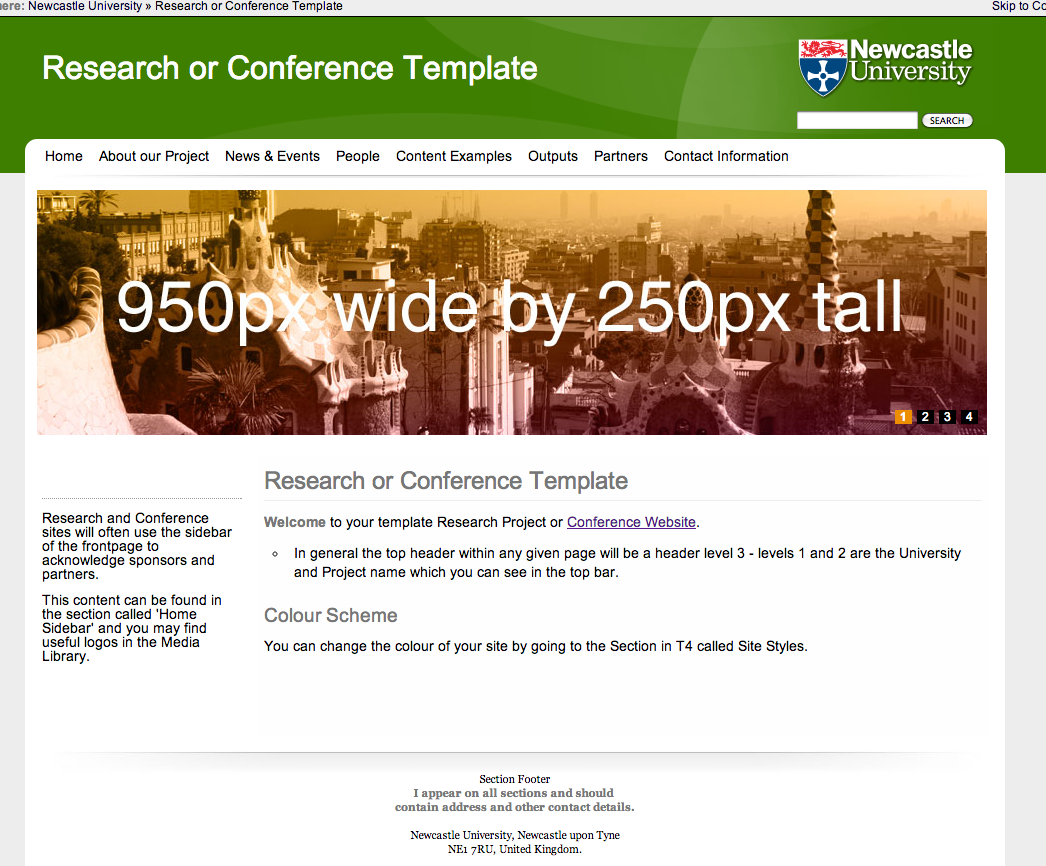
Add a section called Home Banner to the top level of the site, remembering to uncheck the Show in Navigation checkbox.

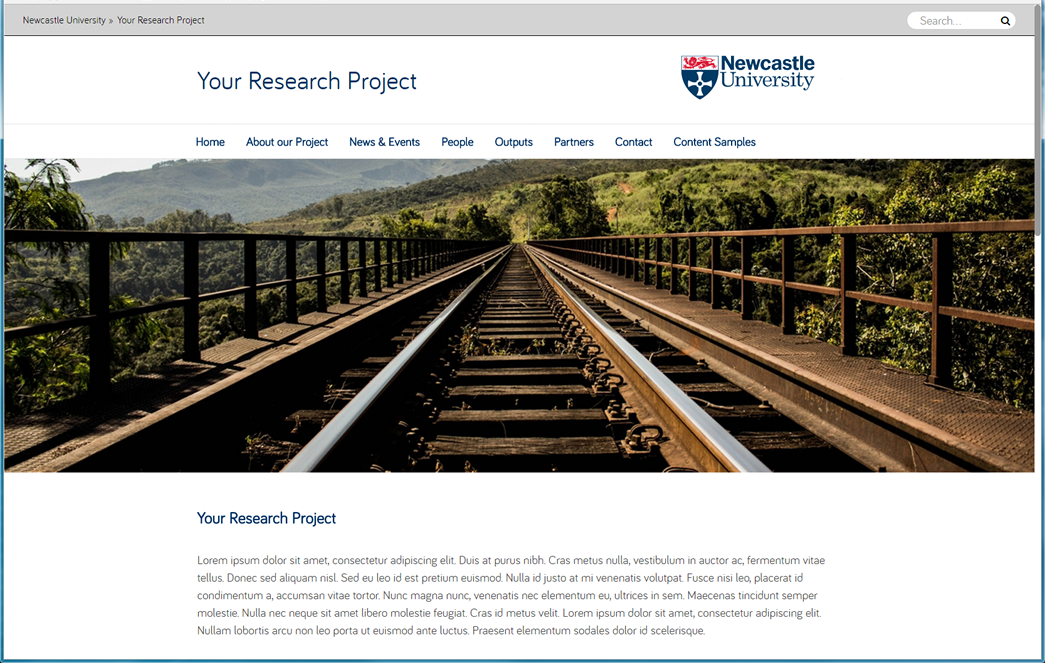
Then go back to the site structure and Add Content to it. Any content you add will appear above the sidebar and content, but below the main navigation. In the screenshot below a large image has been added to the Home Banner section:

Home Banner

The Banner area is 950px wide.

950 Pixels Wide

Next:


Adding and amending Content

Adding Content

To add new content to a Section use the yellow box to its right, and click ‘Add Content’. You’ll then be presented with a list of Content Templates (this list may change depending on your site, and it is likely to get shorter as we find ways to simplify the system).

Content Templates

To amend content within a section, click ‘Modify Content’. You’ll be presented with a list of the existing Content within a section – click on it to edit.

Amend Content

The vast majority of pages on your site will be ‘All Purpose Content‘, which is the general purpose Content Template for formatting words and pictures on a webpage. Other content templates are available depending on where you are within your site (Staff Profiles and News templates, for example, are only visible within the People and News & Events sections).

All Purpose Content looks like this:

Amending Content

Type any content you wish into the box. You should be familiar with most of the formatting controls.

To add headers within a content area, please use the ‘Format’ box and use the Headers formatting rather than just making it bold – this means that should your template have different fonts of colours set up for headers they will be respected. It also means that people using screen readers can easily jump between the different sections of a page.

To add links, select the text or image you want to make into a link and either:

  • Use the chain link icons to the right of the control panel and type in the web address you want to visit. You can also use this to link to email addresses.
  • Use the ‘Insert Section Link’ icon fifth from the right in the second tier to link to a page within T4. If the page is moved or renamed, links created in this way will not break.
Section Link

Images and other media are added using the Media Library. This is the icon third from the right in the second tier with a red square, green circle and blue triangle.
Media Library Icon

The Media Library appears as a pop up window and has a folder set up for Logos. You’ll also find (within Sites) a folder for your own website project. The Media Library will be discussed in more detail in its own post.

Media Library basics

Click on Select and the item will be embedded within your content.

Embedded logo

You can Preview the content using the red button, which will create a popup window showing the content as it will look within the page.

To save the content, use the dropdown icon next to the word Add.

Publishing Options

  • Add and Approve – the content is approved and will publish the next time the site as a while is published. This happens automatically every four hours.
  • Save as Draft – the changes you’ve made will not publish. The version that publishes will be the last one you clicked Add and Approve or Publish Now for.
  • Publish Now – the content will be added to a queue to publish as soon as possible. This is usually immediate, but if many files are queued, or the page has a lot of images within it, can take a few minutes.

Deleting Content
Content can be deleted by going to the Site Structure, clicking Modify Content and then clicking Delete Content to the right of the piece of content. Its status will change to inactive until the system next tidies itself up.
Delete Content
Troubleshooting:
You should have been given the web address that your site will publish to. If you click Publish and notice that your content isn’t there after a few minutes there are usually a few things you can check:
  1. Press F5 to force a refresh of the page (your browser may have stored a cached copy of the page)
  2. Check that you haven’t saved the file as Draft.
  3. Check that you haven’t renamed the sections (which may make the page publish to a different address).
  4. Failing that, email it.servicedesk@ncl.ac.uk with the web address of the page you’re having problems with.

Next:

Site Structure – Adding, Amending and Moving Sections

Sections in T4 represent the structure of your website. They are represented by yellow folder icons within the system. To add a new Subsection to the ‘About our Project’ section click on the yellow box to the right of that section, and click ‘Add Section‘.

Add Section

Give the Section a name and an ‘Output URI’ – this represents the part of the web address that people will see on the web.

If you don’t enter anything into the Output URI box, the web address will be the name of the section, in lower case with all spaces removed. So in the example above, the web address for this Section when published will be:

http://research.ncl.ac.uk/researchandconferencetemplate/aboutourproject/facilties

You can change (if you’ve spelled facilities incorrectly, for example) the Name and Output URI of an existing Section by using the Modify Section link below Add Section.

Use the same menu to Delete Section. They will not vanish immediately, but will appear with a red background for a short while until the system removes it. There is currently no fixed timescale for this – it’s something we’re working on.

You can move sections by dragging and dropping them into other sections, but to re-order them you need to click again on Modify Section and click on the Subsections tab.

Re-ordering Subsections

Sections can be moved up and down by clicking on the up and down icons. You can also set them up to be automatically ordered alphabetically or by recently updated. Remember to click Save Changes once you have finished re-ordering.

Note that your newly created sections are effectively empty folders: T4 will not publish them until you have added content to them.

Next:

Getting Started with the T4 CMS in Newcastle University

We provide standard templates for research group, project and conference websites which you can edit with our Content Management System (CMS).

To request a site simply complete the Research or Conference site registration form.

Unless your project is jointly held with another university, the address will be either research.ncl.ac.uk/projectname or conferences.ncl.ac.uk/projectname.

Your site will be set up within three days, and you’ll be emailed the getting started documentation and information about training.

The T4 cms can be found at cms.ncl.ac.uk and once setup you login using your usual campus username and password. Once logged in, click on Content and then Site Structure in the tabs across the top, and you’ll arrive at a screen that looks something like this.

Getting Started - Basic Screen Layout

(Click on images in this blog to view full size)

The main portion of the screen shows the Section structure of your site. Visible Sections of the site are shown as yellow folder icons. Hidden Sections are grey. Use the + icons next to them to view subsections.

To the right of this is a column of yellow boxes, which is used to Add, Edit or Remove Sections or Content. If you want to preview the site, you’ll find the Preview Section option within this column.

Yellow Boxes for Add, Edit and Remove

Clicking on this will popup a preview window (popup windows might be blocked by your browser, you may have to enable them for this site) showing what your site is going to look like. The initial template we provide looks like this:

preview_of_basic_template-fw

Note that the menu items along the top correspond to the Section structure (yellow folder icons) within T4. Clicking on About our Project will reveal the subsections that you’ll see if you click on the + button next to About our Project within T4.

subsections-in-preview-fwSubsections in T4

In general, a Section represents a single page on the website. A Section can contain multiple pieces of content (a list of news items, or staff profiles).

The three columns of numbers to the right of this part of the screen represent the amount of Content in a Section in three categories: Approved, Pending and Awaiting Deletion.

Next: