New Research and Conferences Template

Over the last few months, we’ve been putting together a new CMS template for Research and Conference websites.

new-template-fw

The template is flexible, mobile responsive and easy to maintain and customise; no technical knowledge is required.

It works in pretty much the same way as the old template and we’ve documented some of the new features on the blog:

To request a site using the new template, simply complete the Research or Conference site registration form.

We hope you’ll enjoy using the features of our new look template. If you currently have a site in the CMS using the previous template and would like to update it to the new one, please email your request to it.servicedesk@ncl.ac.uk with the web address of your existing site.

Custom CSS

The new Research and Conferences template allows you to customise fonts (see the font picker) and change the colour scheme of your site (see the colour scheme picker).

If you have a little more web development technical knowledge you may wish to go even further and customise the CSS of your site; there’s a piece of “Custom CSS” content in the “Section Styles” section to let you do just that.

custom-css-fw

You should put your CSS inside a <style> tag as show below.

custom-css-style-fw

Once you have made your style changes, click “Update and Approve” then preview your site to see the changes.

edited-css-fw

Layout examples: box layouts

The new Research and Conferences template comes with lots of example layouts. Two, three and four column box layouts are some of the most commonly used.

boxes-fw

To create these layouts, add General Purpose content to your Section.

box-layouts-fw

Use the Class field (underneath the General Content box) to tell the content how to appear on the page.

box-two-col-fw

First, type “nosidebar” in the class field (this removes the side menu from your page), then add the word “twocol”, “threecol”, or “fourcol” to specify the layout before clicking “Update and Approve”.

Footer Logos

Using the new Research and Conferences template, you can add a set of logos (from partners or sponsors) to the bottom of your page and make them link to other webpages.

footerlogos-fw

To do this, you need to create a hidden section called “Footer Logo Banner” and add a piece of “Slick Logo Slider” content inside it.

logo-slider-fw

Then,  inside the “Footer Logo Banner” section, add another section called “Image Banner Content” and add your logos inside there using a separate piece of “Gallery Image” content for each logo.

We recommend your images are sized no more than 70px tall by wide 150px with white space around the logo itself (see our post about Basic Image Editing in Photoshop for help with this).

image-banner-content-fw

The Name and Description fields are mandatory but won’t be displayed anywhere; the Link field allows you to turn any of your footer logos into a link to a webpage.  You should use the full web address starting with “http://”.  Finally, the Caption field will be used as the alternative text for the logo which will be picked up by screen readers.

link-in-footer-fw


Put a map in your contact page banner

In the new Research and Conferences template, you can drop a Google map into a banner on your contacts page, to show your readers where you’re based.

Start by going to the Contact section and modify the “Section Banner”.

contact-banner-fw

Modify the “Header Map” content.

delete-contact-fw

You can set the postcode, this alters where the pin is set on the map, and change the zoom level of the map (increase the number to zoom in further).

postcode-fw

And the map will appear on your contact page banner.

contact-map-fw

If you don’t want the map on your page at all, Delete the “Header Map” content from the section.

headermap-fw

Font Picker

The new Research and Conferences template has a new Font Picker content type in the Section Styles section of your site.

Click the yellow arrow next to the Section Styles section and “Modify Content”, then click the yellow arrow next to the “Font Picker” content and select “Modify” to edit the fonts used on your site.

By updating this content you can change the font used for your headers and body text, seperately as well as choosing to display headers in block capitals or not.

font-picker-content-fw

Site colour scheme picker

The new Research and Conferences template has a “Colour Scheme Picker” in the Section Styles section of your site.

Using the Colour Scheme Picker you can choose from a range of pre-set colour schemes or else choose your own colours for parts of your site (headings, body text, links etc).  You can also choose the style of University logo on your page or remove the logo completely.

Click the yellow arrow next to the Section Styles section and “Modify Content”, then click the yellow arrow next to the “Colour Scheme Picker” content and select “Modify” to edit the colours used on your site.

The default colour scheme for your template is ‘Corporate Clean’ but you can change this by choosing a pre-set colour scheme and logo type from the drop down menus or click on the yellow square next to a title (e.g. “Header 1 colour”) to open the custom colour picker window for those elements.

colour-picker-content-fw

Preview your content by clicking “Update and Approve” from in the Colour Scheme Picker and then clicking the yellow arrow next to your site home section and selecting “Preview”.

If you’ve chosen a custom colour for an element of your site (e.g. “Header 1 colour”) and you wish to revert back to the original colour scheme, simply click on the yellow box next to that element to open the custom colour picker, then select the white box with the red cross in it (bottom right hand corner) to reset.

colour-picker-sample-fw

The site above uses the “Graphite Flood” colour scheme and “White out” logo style.(the white out logo works better on dark backgrounds).  The site below uses the “Berry Clean” colour scheme, without a logo.

colour-picker-sample-2-fw-fw

Replacing the Banner text with an Image

Replacing the Banner text with an Image

To replace the text along the top of the template with a graphic, you must first resize the required image using image editing software. We’ve provided some basic instructions on resizing and cropping images using Photoshop, which is available on RAS.

The image size for the banner should be 140px tall, by 1066px wide – resize by clicking Image -> Image Size.  This will fill the standard content area.

1

To fill the entire width of the browser, your image should be 1903px wide and still 140px tall.

Note: if you’re using the old style research template, the logo needs to be 600px wide by 110px tall.

A photographic image should be saved as a JPG, but line art is best saved as either a GIF or a PNG. When you click ‘Save for Web’ you should be able to choose from a number of different quality options.

2

Then, log onto Terminal Four at cms.ncl.ac.uk and click on Modify Content using the yellow dropdown box to the right of the hidden section called Section Styles.

m

There will be a piece of content called ‘Banner Graphics’ – select ‘Modify’

4

Then, select ‘Browse’ to the right of Banner Image, and choose the image you’ve just created.

5

You can then select other options such as the positioning of your banner.  The “Cover” option here will stretch your image to the full width of the screen, if it isn’t already 1903px wide.

6

Check the boxes to say whether you want to hide the site title text and the University logo (these might get in the way of your banner image if not).

Finally, you have the option to upload your own logo; the height of the branding section is 140px and so, to allow for air around your image, we’d recommend about 70px if you do.

Click on Update and Approve, and then return to the site structure to preview the site.

7

Your image should be uploaded into the top bar of the site.  Depending on the colours used in the image, you may wish to adjust the sites colour scheme using the ‘Colour Picker’ content in the Section Styles folder.

Expandable and Tabbed Content

There are two main ways of shortening a very long page:

Firstly, you can make the content Expandable, as seen on our Entrance Requirements pages. This is useful when you have long lists of items on a page, but the page visitor is only likely to be interested in the one item that applies to their circumstances.

expandable-content-fw

Secondly, you can make the content Tabbed, which is also used in the course pages. Tabbed content is useful when you have lots of pages with similar categories (all courses have Modules, Careers, Finance information, for example).

tabbed-content-fw

Both methods are implemented in exactly the same way.

Each Tab or Expandable needs to be its own piece of content within the same section. You’ll have to go to Add Content -> All Purpose Content for each one. Here’s how the content looks for the Tabbed page in the Sample Content site:

In this example, the first piece of content has no special requirements, but the bottom three are tabbed. They become tabbed simply by giving them the class ‘tabbed‘ all in lower case – here’s a screenshot of the second tab from the Modify Content screen:

The class field is at the bottom – remember to use only lower case. Also note that this piece of content has some embedded video from Vimeo – this is documented in another post.

The Content List for the expandable section looks more or less identical:

The only significant difference is that the class field contains the word ‘expandable’ in lowercase:

Remember to Save and Approve, and you’re done. The two types are fairly interchangeable. If you want to switch between one or the other, just change the class field, or to make it back into regular content, remove it entirely.


News and Events, Sorting and Archiving Content

Most content on your website is added using the All Purpose Content template type. Other content templates are available for Staff Profiles, News and Events, etc.

This page discusses the News and Events templates – both behave in a very similar way but have different selections of fields to display. The examples will be from the News template.

This page also discusses sorting content, setting archive and expiry dates that are particularly relevant to sites which have a high turnover of news, but the controls discussed will work on all kinds of content.

News and Events

Add News and Events

News Content Types

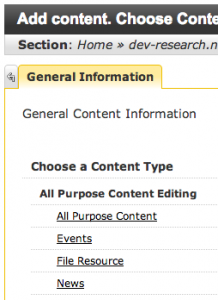
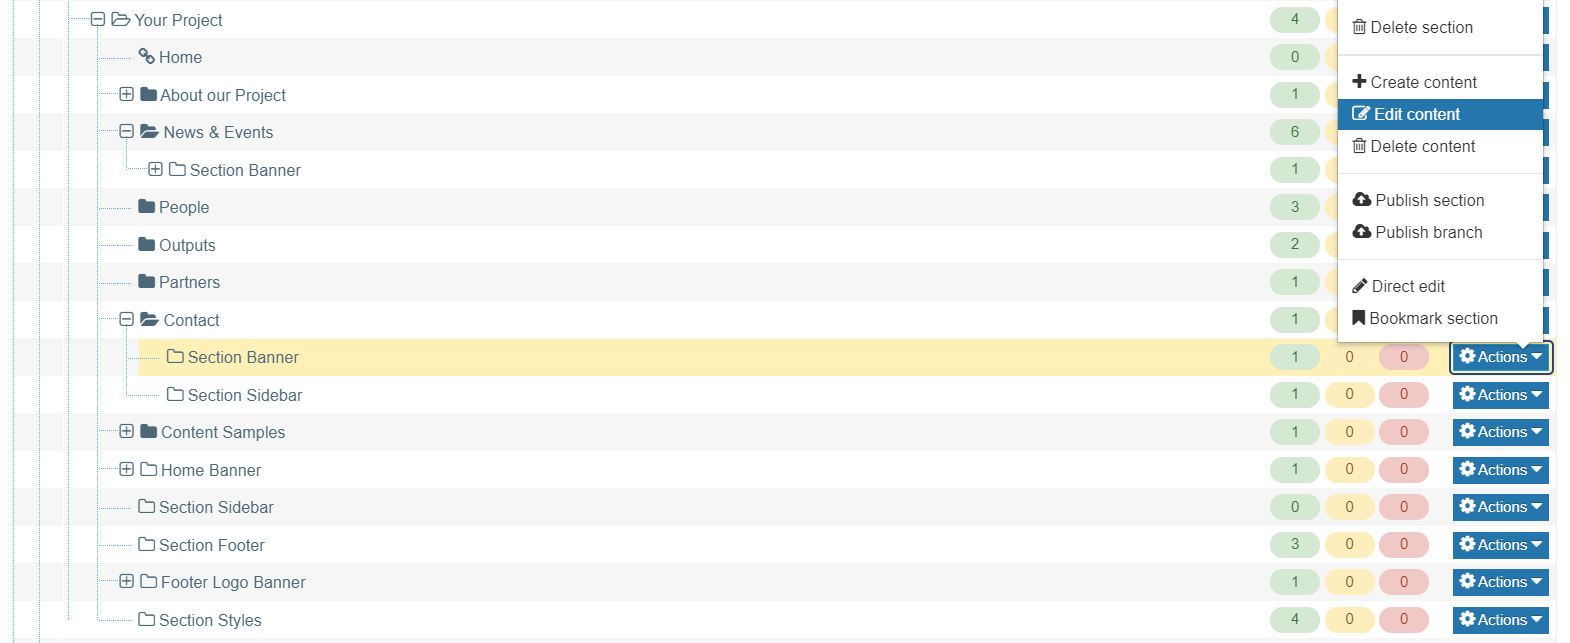
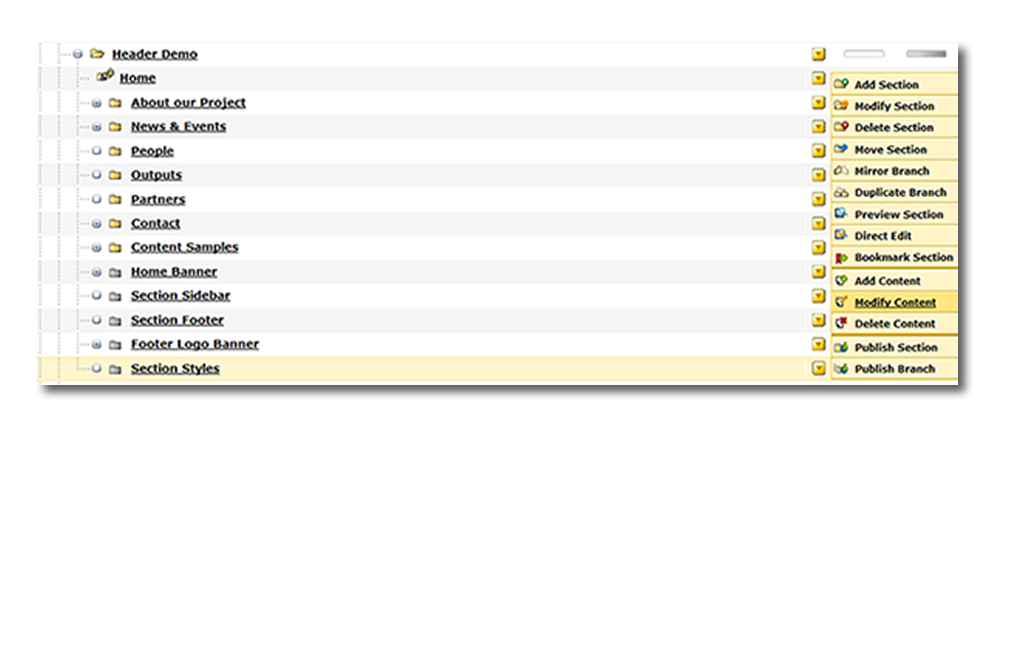
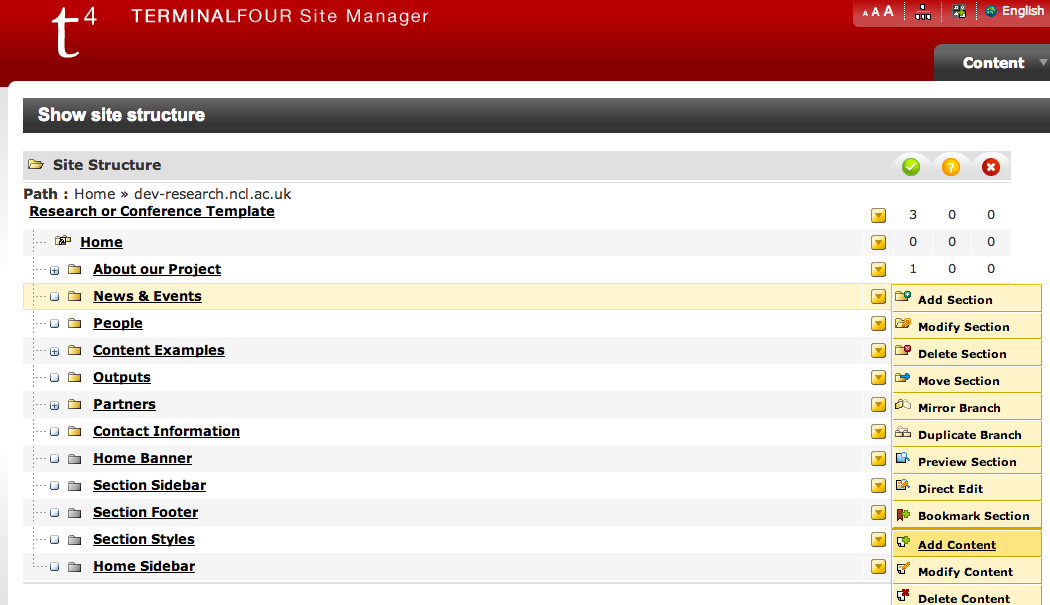
Click Add Content using the yellow dropdown menu to the right of your News section and choose the News Template from the list that appears.

News and Events Template

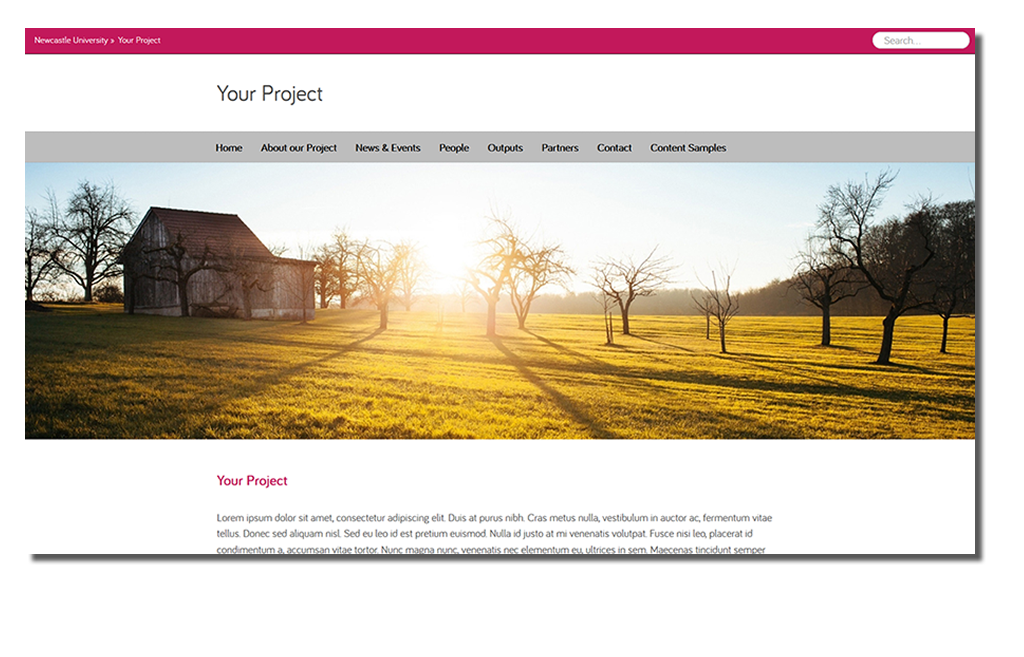
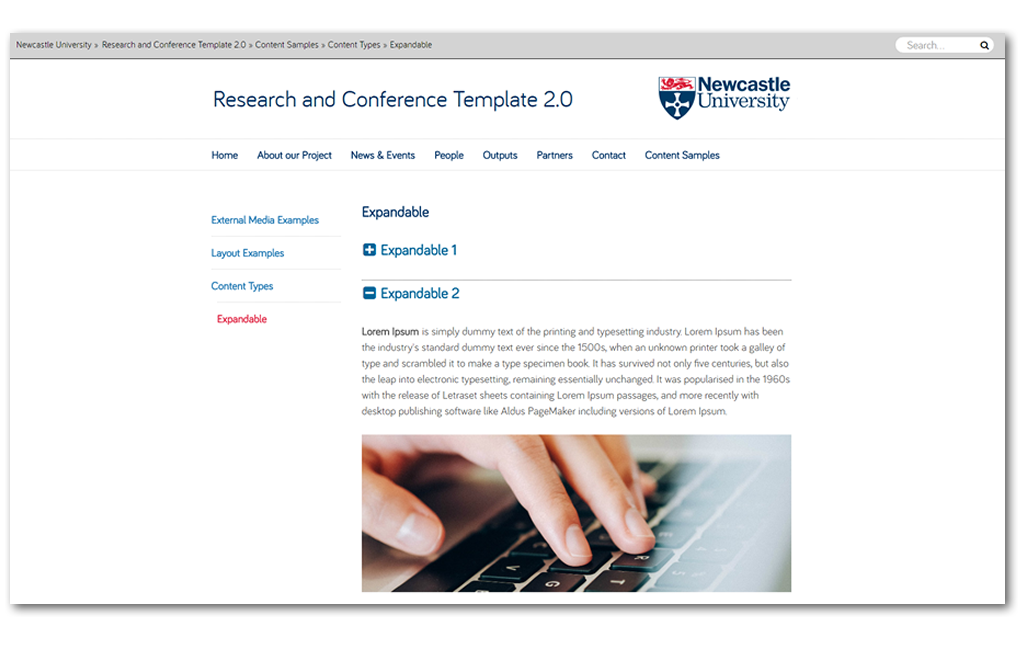
In most cases in T4, a Section represents a single webpage, but in the case of Staff, News and Events, multiple pieces of content appear on the page and clicking on their titles opens up a new page.

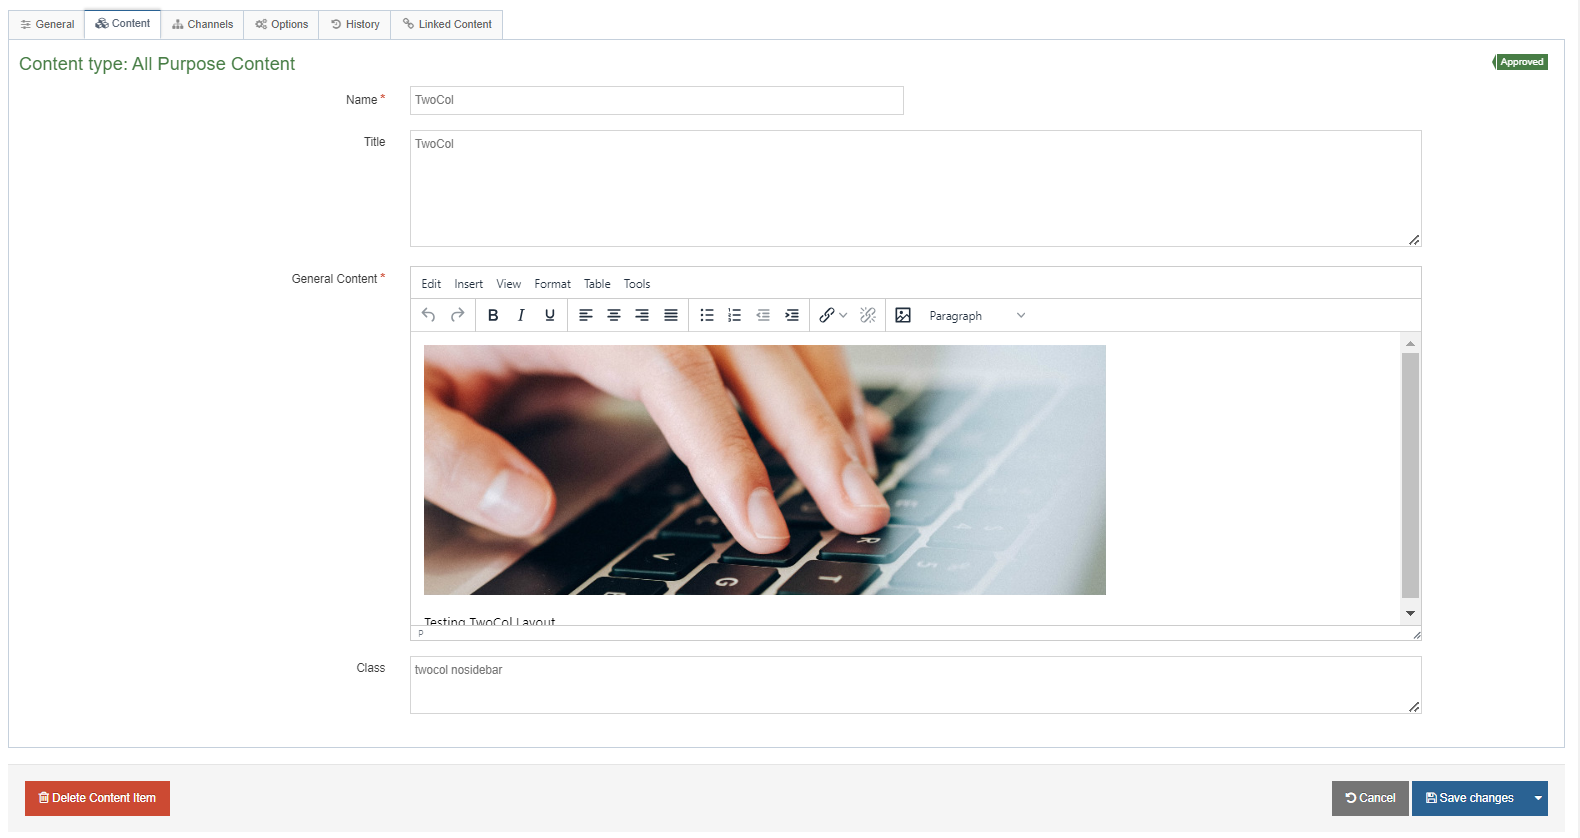
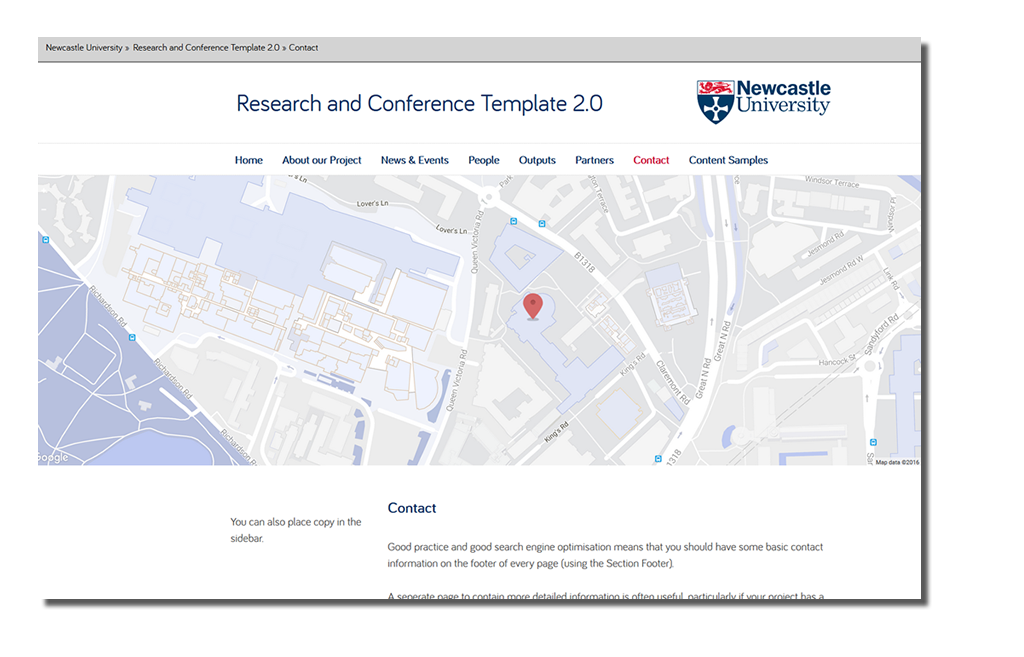
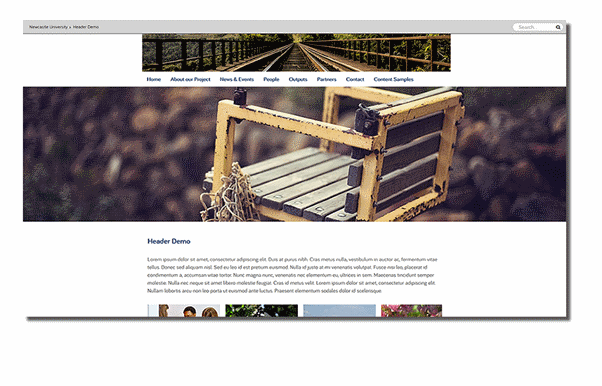
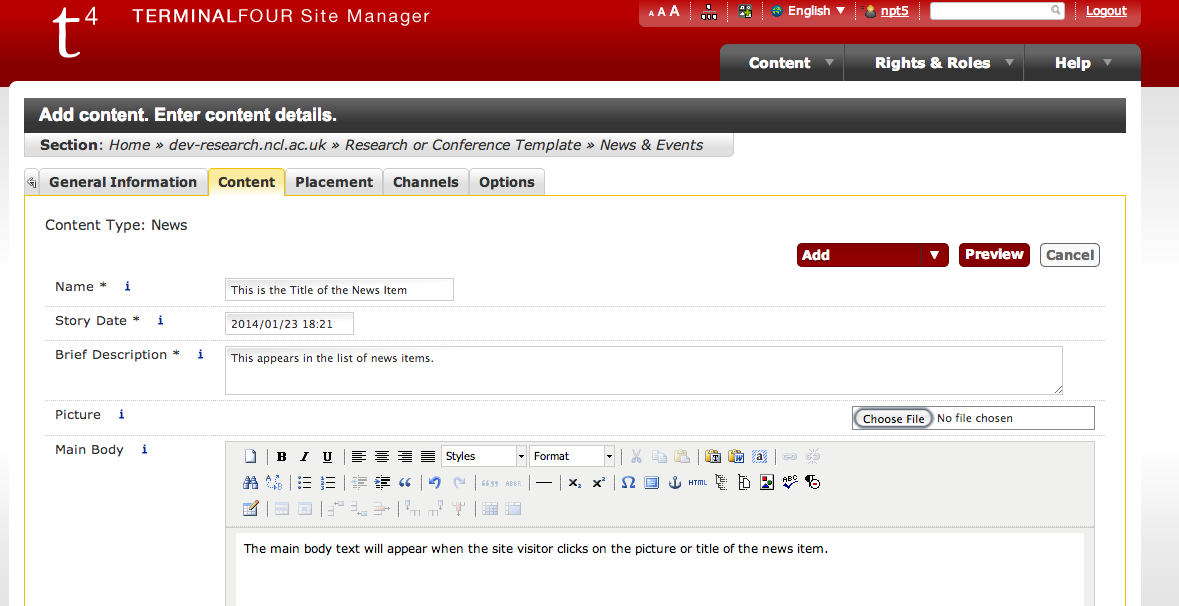
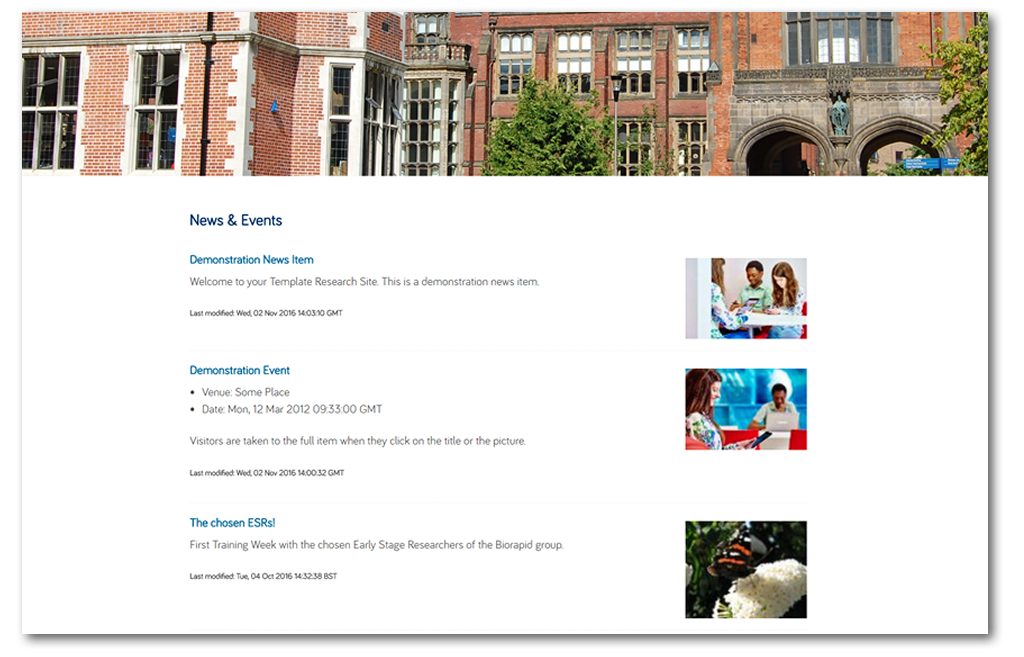
The Name and Brief Description appear in your news list, when you click on the title or the image, the visitor is taken to a new page containing the full text of the Main Body.

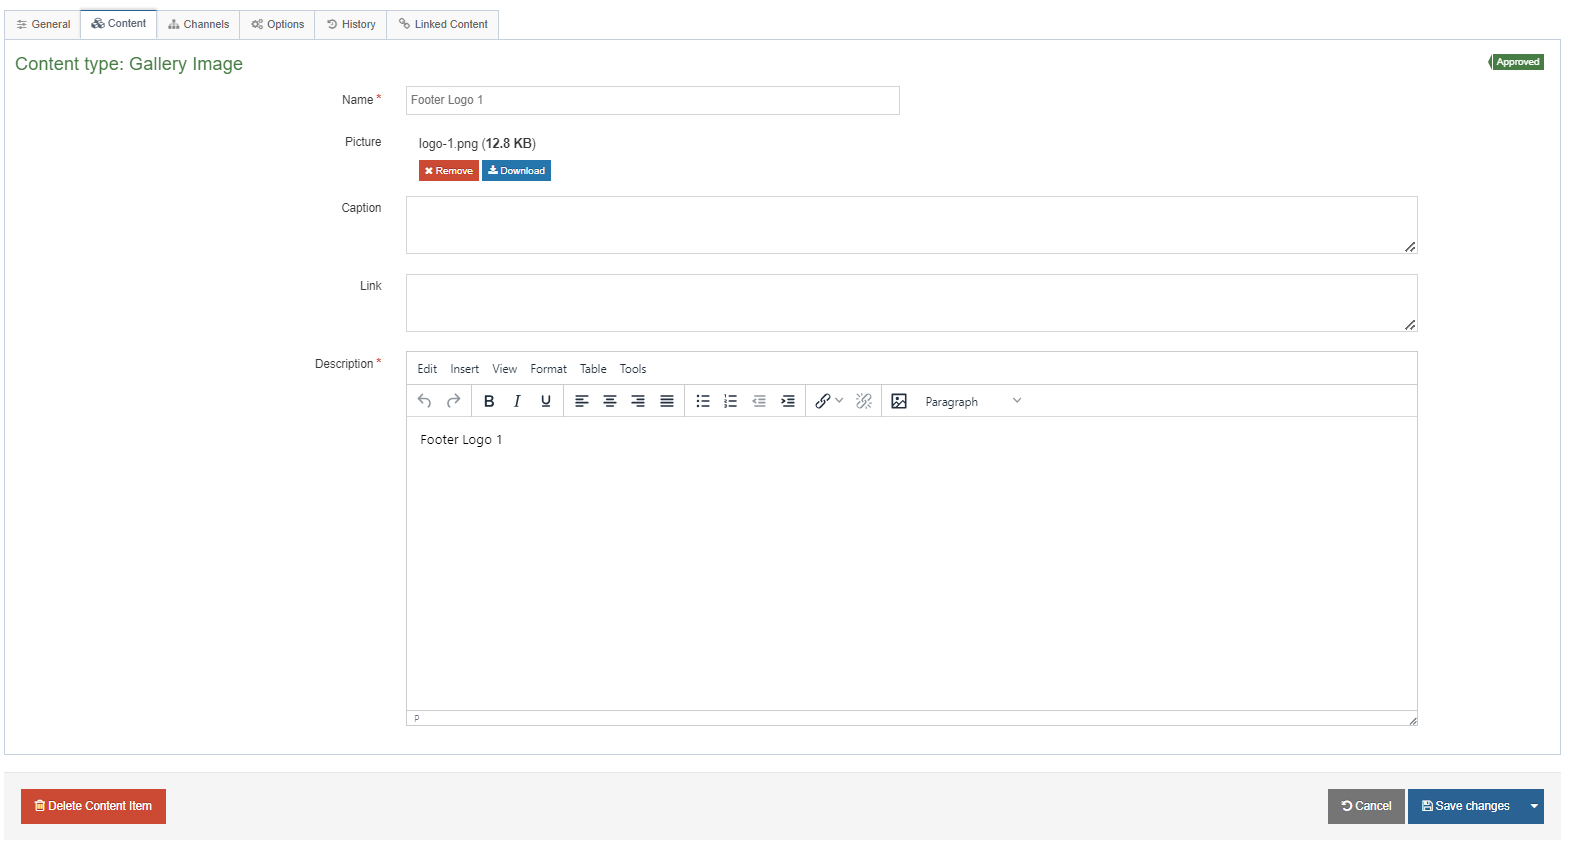
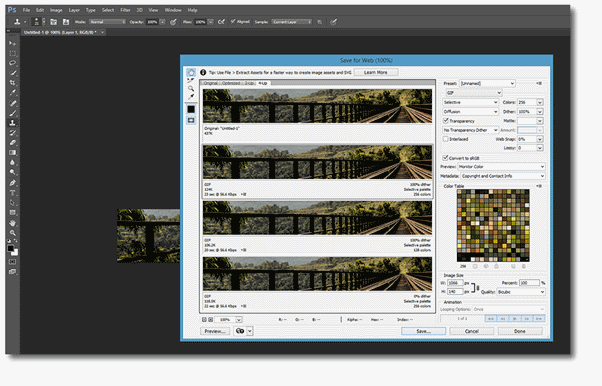
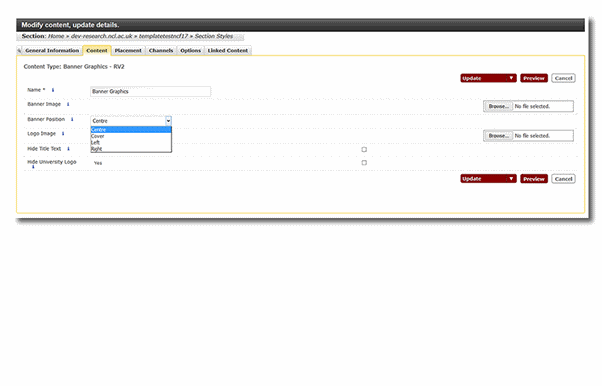
As with the Staff Profile content type, the Picture you upload is resized both for the list and for use within the news item.

news-list-fw

news_page-fw

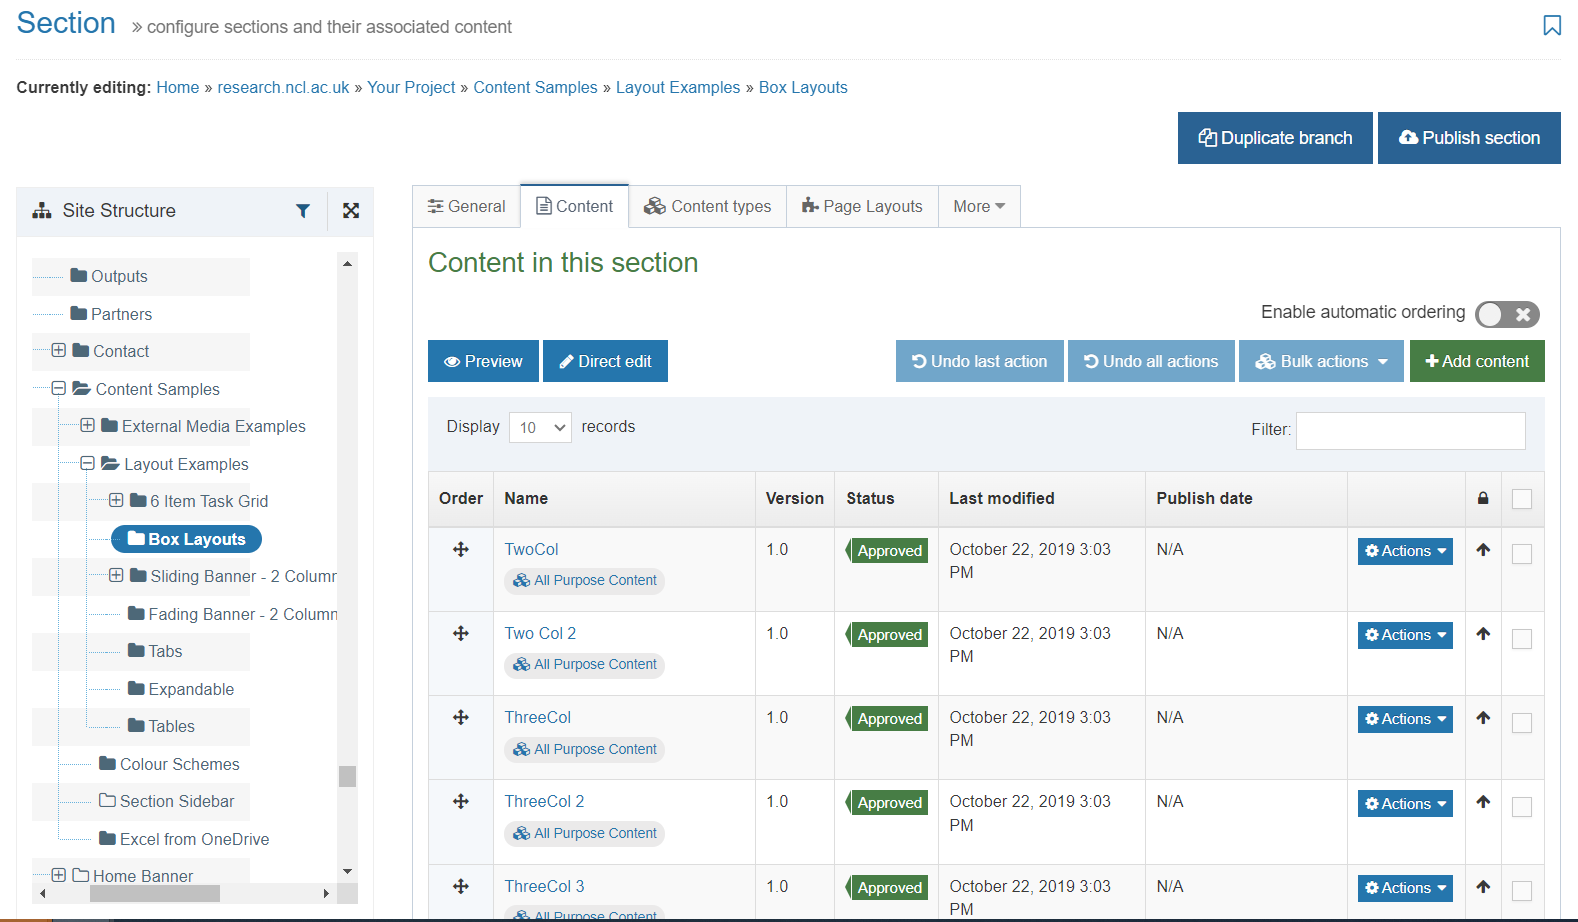
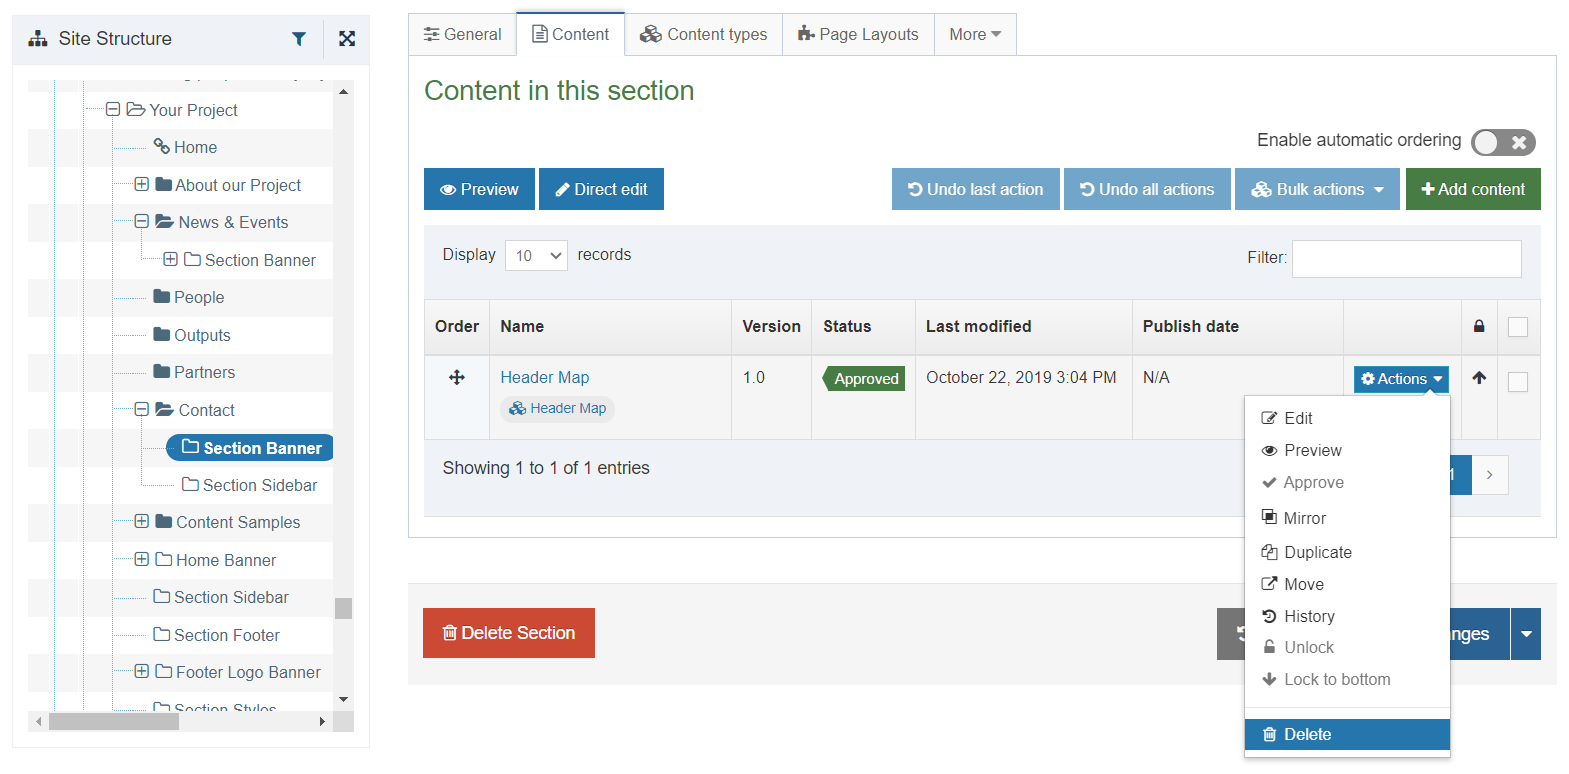
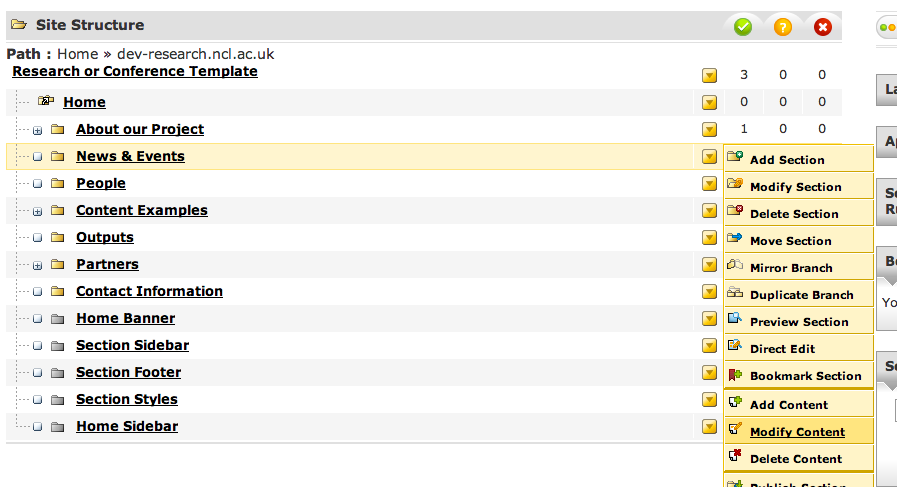
As you can see from the list though, our content has been automatically added to the bottom of the page (as it does when you add any new piece of content to a page).

Automatic Ordering

With news you want the items to automatically order by date – and with staff you probably want automatic ordering by name.

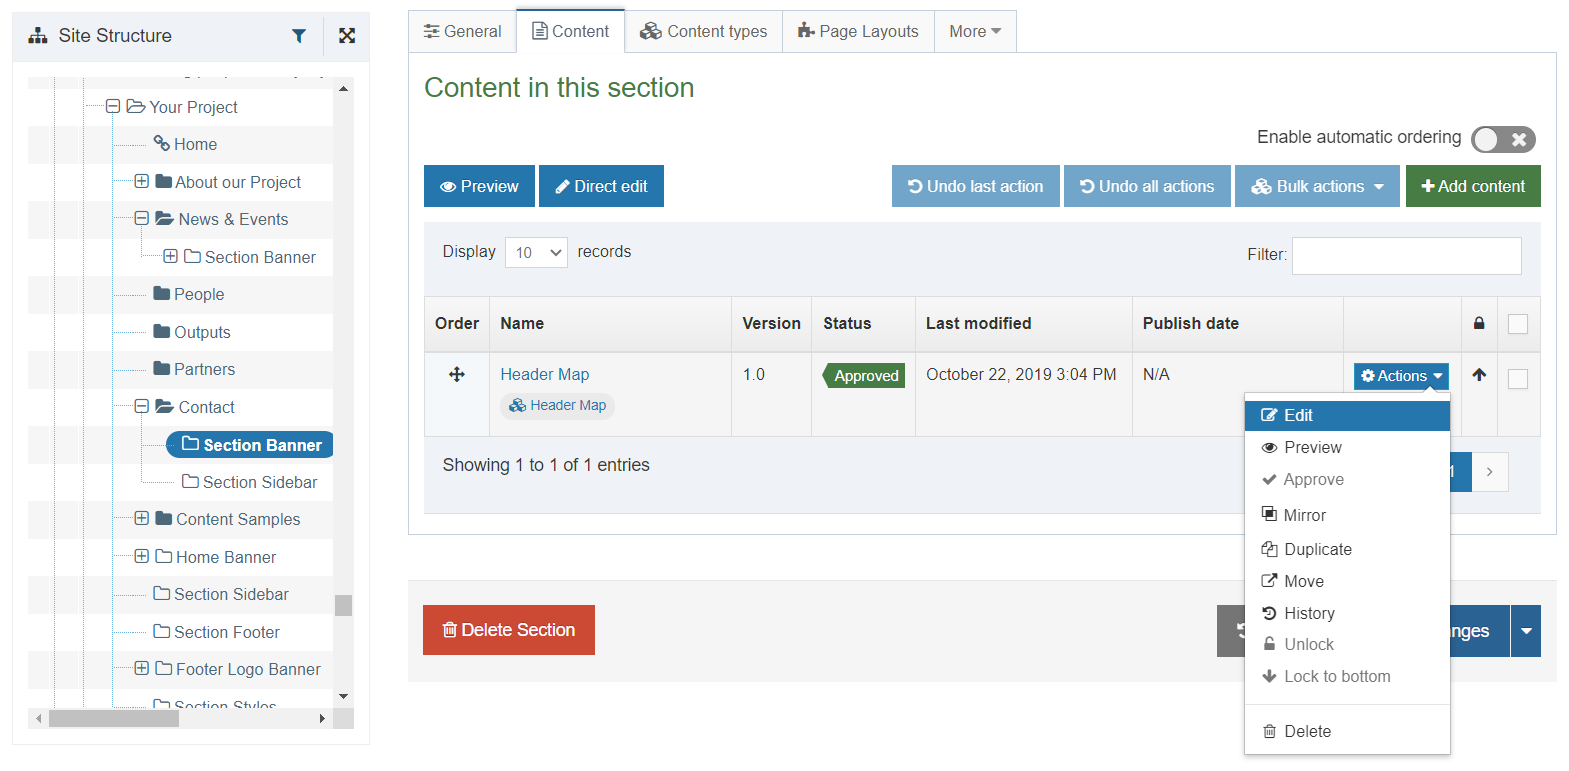
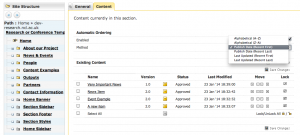
You can do this by going to  Modify Content within the news section.

Modify Content

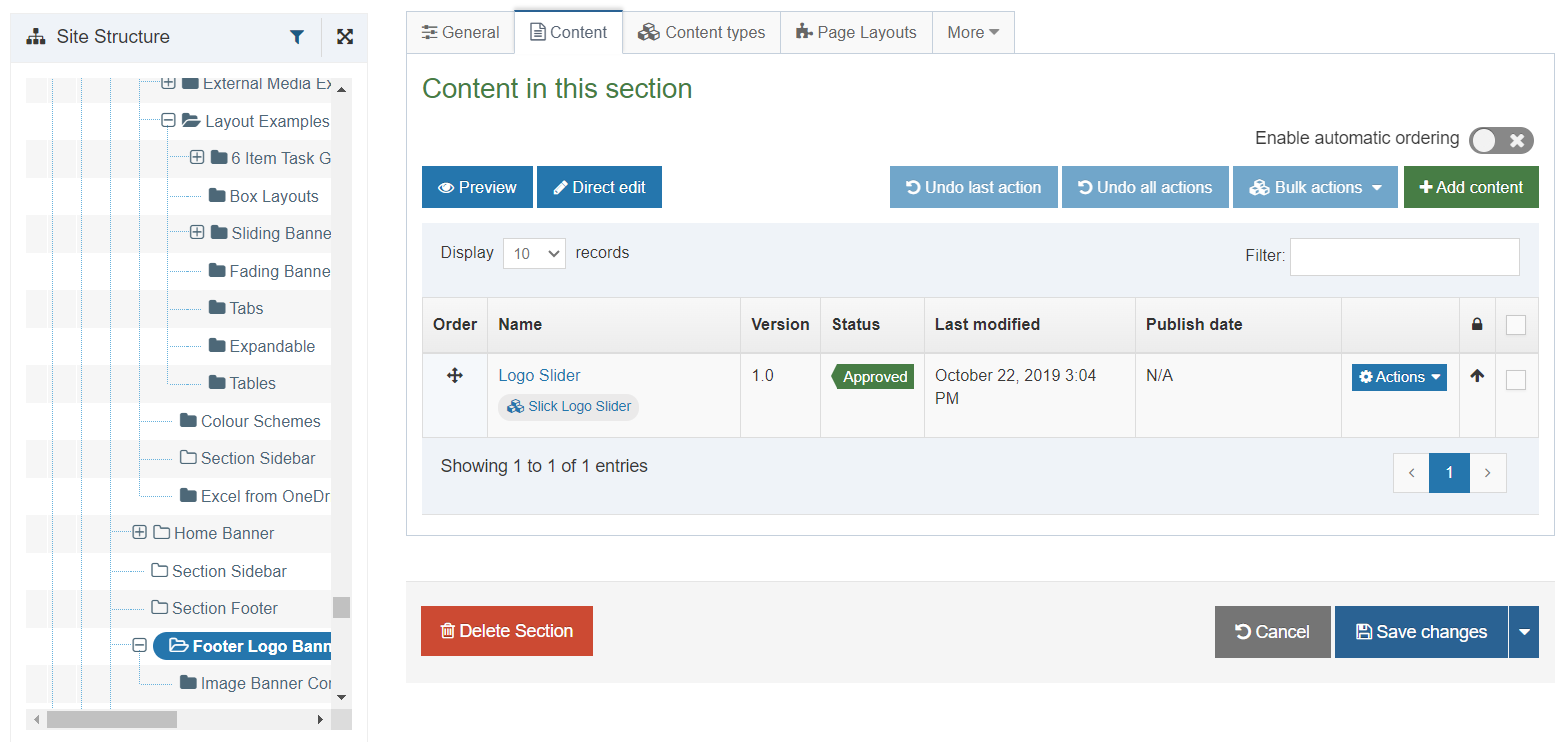
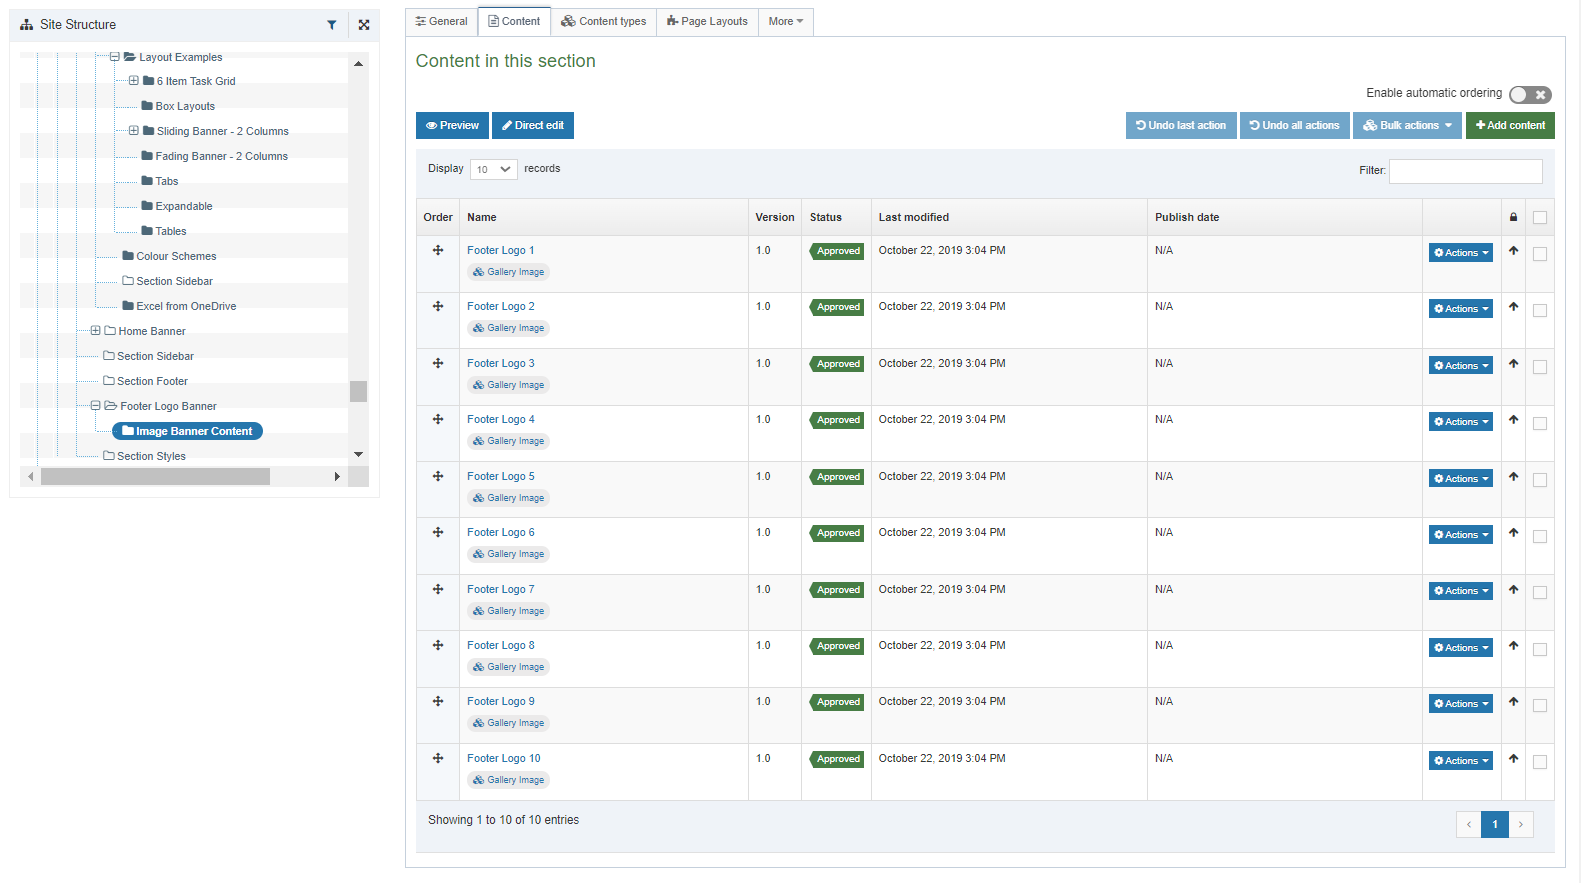
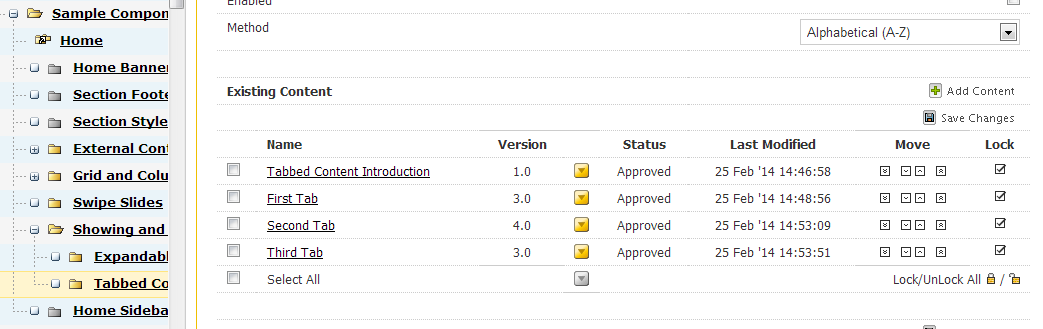
Click the checkbox marked Automatic Ordering. Choose the type of ordering you want (by updated, created or alphabetically), and uncheck the locks next to each piece of content. If you have a very important news item you want to remain at the top, leave its lock checked and use the arrows to move it to the top as shown in this screen shot.

Automatic Ordering

Remember to click Save Changes before leaving this screen. The ordering will update on your website next time this section is published.

Automatic Archiving and Delayed Publishing

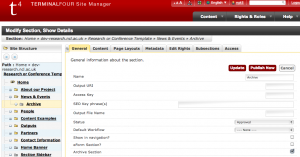
Automatic Archiving moves news into a chosen section at a given date. Add a section called Archive to your news Section. You can choose to make this a hidden section by unchecking the ‘Show in Navigation’ box. Tick the ‘Archive’ checkbox.

Archive

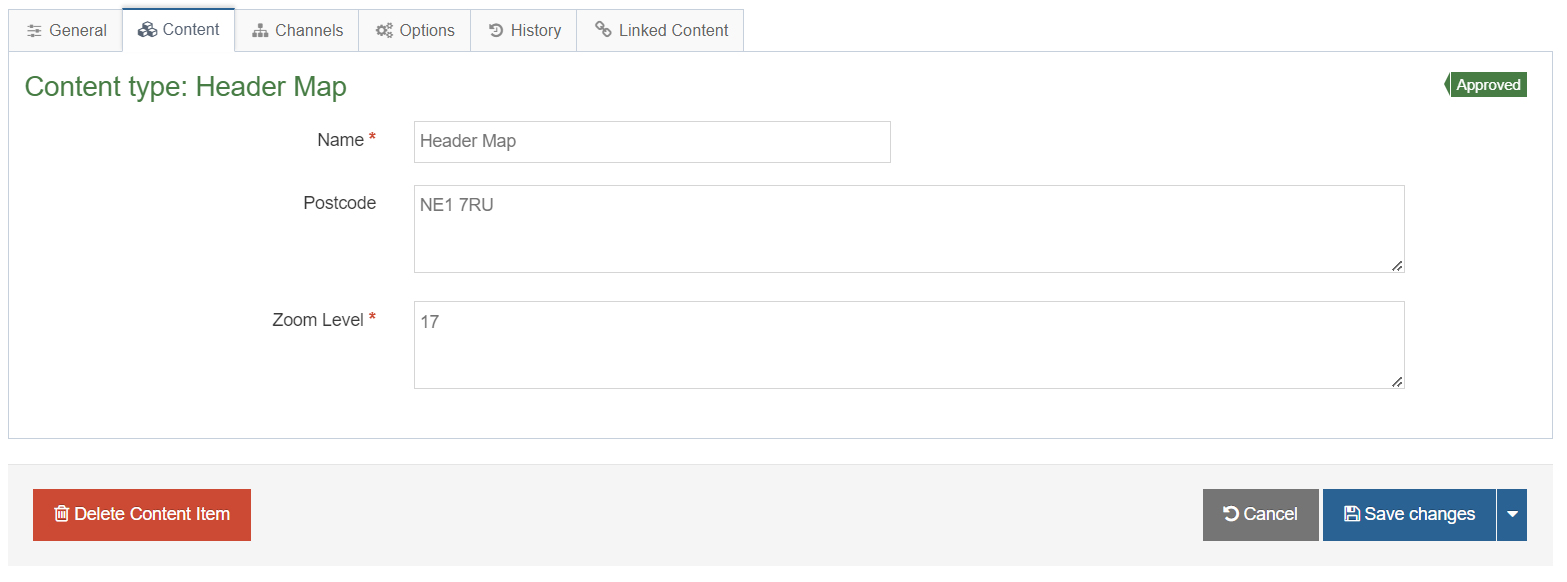
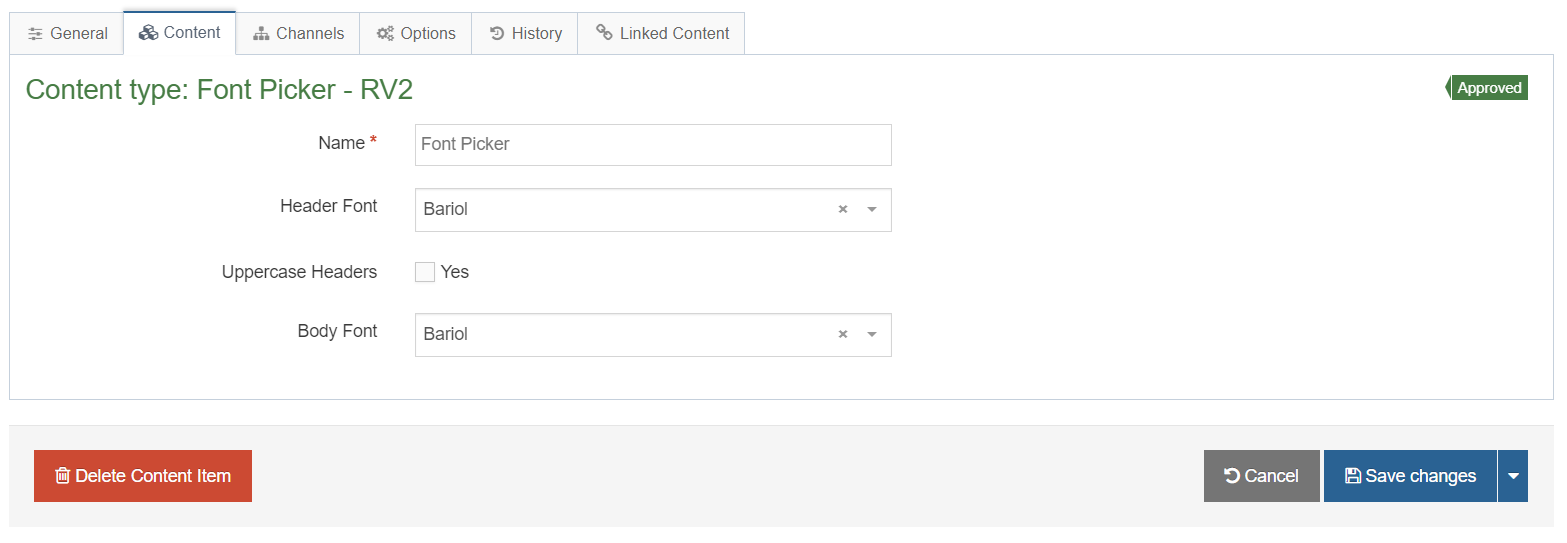
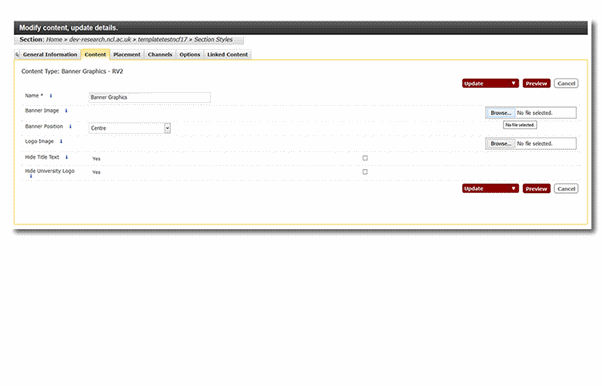
The next time you add content to the News Section, you can click on the Options tab for that piece of content. You’ll be given a screen where you can select Publish and Expiry dates.

If the Publish Date is set in the future, the content won’t appear on your site till the next publish after that date and time (this will be within four hours).

Publish and Expiry Dates

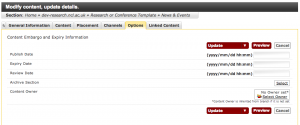
Within four hours of the Expiry Date, the content will move into the Archive section if you select one, otherwise, it will be deleted.

Note that this is based on the publishing schedule for your site, if you need to rely on this for legal reasons (embargoed press releases, or a received take down notice for example), please email it.servicedesk@ncl.ac.uk to stating your requirement.

See also: