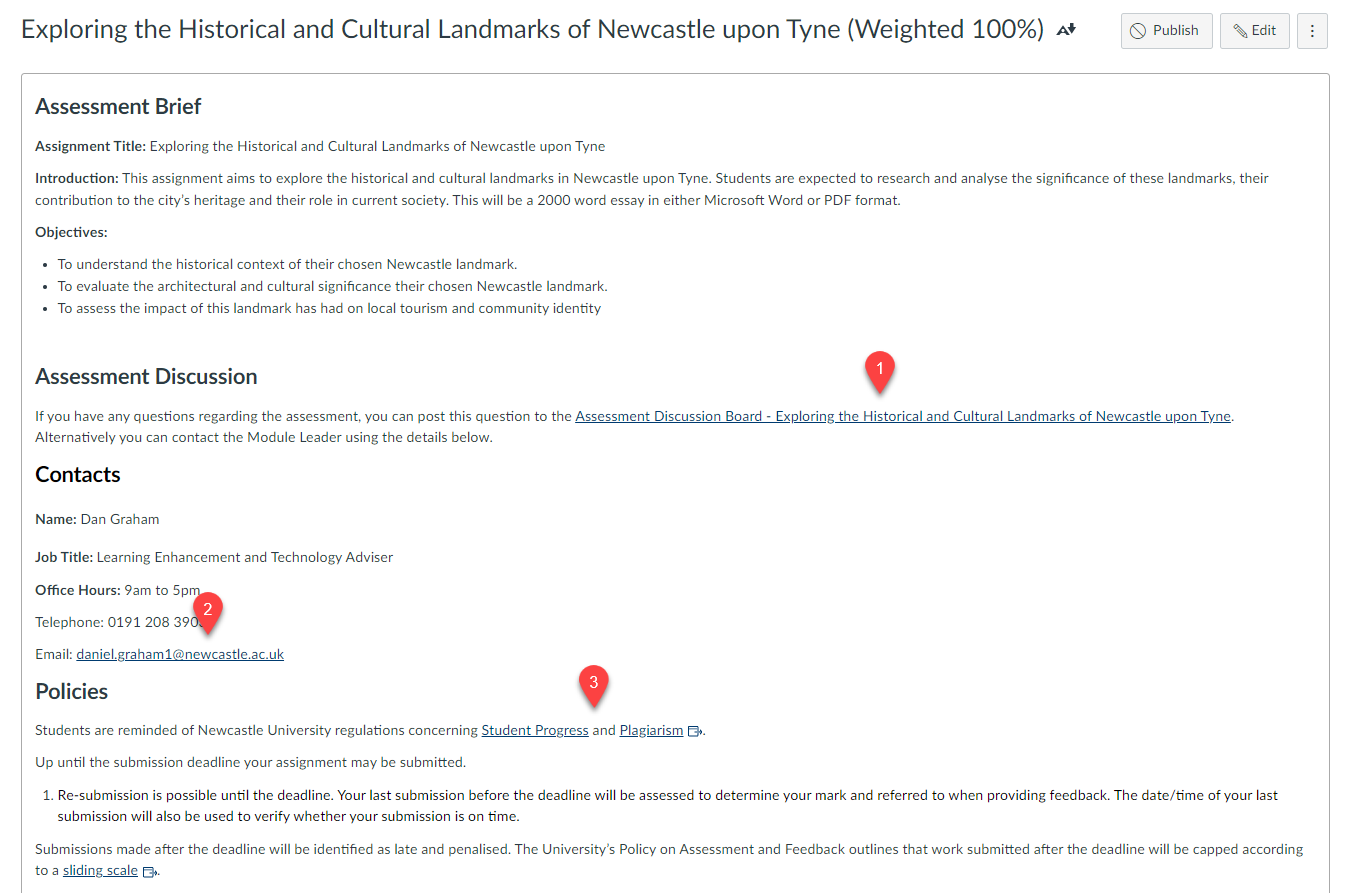
Over the summer there have been a series of updates to the SpeedGrader tool within Canvas to improve the ability to provide feedback.
In this blog post, we will highlight some of the key changes to the SpeedGrader and how you can utilise these changes in your courses.
Submission Comment Drafts
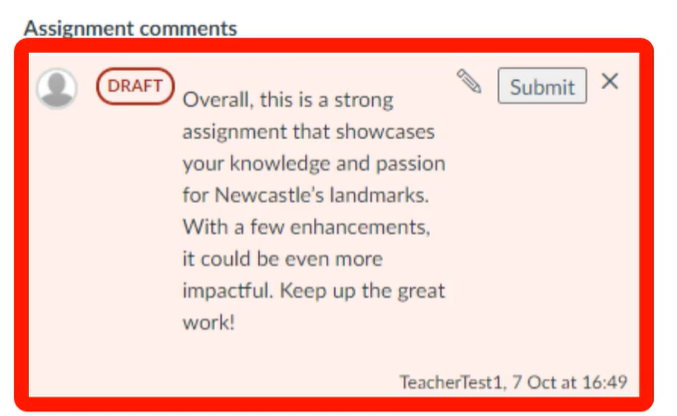
In SpeedGrader, after adding a submission comment, if this has not been saved, a Draft pill displays indicating that this comment has not been saved and a warning message is presented alerting the teacher that the comment has not been saved.
Previously there was no clear indication that a comment had been submitted and this would lead to students not seeing comments/feedback in their assignments.
With this update, it is clear for a teacher to see the status of a submission comment.
You can see in the example below that the submission comment has not been submitted and we have a draft pill alongside our comment:
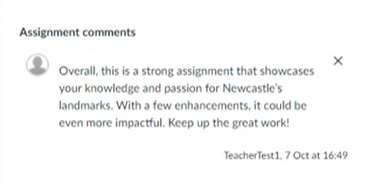
When we press submit on this comment, the draft pill disappears which means the comment is visible to the student:
Rich Content Editor (RCE) In Submission Comments
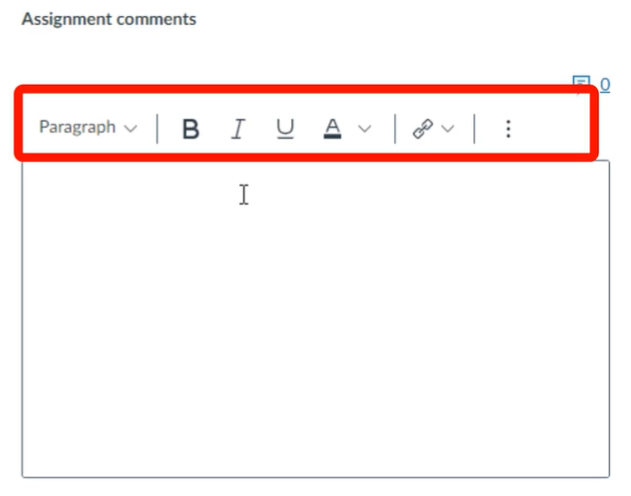
In SpeedGrader, some Rich Content Editor (RCE) features are available when using submission comments. The available RCE features include:
- Heading
- Bold
- Italic
- Underline
- Font colour
- Insert Hyperlink
- Bullets
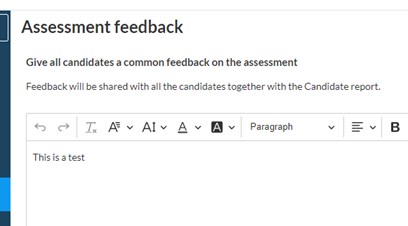
This allows teachers to style feedback and provide further resources via linking. In the example below, you can see a link is provided to further resources to assist the student:

This functionality is available at the top of the submission comments box as demonstrated below:
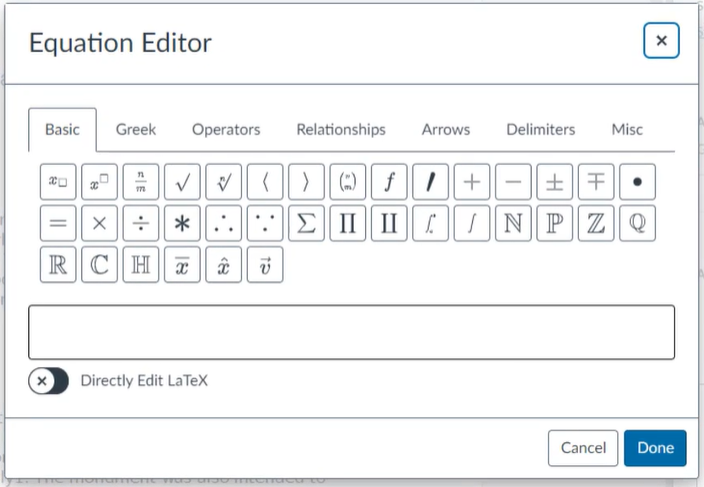
Equation Editor in Submission Comments
In SpeedGrader, an Equation Editor function has been added to the Rich Content Editor. This feature enables instructors to incorporate math equations into their submission comments.
In the below example, you can see the new equation editor function within the submission comments in SpeedGrader:
Randomise Students in Submission List
In SpeedGrader Settings, instructors now have the option to randomise the order of students within each submission status. This update helps mitigate grading fatigue and biases by ensuring a random sorting of students. Additionally, it enhances grading efficiency by maintaining this random order within submission statuses.
Below are step by step instructions on how to do this:
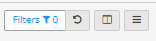
- In the top left corner of the SpeedGrader, select the cog icon
- From the dropdown menu select “Options”
- Within SpeedGrader options, select “randomise students within a submission status”
- Select the “Save settings” button
Please note that when the randomised students, the preference is saved as the default in the browser for the course. When logging in on another device, instructors must select the sort by options again.