Tag Archives: science experiment

Bonfire Night | The Science of Fire

Remember, remember the 5th of November, gunpowder, treason and plot! We see no reason why the science of fire should ever be forgot!

For this bonfire night, we are looking into the gravity defying properties of water using fire!

Step 1

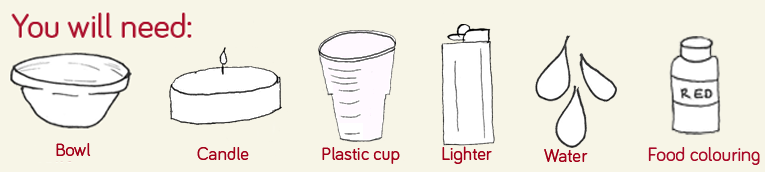
Pour the water into your container and add the food colouring to colour the water to whatever colour you like, we chose blue.

Step 2

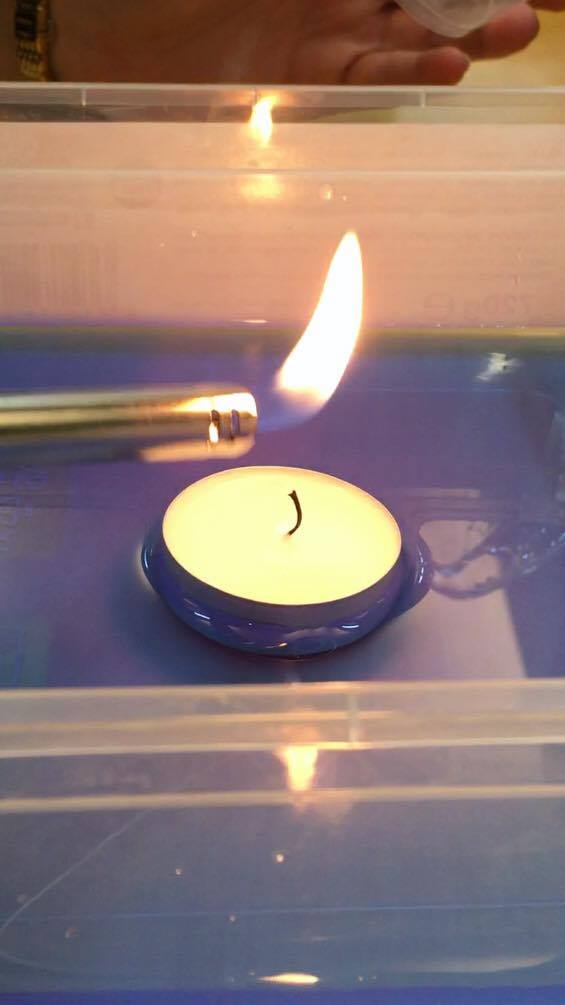
Place the candle in the middle of the water but make sure the wick and wax of your candle stays dry.

Step 3

Get an adult to help you light the candle and make sure the wick is burning for about 20 seconds before moving onto step 4.

Step 4

Place your glass/plastic cup over the candle, this will push all the water away from the candle
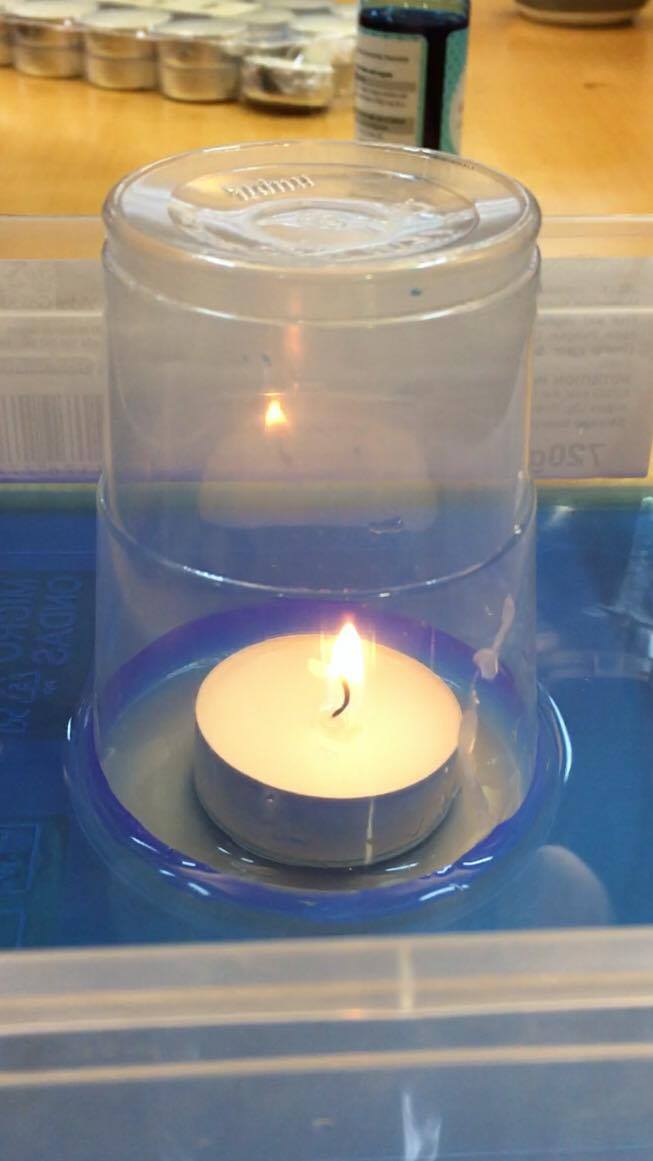
Step 5

Wait for a few moments and watch the candle go out and the water rise on the inside of the cup!

The science!

First of all, why does the candle go out?

Fire needs three things to burn; oxygen, fuel and heat. These three things make up the fire triangle which you can see below.

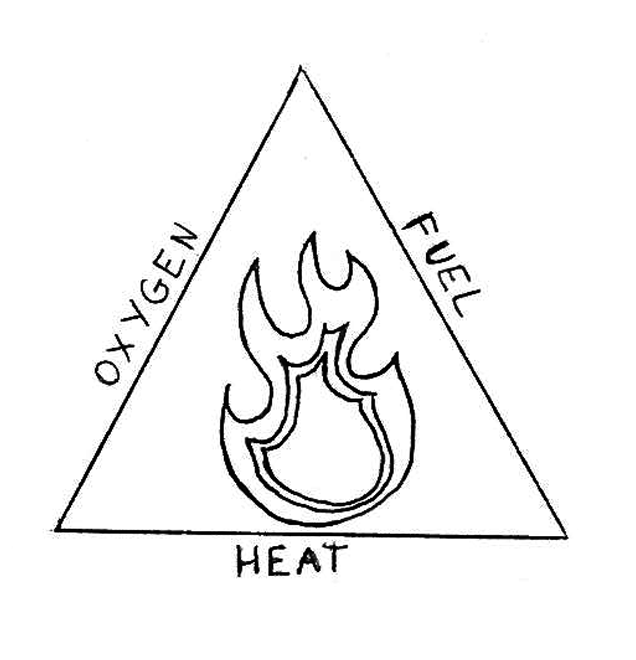
If one of them is taken away, the fire is put out. By putting the cup over the candle, the oxygen is taken away from the fire so it goes out!

But… it doesn’t go out straight away. This is because there is still some oxygen trapped inside the cup but once the fire has used up all the oxygen there is none left so the candle goes out.

So, why does the water in the cup rise after the flame goes out? When the candle is lit, the particles in the air take in some of the heat from the flame and get hotter. When the particles get hotter, they have more energy so move faster and this increases the pressure inside the cup.

After the flame has gone out, the particles cool down and move more slowly and this decreases the pressure in the cup. The pressure outside the cup is then higher than inside the cup so the water is pushed inside the cup until the pressure outside the cup is the same as the pressure inside the cup.

#TryThisTuesday Halloween Special!

Slime Two Ways

Happy Halloween! Here’s two of our favourite ways to make spooky slime with things you’ll find lying around the house, or in your local supermarket.

Magnetic Slime

Step 1

Ask an adult to help you remove the ink tube from the highlighter using a pair of scissors and squeeze the ink into the bowl. You might want to wear some plastic gloves to avoid getting the ink all over your hands!

Step 2

Add the liquid glucose and mix (we added Halloween confetti at this point for an extra spooky edge!)

Step 3

Gradually add cornflour and mix to get a slimy consistency, then add iron filings and mix, adding more as necessary.

Step 4

Move the magnet on the outside of the cup, and watch as the slime creeps up the side!

Step 5 (optional)

If you have access to a black light, shine this at the cup to make your slime glow in the dark!


The science!

The cornflour and liquid glucose mix together to create a non-Newtonian fluid, a fluid that changes in viscosity (how runny it is) with a change in pressure applied to it.

When the iron filings are added and dispersed throughout the slime this makes the mixture magnetic!

The black light emits ultraviolet light which is invisible to the naked eye, but when shone on the highlighter it emits a brilliant glow!

Reversible blood slime

Step 1

Carefully cut open the lining of the nappy and shake out the crystals from inside onto a sheet of paper. You may get some cotton coming out too so just be careful to take this out before step 2!

Step 2

Put the crystals from the nappy into the bowl or container, you’ll only need about a tablespoon full, and add about 250ml water and a splash of red food colouring

Step 3

Stir the mixture and watch closely as the water is absorbed by the crystals and begins to look like a thick slime! Again, we added Halloween confetti to ours to make it even more mysterious!

Step 4

To reverse this process, and turn the slime back into water and food colouring, all you have to do is add salt and mix and watch as the process takes place.


The science!

The crystals that are in the lining of nappies are known as a hydrogel. The hydrogel here is a polymer (a long chain of repeated molecules) called sodium polyacrylate and is superabsorbent, meaning it expands when it comes into contact with water and can hold a huge amount of liquid!

When the salt is added, the polymer collapses due to the a change in the ionic concentration of the solution and so the water-holding ability of the hydrogel is broken.