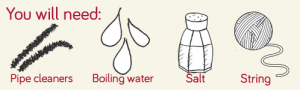
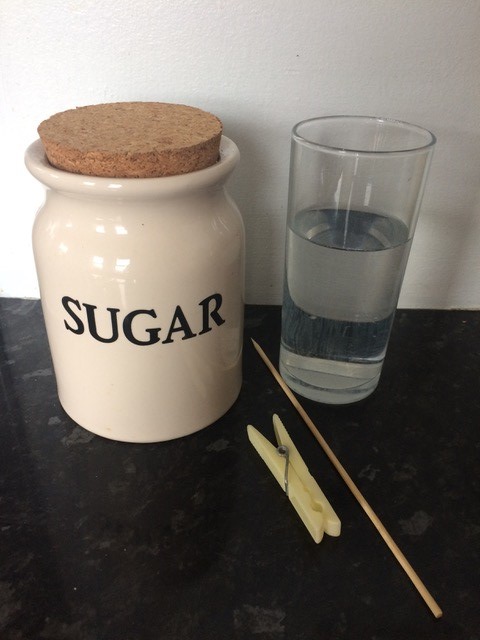
Crystal Christmas Decorations
It’s the most wonderful time of the year… and for this #TryThisTuesday Christmas Special, we’re making beautiful decorations for your Christmas tree using science!
Step 1
Mould your pipe cleaners into the desired shape, we chose to make a Christmas tree out of green pipe-cleaners, and a snowflake out of white pipe-cleaners
Step 2
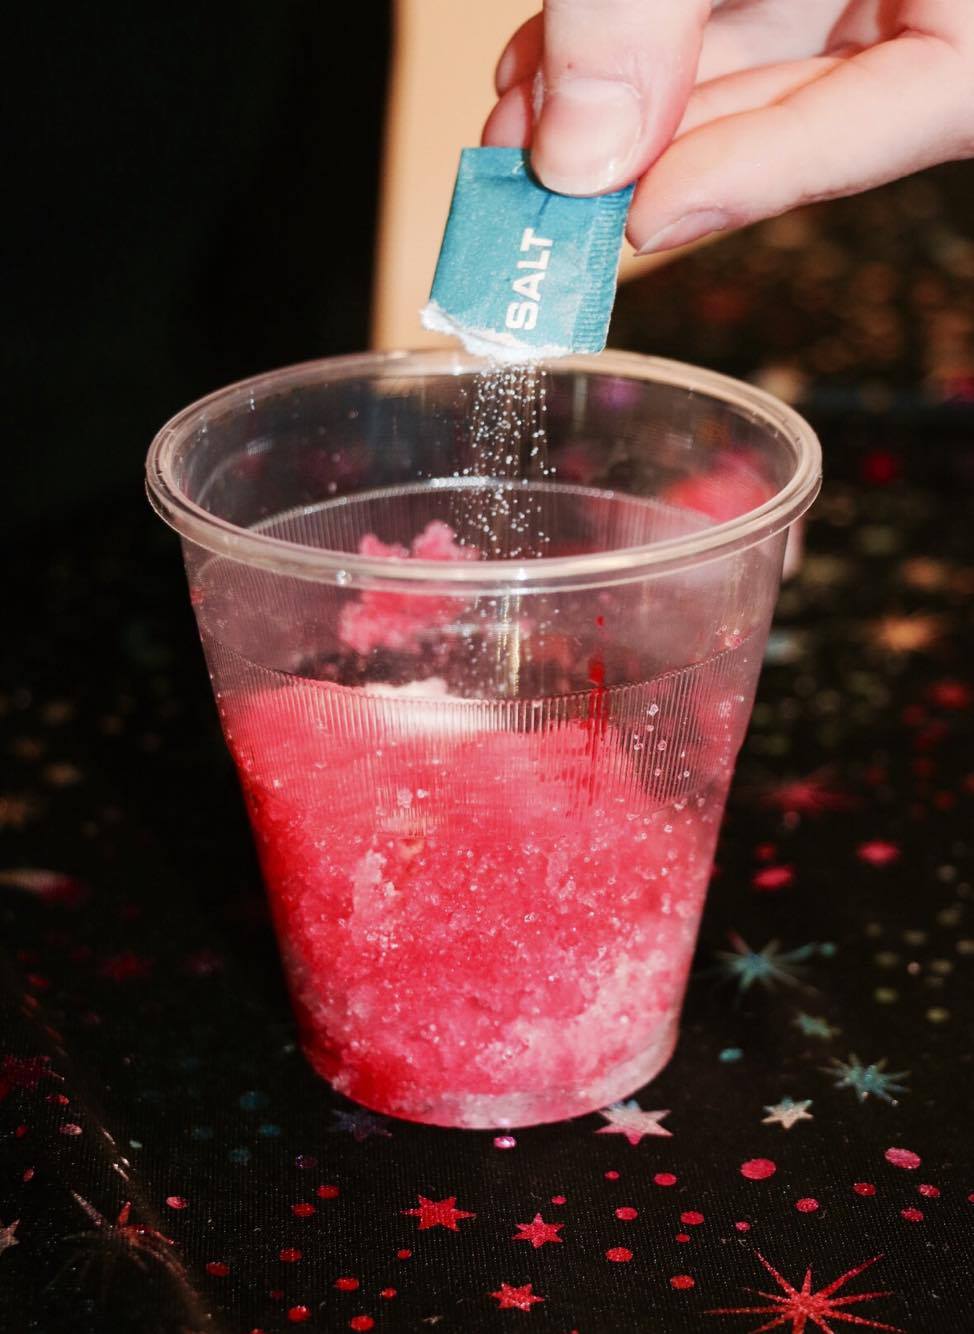
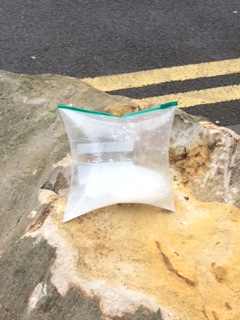
Carefully fill a large container with boiling water then add the salt bit by bit, stirring continuously, until the water is saturated.
This means that the salt stops dissolving and instead sits at the bottom of the water, as the water can no longer hold any more salt crystals.
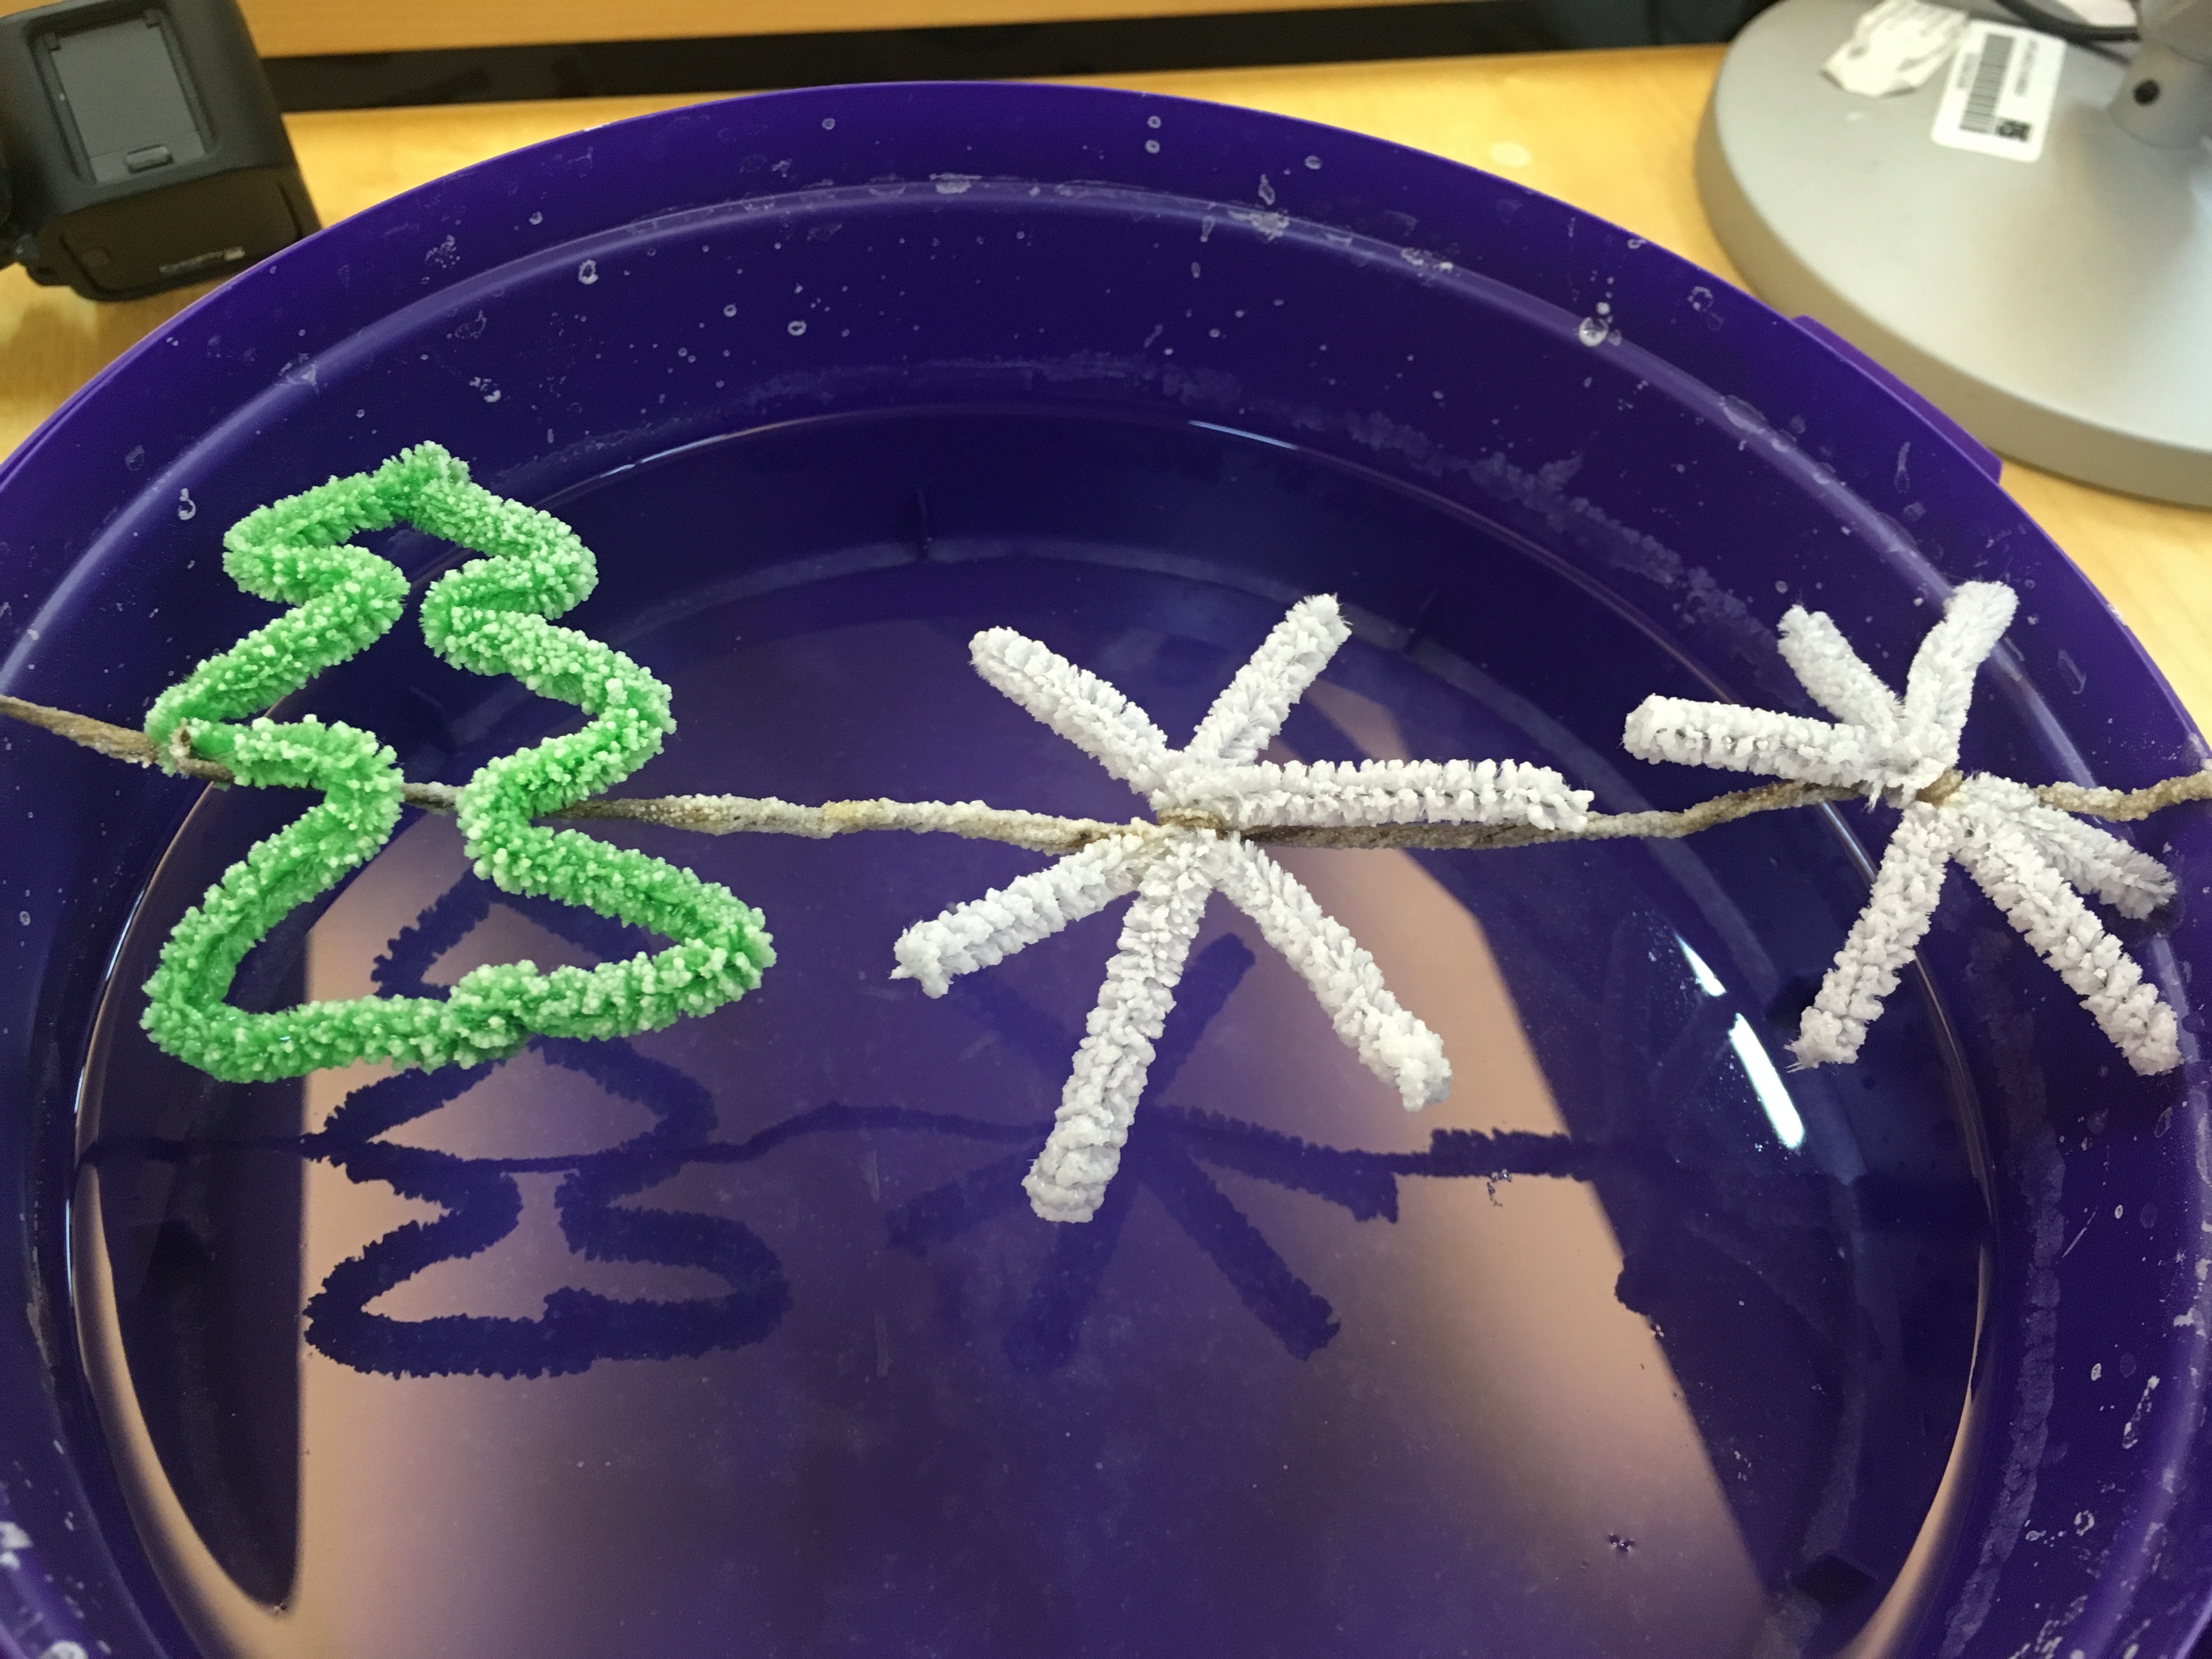
Step 3
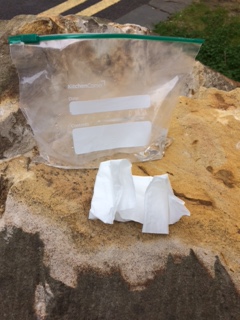
Tie one long piece of string around your decorations in a row
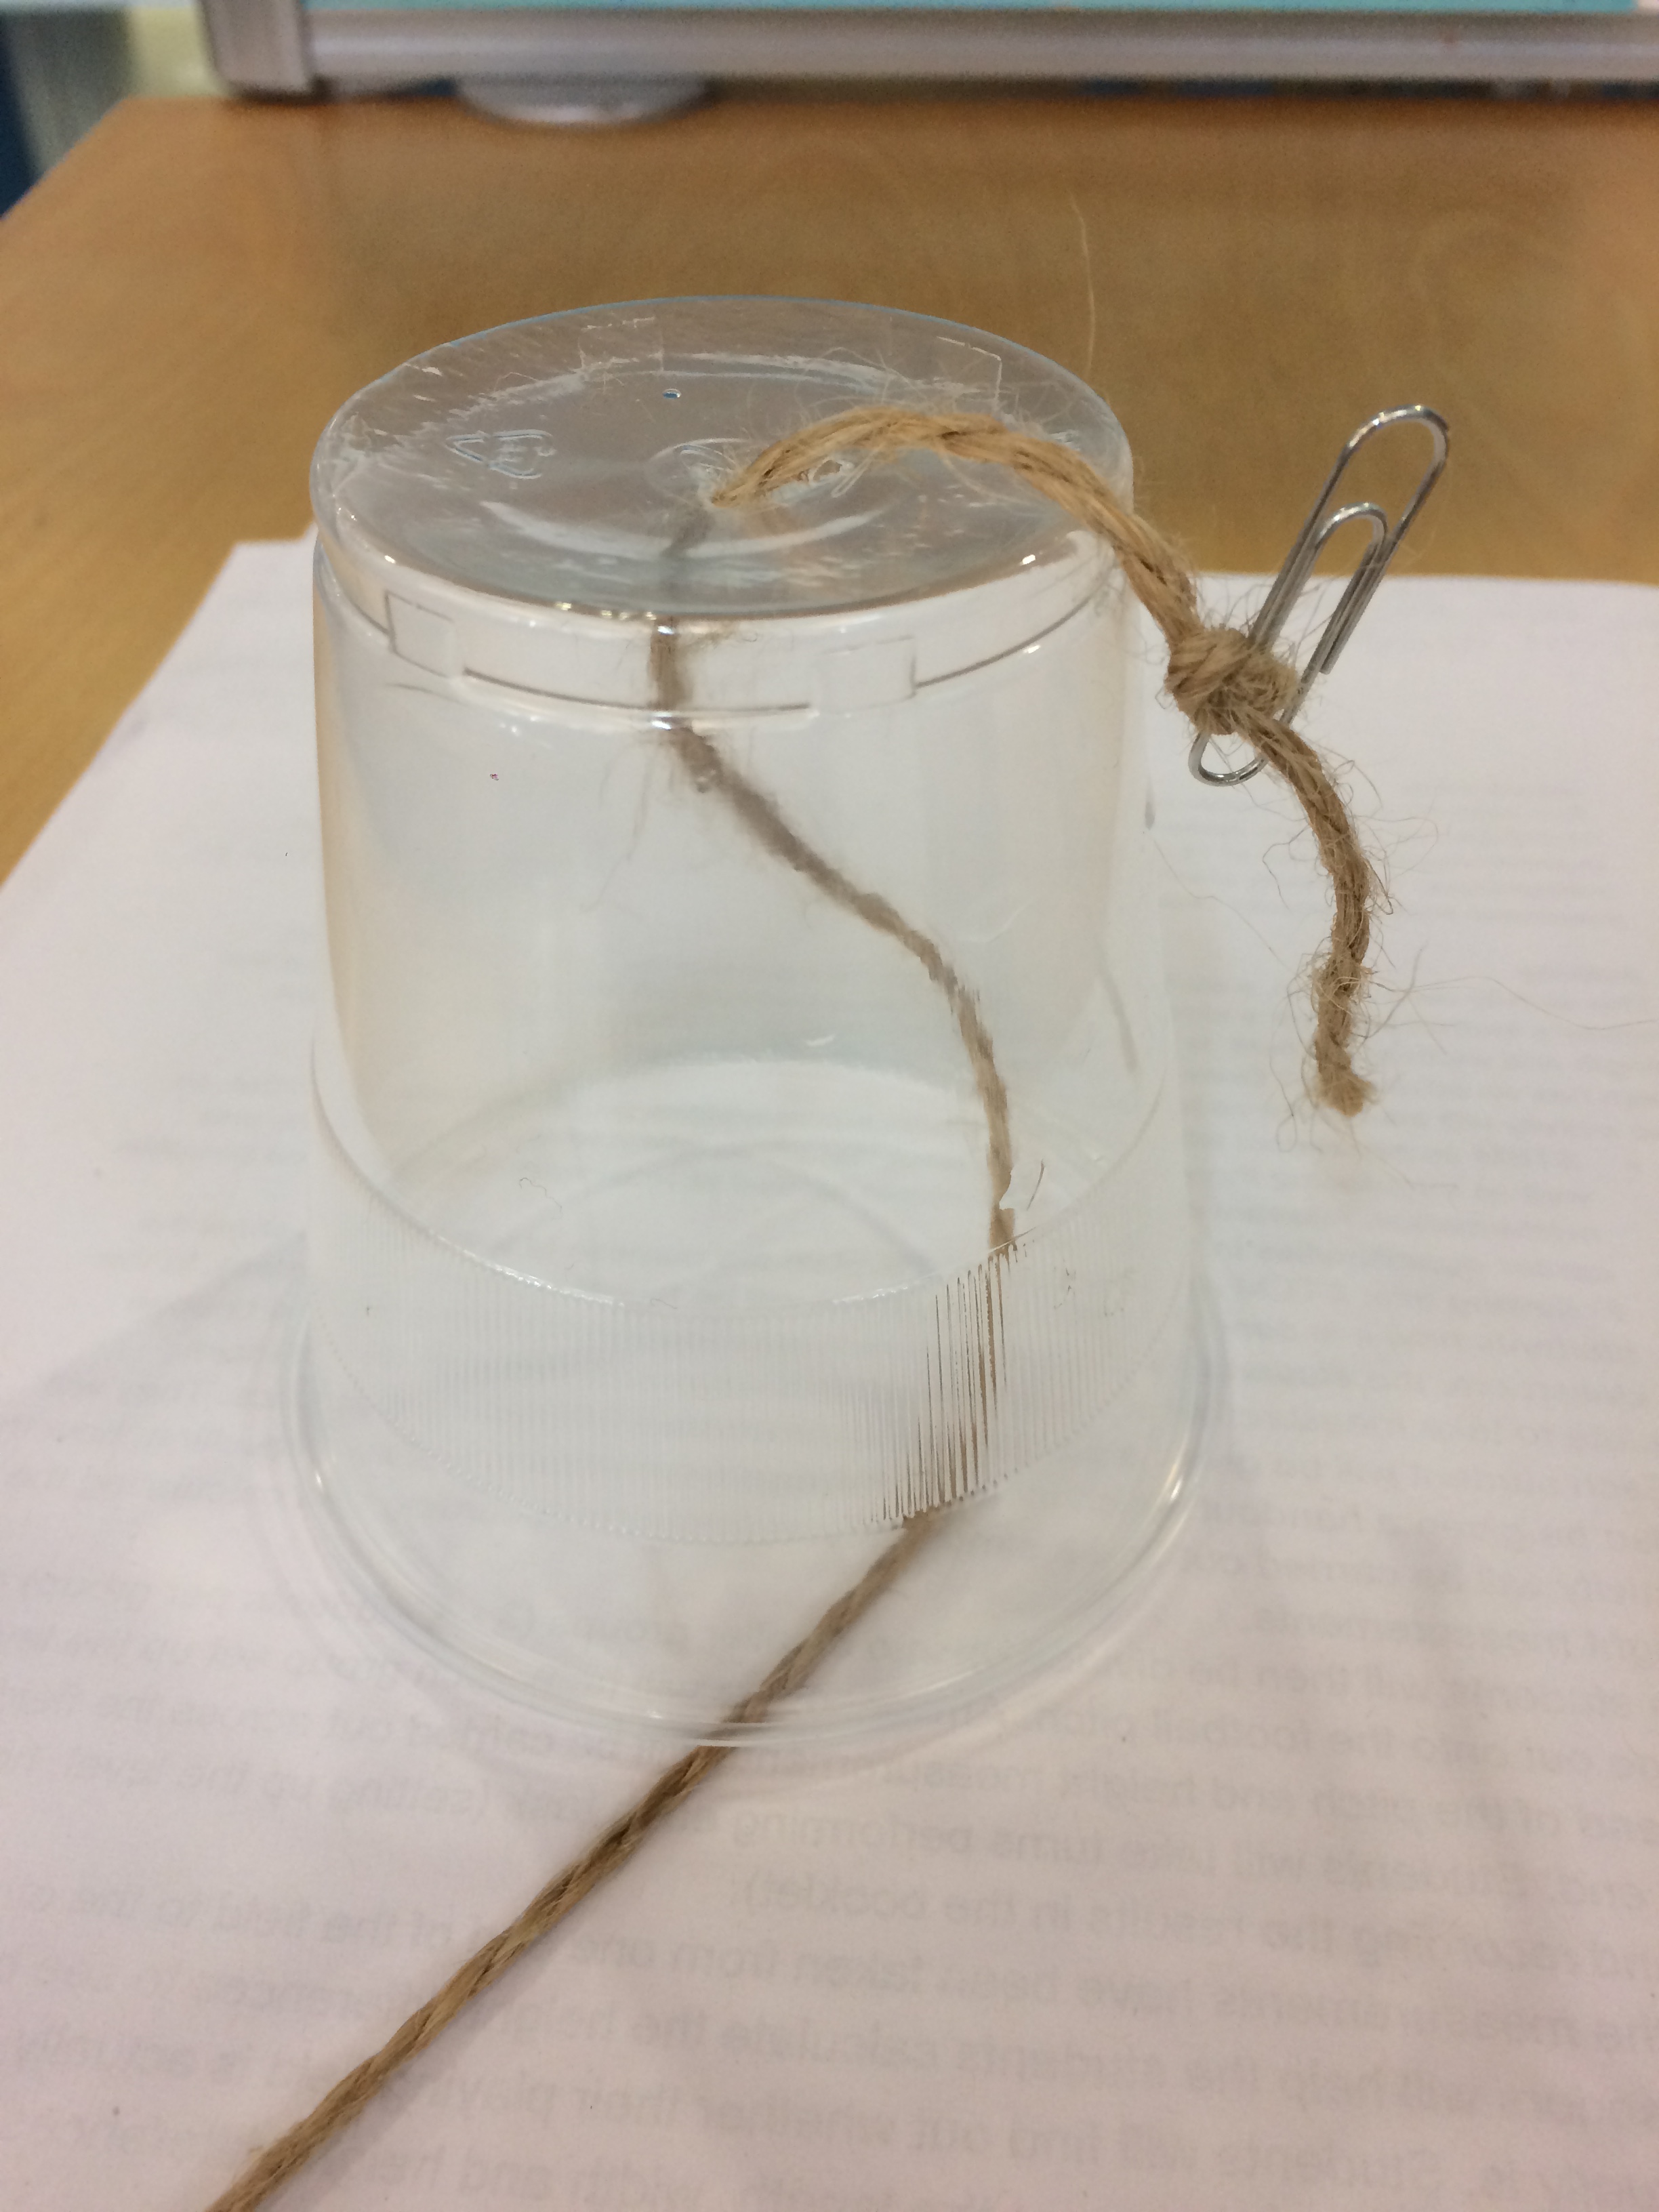
Step 4
Dip the decorations in the water, and suspend over the container (as shown in the picture)

Step 5
This next part will take some patience!
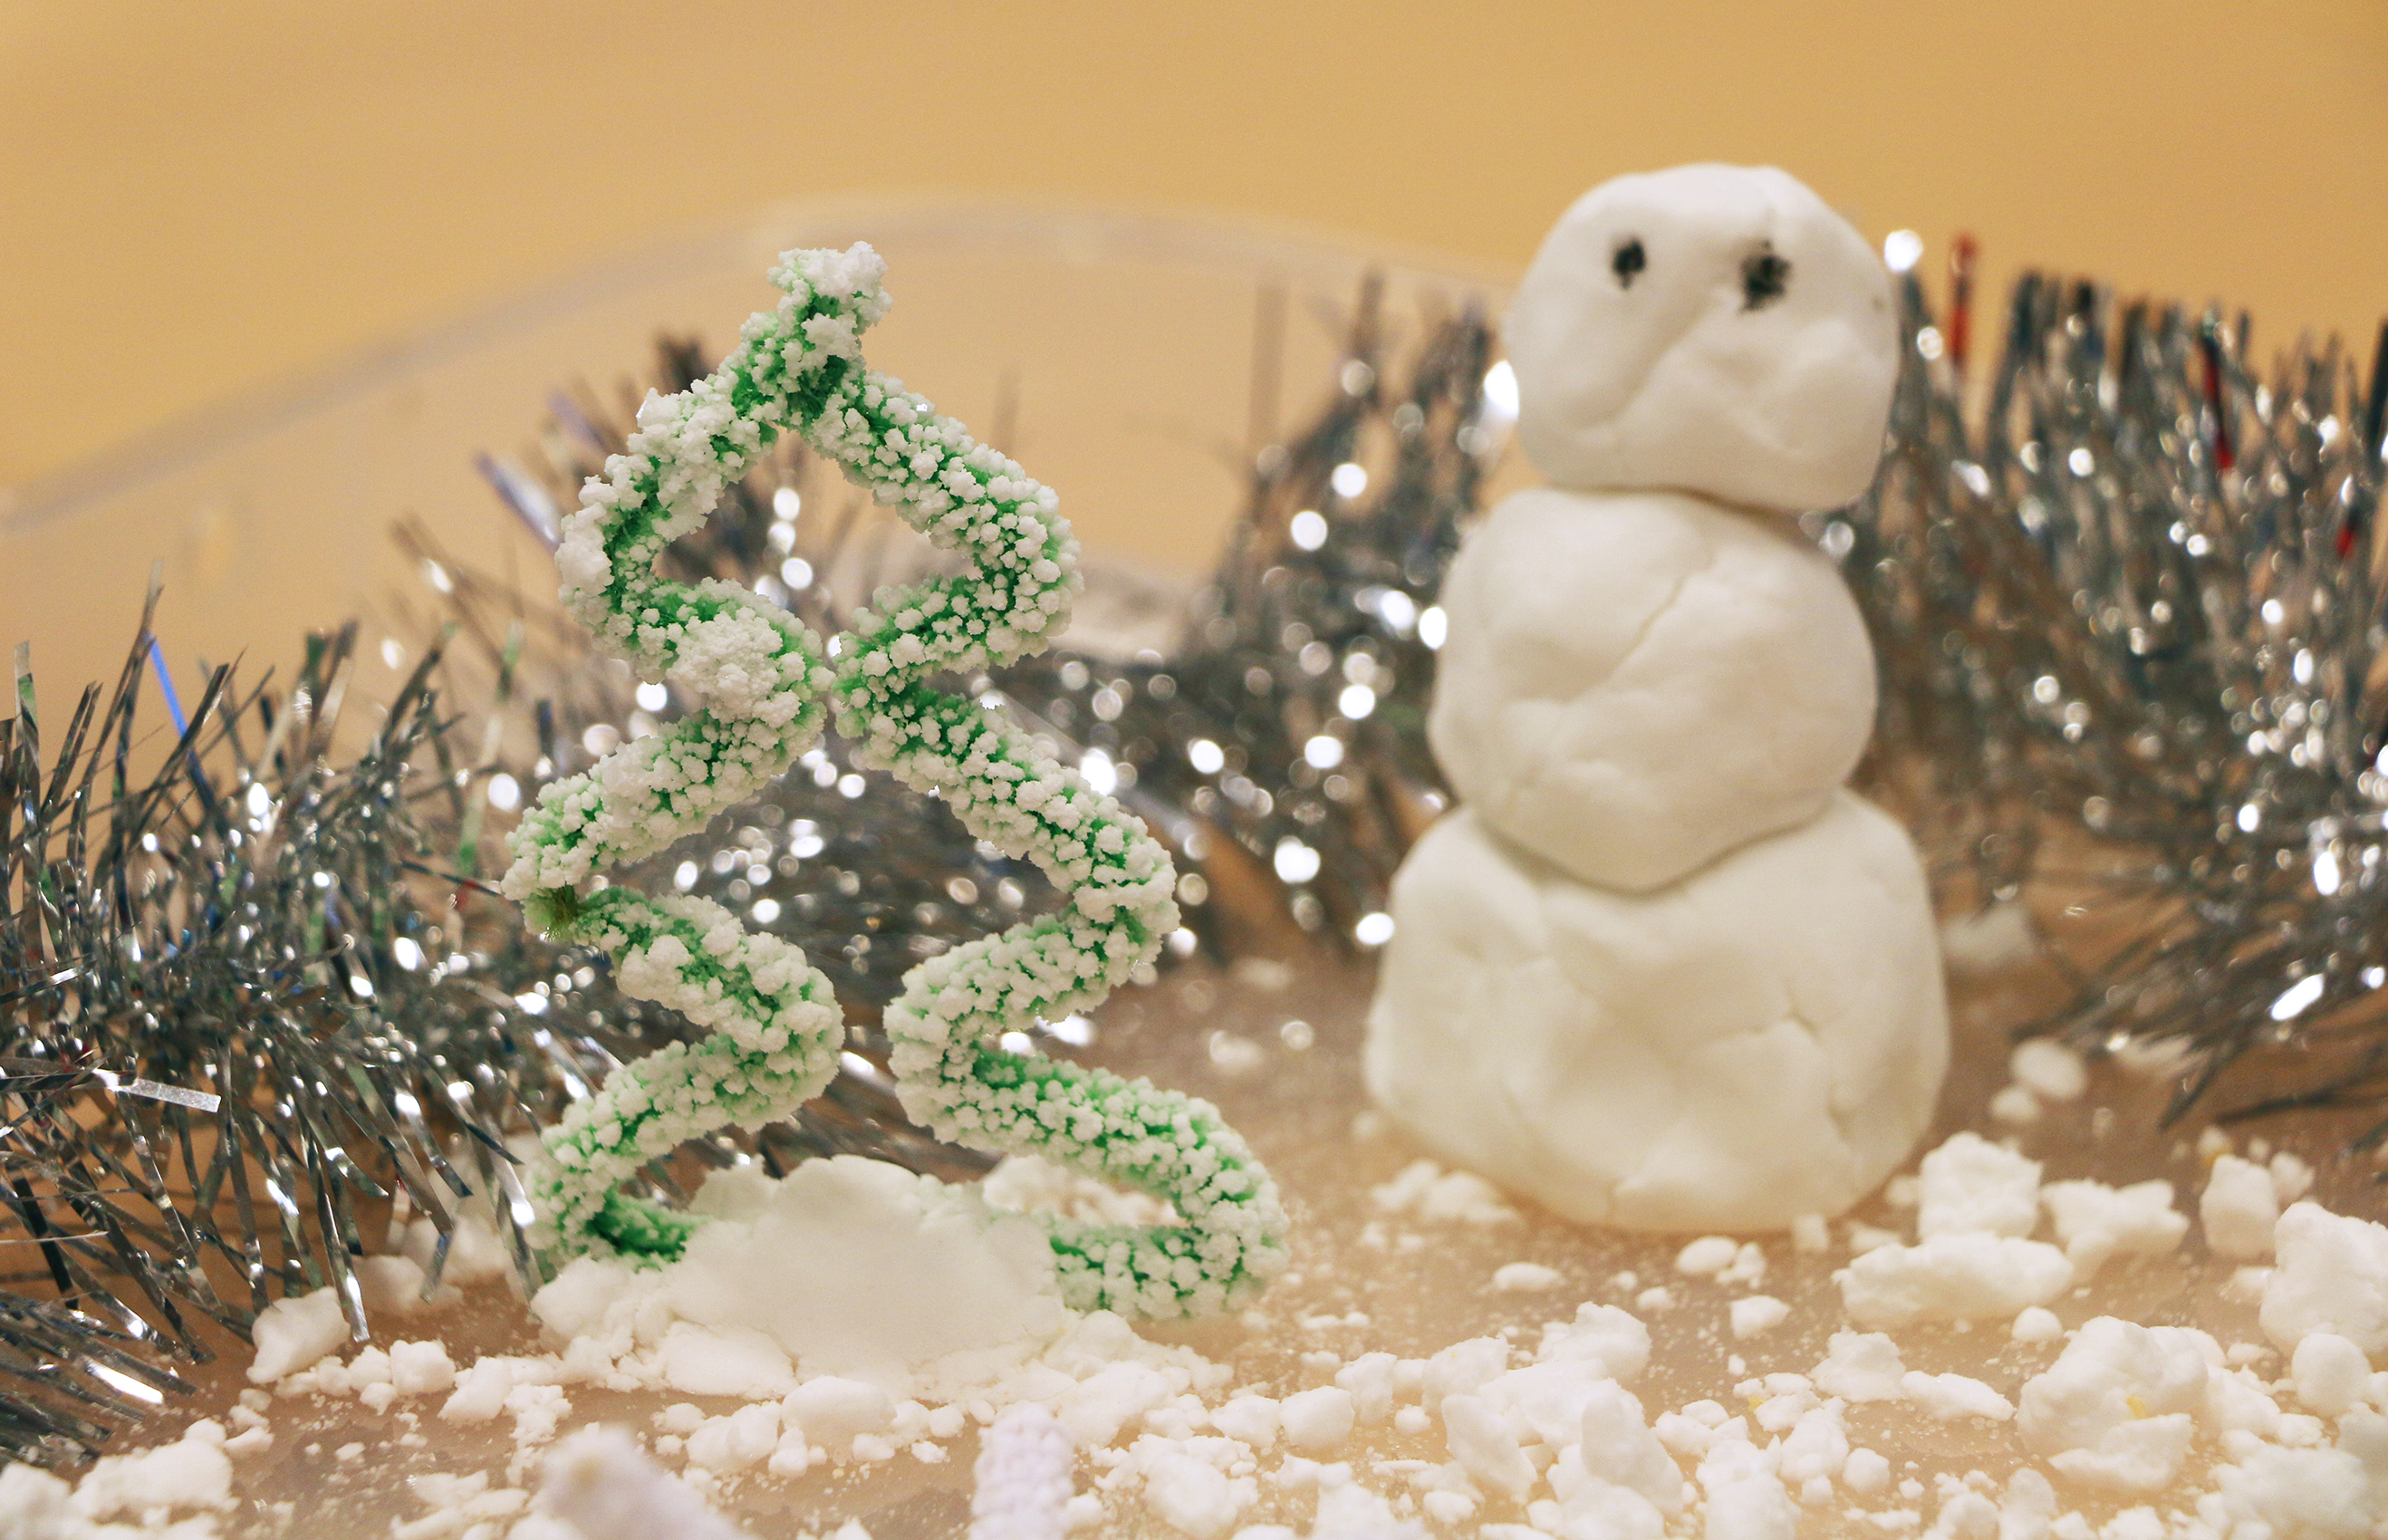
Over the next 24 to 48 hours, watch as the crystals develop around the fibres of the pipe-cleaners, and see your beautifully festive decorations develop!
Step 6
Tie a piece of string around the top of your decoration and hang on your tree!

The Science
Salt crystals are formed due to ionic bonding, meaning they form a specific pattern which is always a square shape. When salt is dissolved into water, the water molecules separate the salt molecules. This means that even when it looks like the salt has disappeared in the water, it is actually there all along. This happens especially well in hot water, as the heat means the water can hold many more salt molecules than cold water. As the water cools and evaporates, the salt crystals bond again as the water can no longer hold all the salt. The crystals stick to the pipe-cleaners because as the water evaporates, it takes some of the salt with it which clings to our suspended decorations, leaving beautiful crystal ornaments!


 Try making different flavours of ice cream by swapping the vanilla extract for strawberry or mint extract or even cocoa powder for chocolate ice cream. You could also try adding chocolate chips.