This week we’re making ice cream but instead of using an ice cream machine, we’re going to make it using science!
You will need:
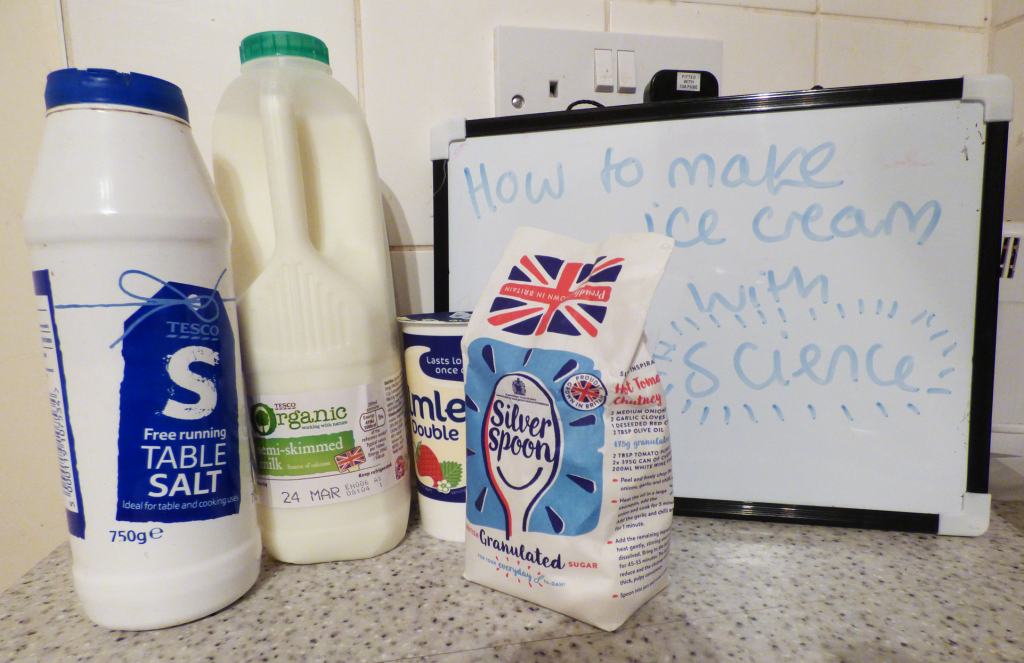
- Two Ziploc bags – one small, one large
- 100ml double cream
- 50ml milk
- 40g sugar
- Vanilla extract
- Ice
- Salt
- Measure out the milk, cream and sugar and place them into the smaller Ziploc bag.
- Add a dash of vanilla extract then zip up the bag.
- Fill the larger bag 2/3 full with ice.
- Pour a generous amount of salt onto the ice.
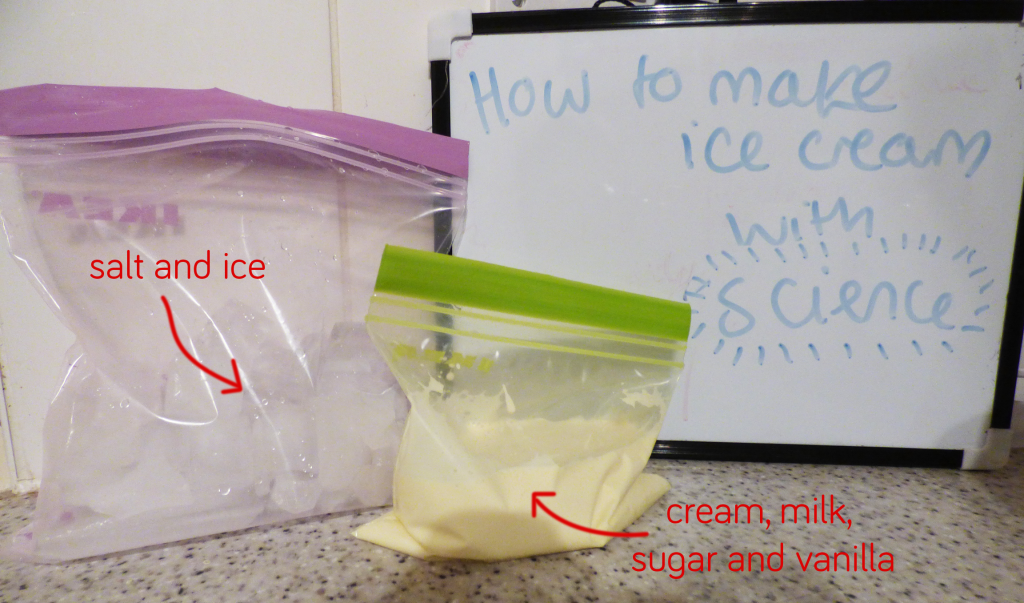
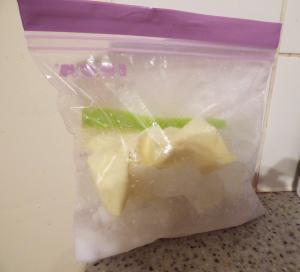
- Making sure the small bag is tightly zipped up, place it inside the bigger bag with the salt and ice.
- Gently shake the bag for 5-10 minutes, be careful not to rip the bag!
- Leave the ice cream to sit inside the ice and salt bag for another 10 minutes
- Open up your bag and enjoy!
 Try making different flavours of ice cream by swapping the vanilla extract for strawberry or mint extract or even cocoa powder for chocolate ice cream. You could also try adding chocolate chips.
How does this work?
Water, as I’m sure you know, freezes to make ice at 0oC. But your freezer at home is around -18oC, so how are we making the ice cold enough to freeze your creamy mixture? The secret is in the salt.
Ice is in a constant state of melting and refreezing and melting and refreezing. When we add salt, the salt particles block the path of the melted ice, stopping it from freezing back on to the rest of the ice but ice can still melt. Therefore more ice is melting that freezing.
Now you may be thinking that surely if the ice is melting that means it is getting warmer? It’s actually the opposite. For ice to melt it needs to break the bonds that are formed between the H2O molecules. This breaking requires energy which it gets in the form of heat. When a molecule melts away a bond is broken, taking heat away from the surrounding, causing the temperature to drop.
This is also the reason that salt is put on icy roads – it stops water forming ice.