Category Archives: Try This Tuesday

#TryThisTuesday: Exploding Lunch Bag

Today we are going to make an explosive lunch!

You will need

  • One small (sandwich size) zip-lock plastic bag
  • Bicarbonate of soda
  • Warm water
  • Vinegar
  • A tissue

img_4727

Do this experiment outside, or at least in the kitchen sink. Put about a quarter of a cup of warm water in the bag with half a cup of vinegar.

Put three teaspoons of the bicarbonate of soda into the middle of the tissue and fold it up into a little parcel.

img_4779

Partially zip the bag closed but leave a little space to add the bicarbonate of soda parcel in. Put the tissue parcel in the bag and quickly zip the bag completely closed.

Put the bag on the ground and step back. The bag will start to expand and hopefully pop!

img_4782

The Science

The bicarbonate of soda and the vinegar eventually mix together, the tissue just gives you enough time to get the bag shut. A reaction takes place between the alkaline bicarbonate of soda and the acidic vinegar, this is know as an acid-base reaction. The reaction produces carbon dioxide, which begins to fill the bag. After a while the bag can no longer hold any more gas so it pops!

The reactions between acids and alkalis are used lots in real life too. Farmers can treat acidic soil with alkaline lime fertilisers to neutralise the soil and allow plants to grow. It’s also a good way to treat a wasp sting; wasp stings are alkaline so you can treat them by putting vinegar on the sting.

#TryThisTuesday: Chicken Sounds from a Cup!

This week we are going to make chicken sounds from a cup!

You will need:img_4715

  • plastic cup
  • string
  • paperclip
  • paper towel
  • scissors
  • water
  • pin


First put a hole in the top of your cup. We found it easiest to push a pin through and then make the hole larger with scissors.

Cut a piece of string that is about 20cm long and put it through the hole in the cup.

Tie the top end of string to the side of the paper clip.img_4716

Wet the paper towel. Hold the cup in one hand and wrap the paper towel around the string near the paper cup. Squeeze the string and pull down in sharp jerks to make the chicken noise!

The Science

Sound travels in waves, which cause particles to vibrate and causes the sound. The vibrations from the string would normally be almost silent without the cup.

When you add the cup it amplifies the sound and makes it much louder. This is because the cup is a solid object, and there are lots of closely squashed together particles in a solid object for the sound waves to hit and vibrate. The more vibrations the LOUDER the sound.


#TryThisTuesday: Milky Fireworks

For this week’s experiment you will need to raid your fridge and kitchen cupboards to get some milk, food colouring and washing up liquid.

Pour some milk into a dish or bowl, this works better with full fat milk (we’ll tell you why later!). Add small drops of your food colouring wherever you like in the milk.

20170509_142618

Get some washing up liquid on the end of a spoon or cotton bud and gently tap the spots of food colouring with it. 20170509_143248

The food colouring should burst out into colourful stars and wavy shapes. This happens because the washing up liquid molecules have a hydrophobic tail, these means that they don’t like water so try to get away from it by seeking fat molecules. The milk (especially if it is full fat milk) contains lots of fat molecules. So the washing up liquid moves around in the milk seeking out this fat and takes the food colouring along with it, creating these funky patterns.

This is why we use washing up liquid to clean our dishes. The hydrophobic, fat-loving parts cling to grease and fat. The head of the washing up molecules are hydrophilic, meaning they love water. The heads cling to the water and the tails cling to the grease, this pulls the grease and dirt from your plates and washes them away with the water, giving you sparkly clean dishes.


#TryThisTuesday: Cork Balancing

Today we’re challenging you to balance a cork on its round side, on the very end of your finger, whilst keeping your finger straight. 20161018_163129_resized

Could you manage it?

It’s quite tricky, but here’s a hint: two forks could help you out.

20161018_163159_resized

Have you figured it out yet? Remember the cork must be balanced on your finger not the forks.

The solution is to stick the forks into either side of the cork. You should then be able to easily balance it on the end of your finger.

20161018_163223_resized

There are two reasons this works. Firstly the forks add weight to the object you’re trying to balance. Because the ends of the forks hang below your finger, it lowers the centre of mass so that it sits underneath your finger, increasing the stability.

Secondly, adding the forks extends the object. By making it longer, the centre point is also stretched making it easier to locate so easier to balance the object. This is why tight-rope walkers often have long poles to help them balance.

Image result for tight rope walker

#TryThisTuesday: Easter Eggsperiments

As Easter is coming up we’re treating you to four experiments instead of one this week! And a little video showing Ellie and Clare demonstrating each of them (or at least attempting to!)

1. Hard-boiled Egg Test

Our first eggsperiment requires a hard boiled egg so we’re going to show you how you can test if an egg is hard boiled or not.

Lay a hard-boiled and a normal egg flat on their sides and spin them. Put your finger on the eggs to stop spinning them and then let go. The one that starts spinning again is the raw egg.

This is all due to momentum. When you spin the eggs you spin their insides too. In the hard boiled egg, the insides are fixed to the shell so it behaves as you would expect. In the raw egg the insides continue to spin after you’ve stopped the shell. When you let go, the momentum of the spinning yolk carries the shell and the whole egg starts spinning again.


2. Egg in a Bottle

Now we know which is our hardboiled egg, we need to peel it for next experiment. This one requires a glass bottle, a match and of course, the egg.

If we place the egg on top of the bottle it doesn’t look like it’s going to fit in. But if we light the match and drop it into the bottle then after a second place the egg on top, the egg will squeeze into the bottle.

The match heats up the air in the bottle, causing it to expand slightly. The egg creates a seal so more air cannot enter. As the air cools inside the bottle it decreases the pressure and forces the egg into the bottle.
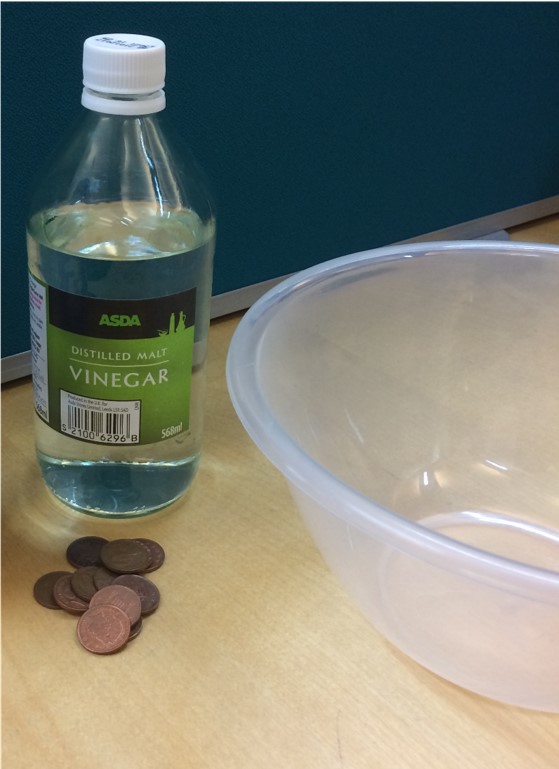
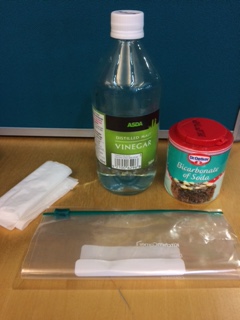
 

3. Naked Bouncy Egg

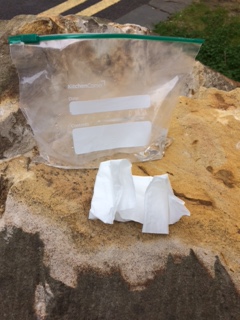
To make a naked bouncy egg you will need an egg, white vinegar and a beaker. Place your egg in the beaker and pour in enough vinegar to cover the egg. Leave you egg here overnight.

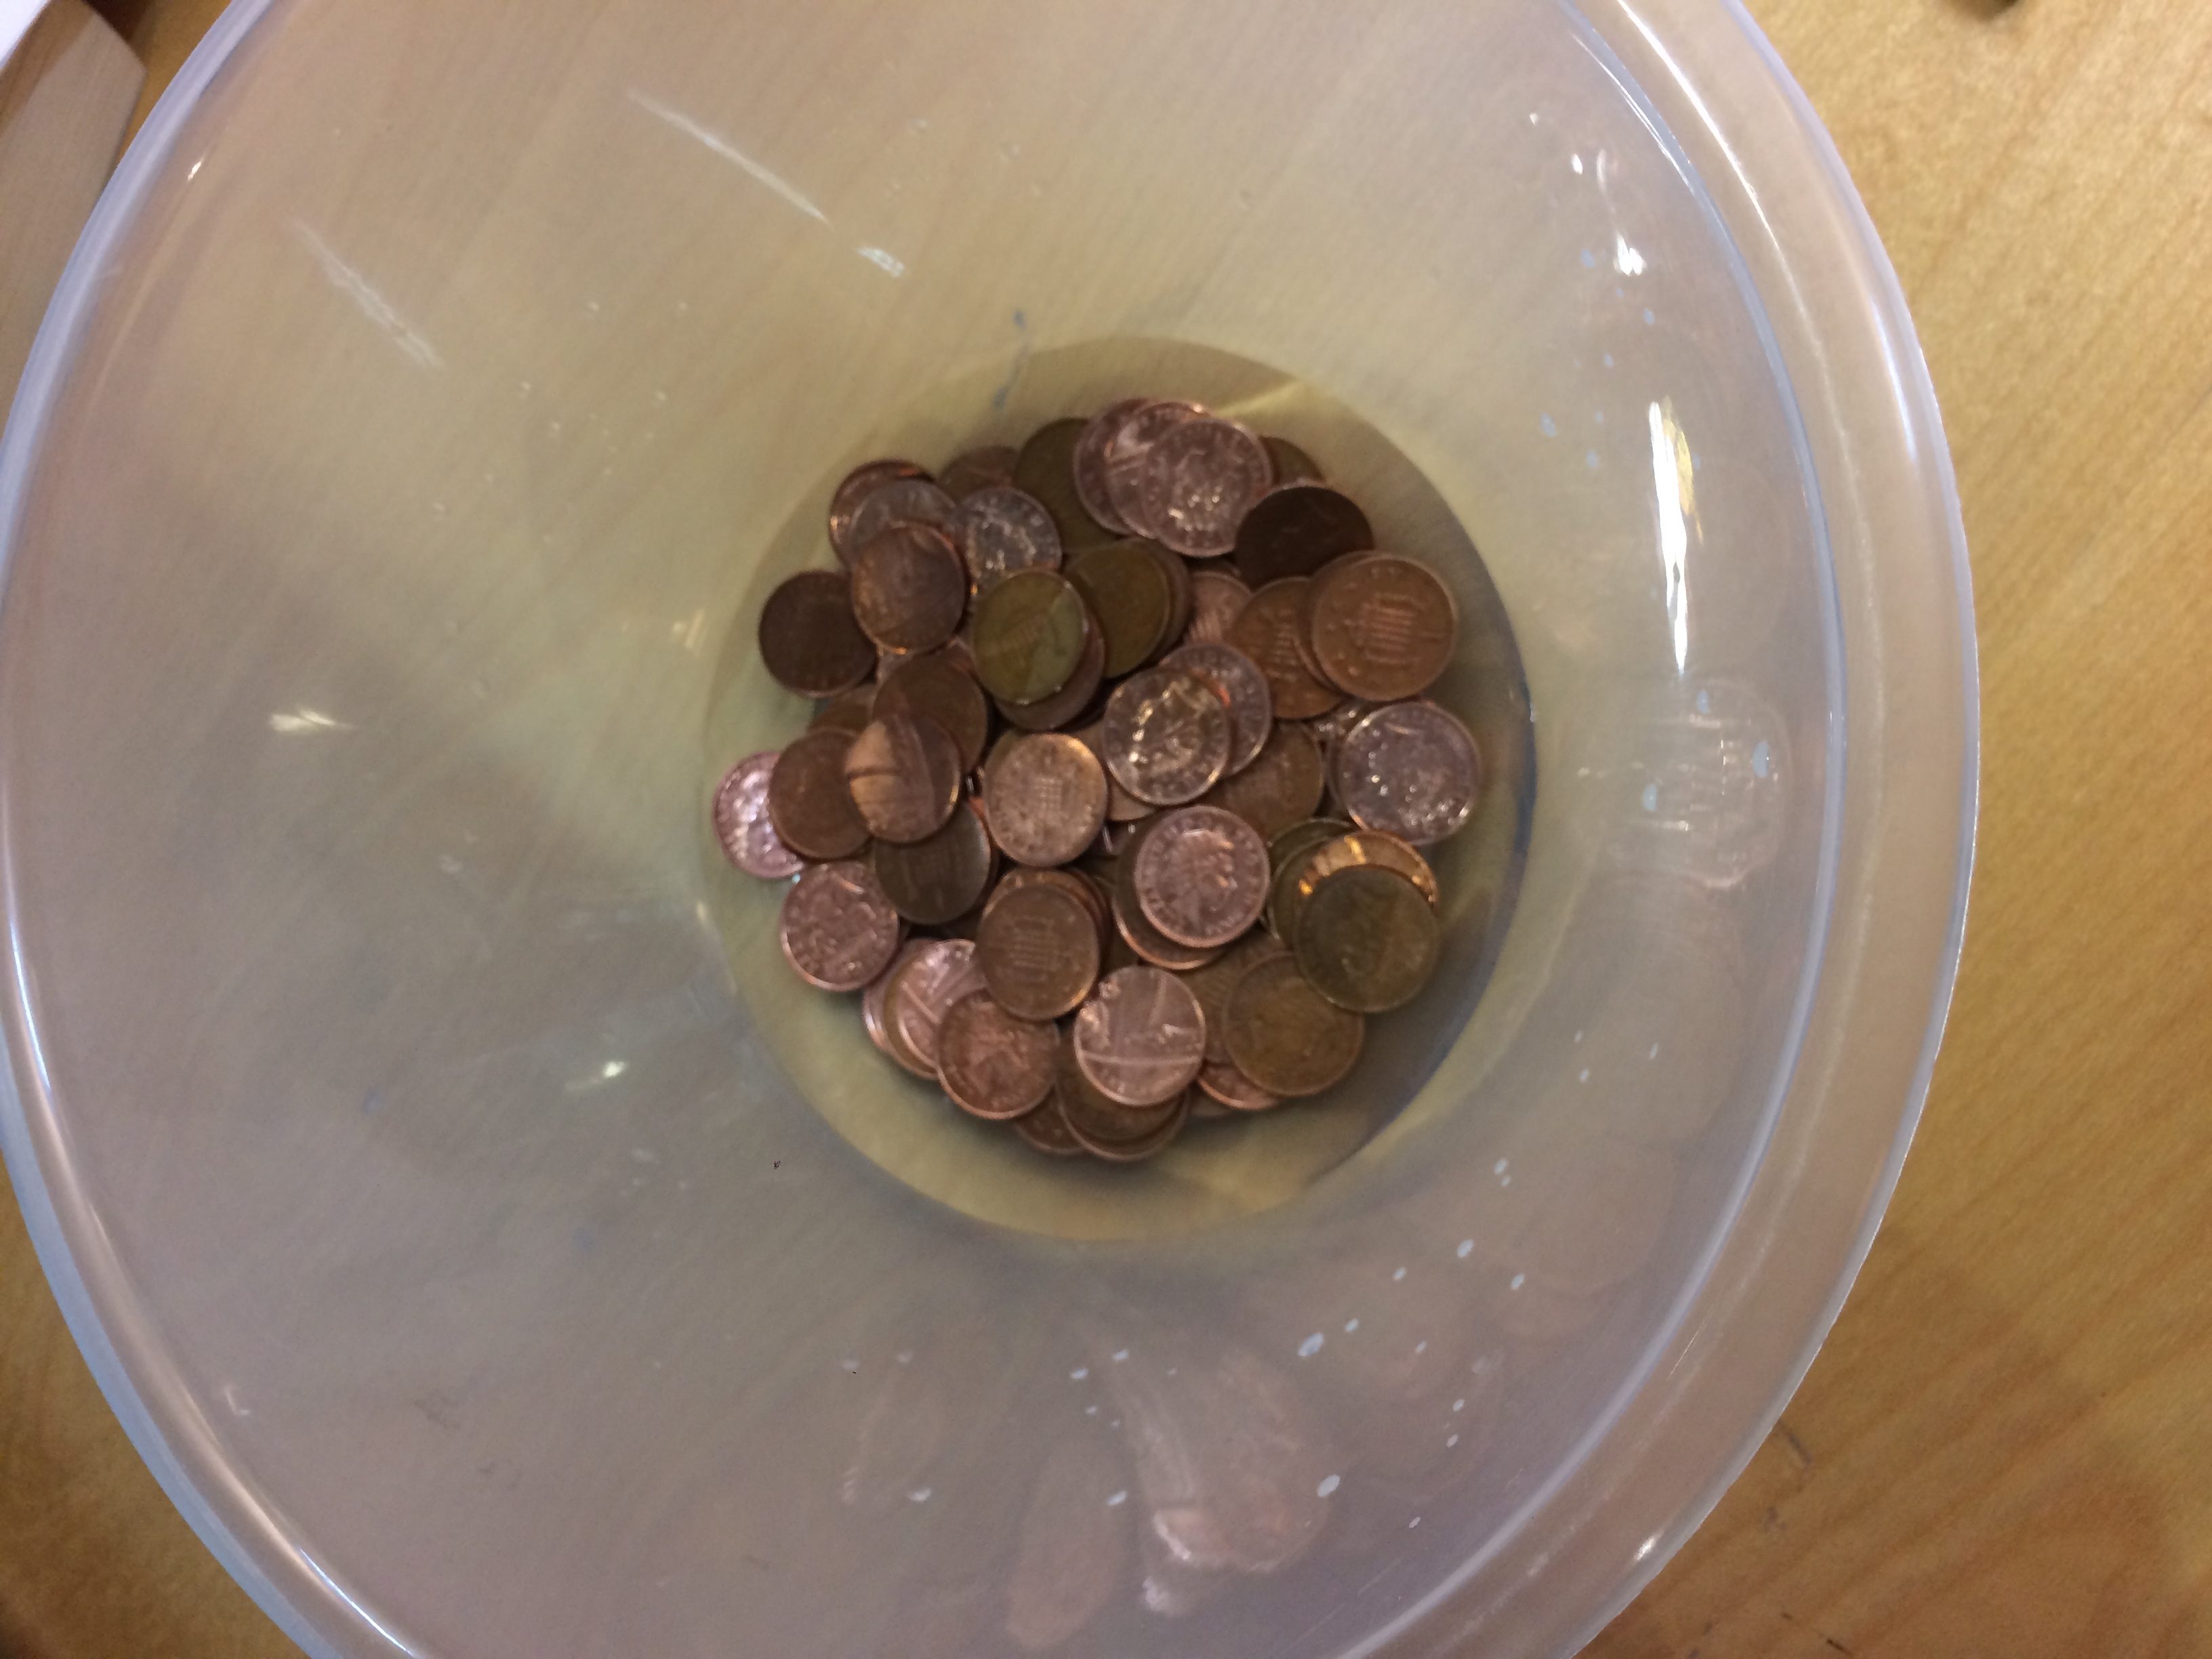
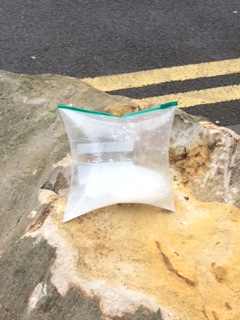
The egg shell is made mostly of calcium carbonate, this reacts with the acid in the vinegar and dissolves to leave a naked egg. It also produces carbon dioxide gas, so as your egg is soaking you may see little bubbles of CO2 forming around it.

After a day, carefully remove you egg from the vinegar and wipe away any remaining shell. You should see that it’s now quite rubbery and bouncy as well.


4. Bouncy Elastic Egg Drop

For this final eggsperiement you can use your bouncy naked eggs but we’re cheating a little bit and using rubber eggs. For this you will need to take two rubber eggs and join them together with a piece of elastic or a string of elastic bands.

When you hold your eggs next to one another and let go they both hit the floor at the same time as you might expect. But what do you think will happen if we just hold the top egg and let the other hang below it, which will reach the floor first when we let go?

Gravitational acceleration is the same no matter the weight or mass of an object, but when we add elastic between the eggs, this adds an extra force that speeds up the drop of the higher up egg as the elastic pulls them together.


#TryThisTuesday: Skipping Stones

During our time as STEM Ambassadors, we’ve visited several beaches together. From Newcastle in Northern Ireland to Clear Water Bay in Hong Kong and even beaches closer to home in Whitley Bay and Tynemouth, we always ended up skipping rocks somewhere!

But how do we do it!? Why don’t the rocks just fall into the water?

Skipping rocks in Whitley Bay

The key is to get a nice flat rock and throw it quickly at the right angle. The large surface area allows the stone to bounce off the water’s surface.

You need to throw it fairly hard to give it enough speed to gain momentum before it hits the water. When the rock hits the surface of the water it pushes the water down whilst the water pushes the rock up. If the force pushing the stone up from the water is greater than or balances the weight of the stone then it will bounce on for another skip rather than sinking. This is why it helps to have a nice small stone.

20170401_161404

It is also important to get the right velocity. Velocity is the speed of something in a give direction. So we have the speed covered, now for the direction. Scientists have discovered that the optimal angle at which the stone should hit the water should be around 20 degrees. As you probably won’t be able to measure this on a causal day trip to the beach, just aim to throw the stone sideways rather than up or down.

Hopefully you’ll manage more than my measly two skips. Try beating the world record of 88 skips in a row!

Will skipping rocks in Northern Ireland

#TryThisTuesday: Curly Fries!

Today we are looking at the science behind curly potato fries. First, let’s talk about how we make them.

  1. Carefully chop up a potato into straight thick chips.
  2. Boil around 250ml of water and stir salt into this water until no more salt will dissolve.
  3. Fill a bowl with tap water and place half of your chips into this bowl.
  4. When the salty water has cooled pour it into another bowl and add the rest of your chips to this.p1020750
  5. Leave both bowls of chips out overnight.
  6. The next day you should have one bowl of chips that are still hard and straight and the other bowl (with salty water in) will be full of chips that are more flexible, that you can shape into curls.

p1020755

The Science

The addition of salt to the water allows you to make curly fries due to osmosis. Osmosis is the movement of water from an area that has few molecules in the water to an area that has more molecules in it to try to even things out and create a balance.

waterin

Plants like our potato here are made up of millions of cells that have a cell membrane around its edge which allows some things in and not others. Water can easily flow through this but the salt we dissolved in it can’t. Cells are filled with lots of little molecules so water usually flows into the cells and fills them to dilute the liquid. But when we have lots of salt in the water, there are more particles in the water outside of the potato cells than inside so the water leaves the cells.

waterout

bendy
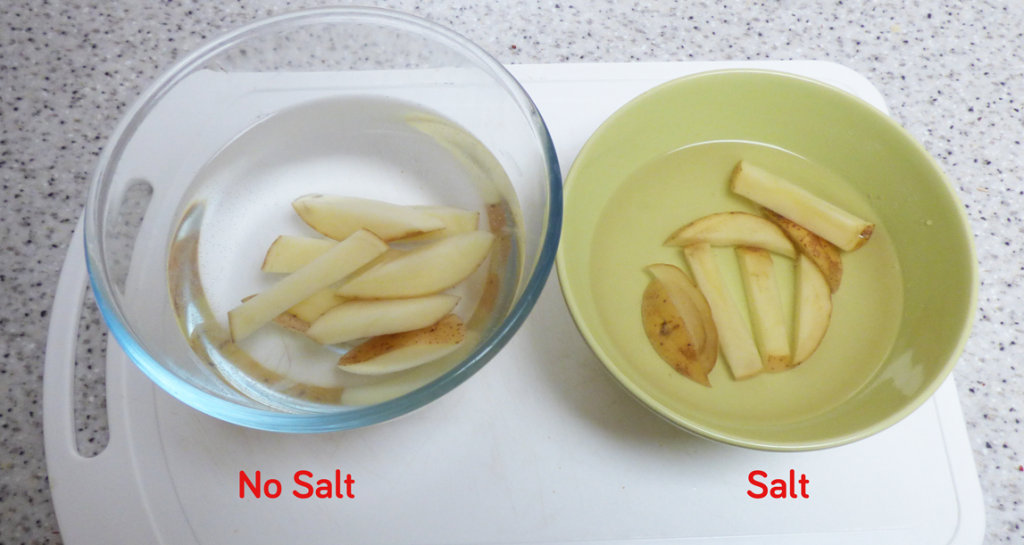
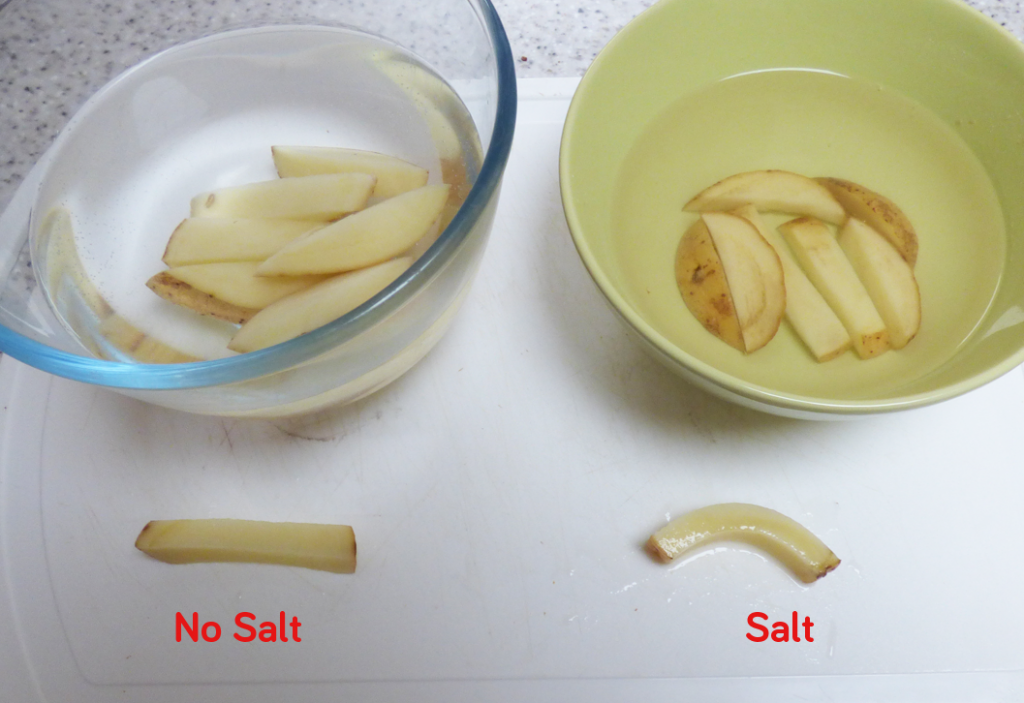
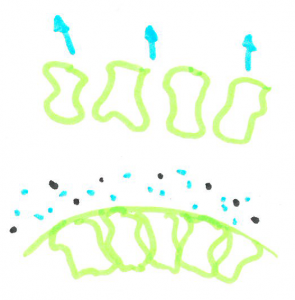
When cells are filled with water they are quite rigid and packed closely together making a fairly sturdy chip. When the cells are dehydrated, they are smaller leaving space between cells, allowing the chip to bend without snapping.

Osmosis is used in all plants – not just when you cut them up and put them in a bowl of water! Plants use osmosis in their roots to allow water to move from the soil into their roots.


#TryThisTuesday: Homemade Ice cream!

This week we’re making ice cream but instead of using an ice cream machine, we’re going to make it using science!

You will need:

  • Two Ziploc bags – one small, one large
  • 100ml double cream
  • 50ml milk
  • 40g sugar
  • Vanilla extract
  • Ice
  • Salt

p1020737-2

  1. Measure out the milk, cream and sugar and place them into the smaller Ziploc bag.
  2. Add a dash of vanilla extract  then zip up the bag.
  3. Fill the larger bag 2/3 full with ice.
  4. Pour a generous amount of salt onto the ice.p1020738-3
  5. Making sure the small bag is tightly zipped up, place it inside the bigger bag with the salt and ice.
  6. Gently shake the bag for 5-10 minutes, be careful not to rip the bag!
  7. Leave the ice cream to sit inside the ice and salt bag for another 10 minutes
  8. Open up your bag and enjoy!

p1020740-2
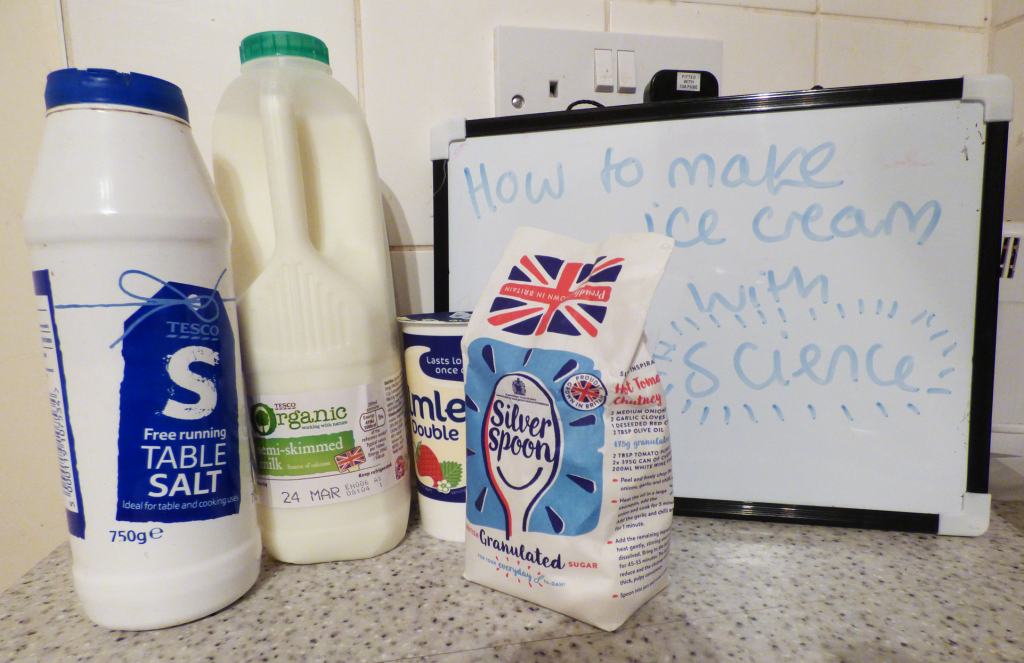
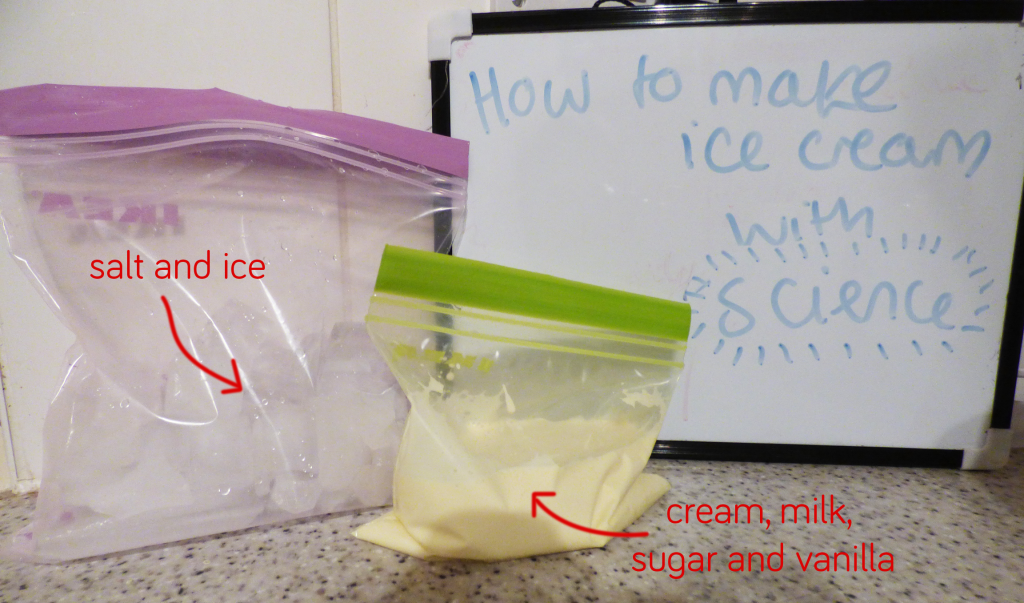
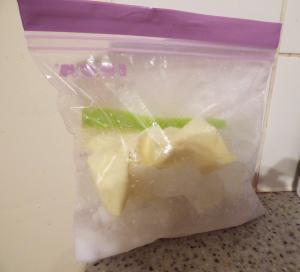
Try making different flavours of ice cream by swapping the vanilla extract for strawberry or mint extract or even cocoa powder for chocolate ice cream. You could also try adding chocolate chips.


How does this work?

Water, as I’m sure you know, freezes to make ice at 0oC. But your freezer at home is around -18oC, so how are we making the ice cold enough to freeze your creamy mixture? The secret is in the salt.

Ice is in a constant state of melting and refreezing and melting and refreezing. When we add salt, the salt particles block the path of the melted ice, stopping it from freezing back on to the rest of the ice but ice can still melt. Therefore more ice is melting that freezing.

Now you may be thinking that surely if the ice is melting that means it is getting warmer? It’s actually the opposite. For ice to melt it needs to break the bonds that are formed between the H2O molecules. This breaking requires energy which it gets in the form of heat. When a molecule melts away a bond is broken, taking heat away from the surrounding, causing the temperature to drop.

This is also the reason that salt is put on icy roads – it stops water forming ice.

#TryThisTuesday: Guess The Flavour

For this Try This Tuesday all you will need is some starburst or chewy fruit sweets.img_4490

Close your eyes and pick a starburst at random without looking. Unwrap it with your eyes closed.

Hold your nose and eat the starburst, make sure you keep holding your nose the whole time.

Can you guess the flavour without looking at the colour of the sweet or the wrapper? You might get some of them wrong!

If you let go of your nose halfway through chewing, you might suddenly be able to taste the flavour.

The Science

Smell and taste are really closely linked, so it is really hard to guess the flavour of the starburst when you hold your nose. About 90% of what we taste is due to smell. Both senses use similar receptors and rely on the same molecules to send messages to the brain about what you can taste and smell. Flavour is actually a mix of taste, smell, texture and other cues like temperature.

It is also important to close your eyes when you eat the starburst, as you can make unconscious links between colour and flavour. Our brain is really good at picking up associations such as a purple coloured sweet is likely to taste of blackcurrant. When the colour makes us expect something to taste a certain way, we taste what we expect unless it’s really different.

This colour association affects some people worse than others,  the pathways to the brain can get crossed over causing synaethesia. This might mean that when they see yellow – they taste lemon.

#TryThisTuesday: Making coins shiny again

New coins are always bright and shiny but they quickly become dull and tarnished. Today we are going to make our coins shiny again!

You will need 100ml of vinegar, some tarnished copper coins and a bowl.vinegar

Pour the vinegar into the bowl and add the salt. Mix until the salt is dissolved.

img_4336

Try dipping a coin in and holding it there for 5 minutes. See how half becomes really shiny!

half

Put all your coins in and leave for 30 minutes. If you put lots of coins in the vinegar may turn green.img_4337

Make sure you rinse all the coins with clean water.

The Science

Coins become dirty due to oxygen in the air reacting with the metal to form copper oxide. They become darker as they age as the oxide layer increases. Vinegar is an acid (acetic acid) which can be used to clean up surfaces and remove the unwanted oxides. Acids release positively charged hydrogen atoms, also known as Hydrogen ions (H+) which react with the negatively charged oxygen in copper oxide and produce water (H2O). The copper that was linked to the oxygen dissolves leaving a nice shiny surface.

If your vinegar turned green this is due to all the copper dissolving and producing copper acetate.

Real World Applications

Iron that is used to make cars, trucks and boats can also react with the oxygen in the air and oxidise, producing rust. If a car gets rusty, mechanics can use phosphoric acid  to remove it. It reacts with the rust, removing the oxide and replacing it with a layer of iron phosphate. This also protects the metal from rusting further.

Phosphoric acid is also found in coca cola, which is why it is so good at dissolving your teeth!