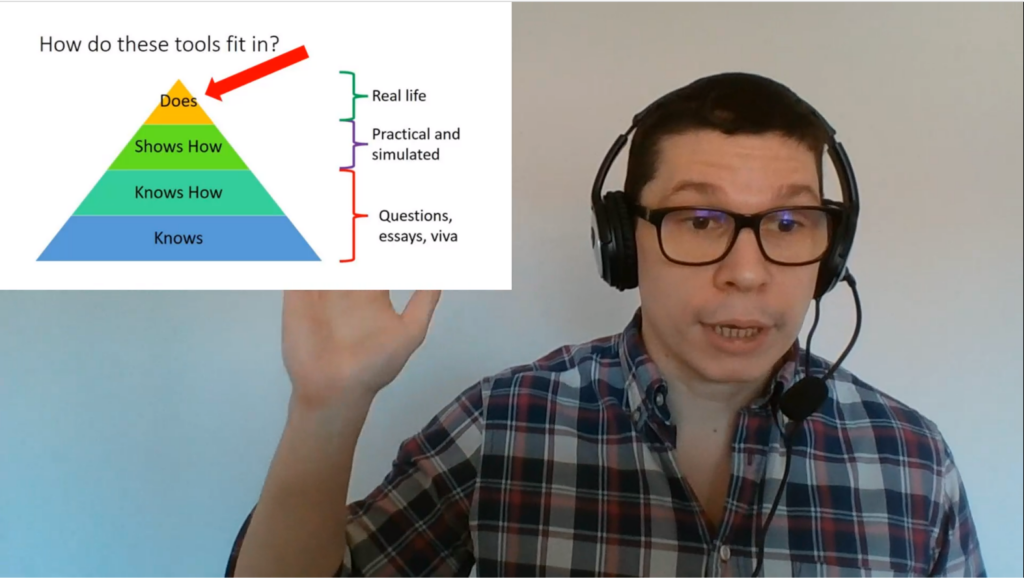
This post, kindly provided by Module Leader David Thewlis, discusses the use of OpenShot Video Editor to add overlays into videos for teaching.
Check out the resources section at the bottom of this post for step-by-step guides.

Why I use overlays?
I started my approach to online lecturing by recording in PowerPoint. Then I moved to recording in ReCap/Panopto. Neither were quite right for me, I felt limited in my delivery compared to in-person teaching. I found using props difficult when you only take up a small portion of a screen and emphasis on what really matters can be lost when you can’t feel the energy of the room.
I realised my biggest issue with my lectures was that I was relegated to a tiny corner and the slides had become central.
You want the slides to be condiments to what you’re saying, not be the main event.
Patrick Winston, How to Speak
Bell Hooks writes about academics hiding behind the pedestal lose engagement with the class. Unfortunately, online lectures can create a similar barrier between us and our students. Overlays is the approach I decided on to help reduce this barrier in my teaching.
I hope I am not the only person who spends hours watching videos on YouTube for inspiration. The videos I found most interesting (even if they were long) were simple speaker focused talks, which showed media when it was helpful. Replicating this type of content was my aim.
What can you use overlays for?
Overlays replace slides by allowing the speaker to have greater control over where and when to place media. You can incorporate pictures, videos, audio, and titles into a single talk with reasonably little skill (I have managed – you can too!). You can choose to direct focus in the frame. Wes Anderson has made a film director’s career out of this skill, perhaps we can learn from it.
Types of overlays:
- Picture – these can act very much like slides. Placing them in a corner of the screen, or covering the whole screen can offer different experiences.
- Titles – these are text which appears in picture. They can be used as a title, but I like to use them to correct a mistake I’ve made in wording I also use them to throw forward to an idea or call back something discussed earlier in the lecture or course.
- Video – adding another video within your video can serve as a much better example than just simple explanation. I have done this a few times with examples of good teaching models recorded by my colleagues. I have also seen some effective uses of people having brief conversations with themselves using picture in picture overlays.
- Audio– if you have a flair for the dramatic backing music might help at some point in your talk. Audio Commentaries can also create a richer resource, see our case study.
- Emojis – They’re there. Why not?
How I set up overlays
You will require some basic video editing software – I like OpenShot Video Editor. It’s free and reasonably simple. Simplicity is the theme of my advice.
1. Create/choose your media
Create a recording of your lecture using whatever recording device you have available. Errors or issues with the recording can be fixed in the editing process if needed. In this example on YouTube an instructor made a mistake with wording. Rather than re-record the entire video, which is otherwise good value, they corrected with an overlay title.
Making your images can be equally as easy. Saving pictures to an appropriate folder is one approach. I like to insert my pictures into a PowerPoint presentation to give myself the opportunity to get the structure clear in my head. I then save each slide as a picture.
2. Organise your content
Keep it simple and experiment with different formats. Layouts, text sizes, fonts, and colours all can have an impact on what you are communicating. Ensure that your titles are legible, and contrast appropriately with your background. I like the background to be the video of me generally, but I’ve seen solid examples of it being a slide or set of slides.
3. Put the video together
I recommend you take your time editing your first few videos.
Regardless of the software you decide to use I recommend you save your project often! Losing an almost completed video is very frustrating.
You can clip your videos to remove errors. Insert other videos in the middle of your talk. Explore effects if you are delivering a narrative.
The export time can be quite long (mine usually run around 40 minutes for a 10-15 minute video). This is an opportunity to make a coffee, have a stretch, and look away from a screen.
Conclusion
Although it may need more initial time investment it is worth it. Using overlays can add a personal touch to any asynchronous video content.
Resources
- Software: OpenShot Video Editor
- FMSTEL Community Guide: How to set up overlays with OpenShot Video Editor
- Microsoft Guide: Save slides as images
- Colour Contract Checker: A11Y
References
- Winston, Patrick (2018) How to Speak. MIT OpenCourseWare
- Hooks, Bell (1994) Teaching to transgress : education as the practice of freedom. New York: Routledge.

