Using discussion boards

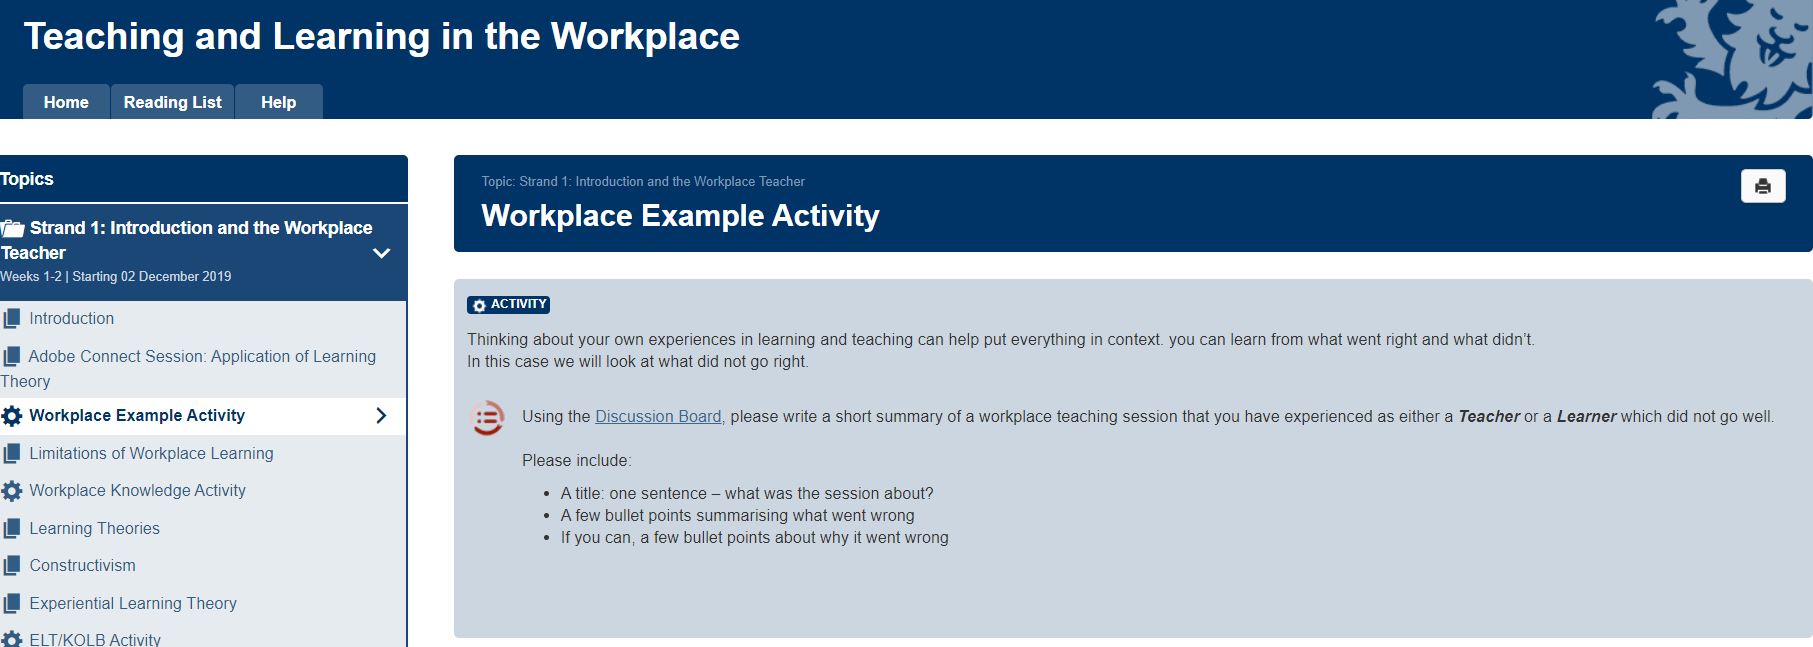
Discussion boards seem like a good idea, especially when students are distant to campus as posts should be able to increase collaboration as well as socialisation. But so often students fail to use them despite the work staff put in to set them up. So how can we engage our students to post on the online discussions?

What are your goals?

Before you set up a discussion board, consider what your goals are, as well as what the students might expect to get out of using the discussion board. Are you trying to check student knowledge and understanding? Develop better contact/collaboration between members of your group as a community? Answering queries? All of these and more…

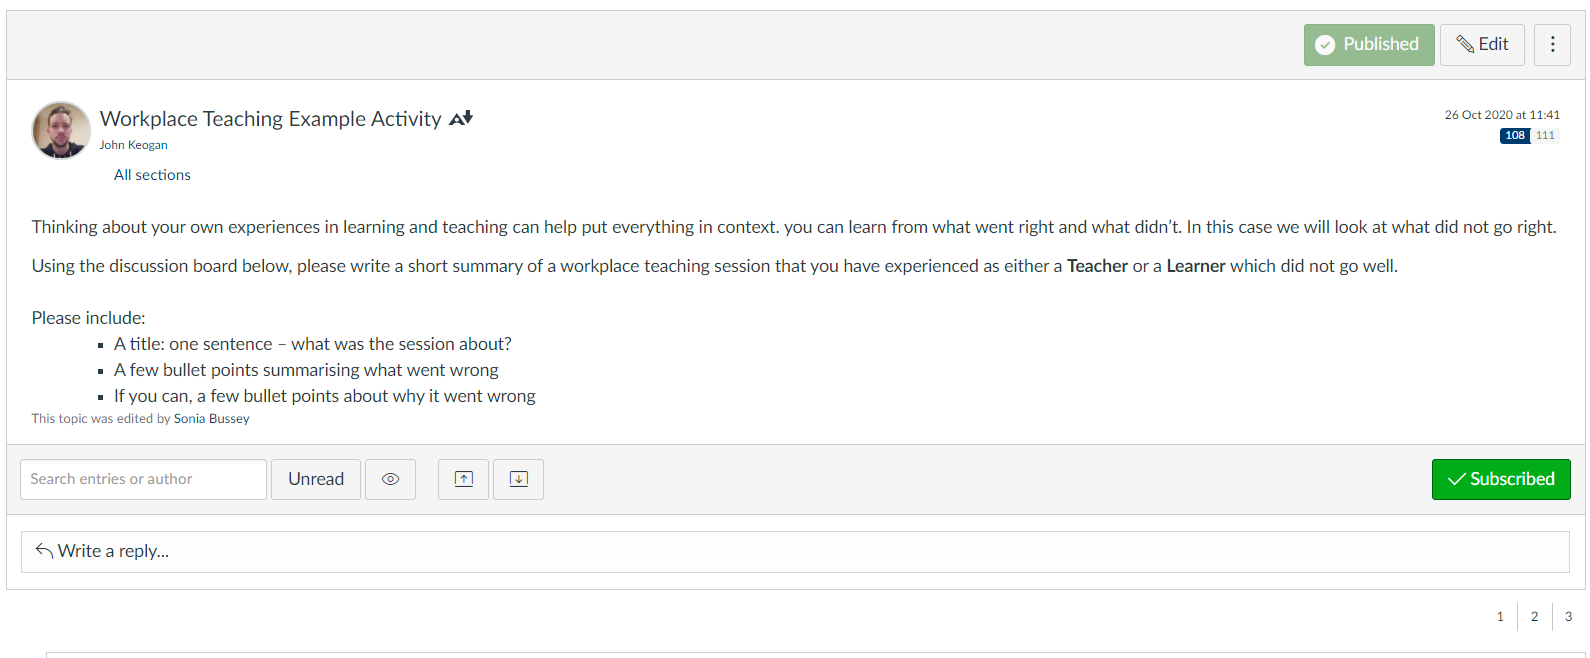
Decide what you and your students should get out of discussion board use, and then think of tasks accordingly. For example, you could start with an icebreaker board to help socialisation, not necessarily related to the course, such as ‘using the student lists provided, contact two other group members and with their co-operation find out and post two facts that no-one else will know about them’. This promotes a feeling of safety when posting; without this safety students seem as shy as when being asked to talk in class.

For knowledge and understanding activities it is better to use reflective tasks rather than knowledge answers which may end up very similar to each other. For student questions on course content, and especially assessment, set up boards which can be contributed to anonymously: this provides a safe space without risk of ridicule.

Example of discussion boards in Canvas

Manage expectations

If you expect students to contribute to the discussion boards, tell them so, both in synchronous sessions and on Canvas. But make it easy for them to contribute by having tasks which encourage participation. Boards which students know will contribute to learning for assessment are likely to receive more posts. If you just ask for knowledge answers, the answers tend to be given in full by keen students, with later posts being ‘ditto’ rather than useful commentary, so make them apply their knowledge in some way.

Also remind them about netiquette; good manners online is just as important as in face-to-face situations. This also contributes to the idea of a safe space for posting in.

Teaching presence

When you set up your discussion boards you need to decide how much input you need, and are able, to provide. No input is not an option if you expect students to post because it is demotivating as a student to not receive some sort of feedback or encouragement. As part of expectations management, let students know how often you will look at the board, and if you will provide class or individual feedback. If you have a large class you won’t have time to read every post. You might like to consider putting students into groups with a spokesperson in each group to summarise the group’s posts for you to read. Or get students to peer review each others’ comments. You can weave their answers into one feedback post.

When you comment, try to keep the discussion going, rather than just providing the answer which tends to kill any further discussion: think commas rather than full stops. Ask open questions to keep the discussion moving on, and make it human (‘I always find this difficult….’ when the class is struggling).

Discussion board example (used with permission): ask questions to elicit further responses

You will always have some students who ‘lurk’, failing to post anything at all themselves. You can minimise this by making the discussion boards a safe space for posting, and providing encouragement to participate with enthusiasm for the subject and student contributions.

Overall, discussion boards are a useful tool to keep an eye on student learning and engagement, although they do require much staff input to ensure student participation.

FMS TEL Webinar – Podcasting

This webinar ran twice on 21st April 2021, and we were happy to see colleagues from across the faculty and NUMed in attendance.

The webinar covered:

  • Teaching strategies that are well-suited to audio content.
  • Types and forms of content that suit audio delivery.
  • The basics of recording audio, uploading it and making alternative accessible content (in resources).

Colleagues can find the resources from the webinar – including the recording and links to further reading – on the FMS TEL Community in Canvas. If you have trouble accessing the community, please get in touch via fmstel-enquiries@newcastle.ac.uk 

View all FMS TEL Webinars

From Blackboard and Ngage to Canvas

In the summer of 2020 Newcastle University switched from Blackboard to Canvas. In truth, some online modules had been hosted on Canvas months before the official launch, but from August 1st 2020 Canvas was the exclusive Virtual Learning Environment (VLE). The content that had previously been in Blackboard was transferred over to Canvas, creating three years’ worth of archives. For the majority of courses this was fine, as Blackboard was only ever a repository for course materials. For the e-learning courses offered in the FMS Graduate School and the School of Medical Education, there was an additional challenge.

In addition to Blackboard, e-learning courses also used Ngage, a bespoke VLE used widely throughout FMS. Quizzes, assignments and discussion boards could all be found on Blackboard, but Ngage was home to the actual content, typically released weekly to students. Where Blackboard content could be migrated en masse, anything on Ngage had to be migrated over manually. Page by page, course by course, for all three semesters.

The Ngage user interface.
The Ngage user interface. (Click the image to see a full size version – opens in a new tab)


Once the content was copied over, we had to adapt it to fit the new platform. Discussion boards and assignments were like for like, but certain Blackboard features such as blogs and eJournals had no direct equivalent on Canvas. This required creative problem solving to adapt Canvas to our specific needs, and with help from the Canvas Community we were able to find solutions. For example to create an eJournal, a staple of many of our modules, we had to assign every student to their own private group, and then set up a regular discussion board as a ‘group discussion’ and selecting the pre-prepared eJournal groups, thereby creating a private area for students to make notes on the different topics and have the module leader’s check over them.

The same page on the new Canvas VLE. A less clutter page with a built-in discussion board and a crisper overall presentation. (Click the image to see a full size version – opens in a new tab)


A lot of visual features and formatting were also lost during the copying and pasting process, meaning pages previously adorned with images and embedded materials had to be reworked. We utilised the web design skills of the FMS TEL Team and with a bit of creativity were able to create interactive features such as click and reveal, and visual aspects, such as shadowboxes, to help emphasise particular pieces of text.

As well as the migration of content, a huge effort was made to train University staff in the run up to the 2020/21 academic year. Training sessions that had originally been scheduled in-person were instead delivered via Zoom, covering areas such as Canvas essentials, assignments and quizzes. To supplement the training, a Canvas orientation module was created to help ease staff into the transition. Additionally, every member of University staff was assigned their own sandbox course allowing them to experiment with the new platform and test out features that could be replicated in real courses.

The Canvas orientation home page. (Click the image to see a full size version – opens in a new tab)

Now that we are exclusively using Canvas, the feedback has been overwhelmingly positive. Despite some initial challenges with the practicalities of using a new VLE – and some trial and error – new Canvas features such as Zoom integration, built in calendars and Speedgrader have enhanced the user experience.

Dealing with extra sensitive data in the Medical Learning Environment (MLE)

Most FMS sites run by the unit contain and maintain personal data that needs to be kept private. Techniques such as securely certified websites and authentication/authorisation portals are usually sufficient in keeping this data safe.

The Challenge

With the introduction of the new year 4 in the MBBS curriculum and the move to more blended learning, a higher degree of sensitive data was required to be stored on the Medical Learning Environment (VLE for MBBS). Year 4 students are now asked to keep electronic records of patients and interactions as part of the Advanced Clinical Experience module. This data contained personal contact details such as address, telephone and email of patients the students would follow on the clinical journey, and let them reflect upon this experience throughout year 4.

So before the start of Year 4, in the summer of 2020, we investigated and implemented an enhanced way of storing this patient information in the MLE.

The Solutions

First we investigated how the data was stored in the backend database. Most information is stored in databases as unencrypted data due to the lack of sensitive nature of the data.

This new data required something else. It was decided that parts of the data that could contain personal patient information should be encrypted, both in transit and at rest.

For parts of the ACE model (the data structure we use for the ACE section of MLE) we replaced the open text fields with this new encrypted field. This now meant that when data was entered and saved, before it was added to the database, the system would replace the open text with a encrypted data set using a secure key. To read the data again it would need the use of the decrypt method, that only the MLE could do by using the secure key.

The second part we investigated was to detach any personal patient information from the student’s reflections. Once the student had completed the recording of the patient’s details, the direct link in the website was removed and generic patient information used from that point onwards to identify the individual records. This kept the sensitive information separate from the day to day recording of patient interactions.

The students also uploaded consent forms signed by patients who agreed to take part in the ACE module. Final versions of consent forms highlighted that these would also contained sensitive information.

After further investigation the development team included these static files in the encryption methods used to support ACE. In order to allow students to verify the uploaded consent forms, the MLE allows a short window before encryption and archiving of consent forms takes place. Once this process completes the consent forms are no longer accessible via the website (MLE) and recovery if required is performed by a limited number of staff in FMS TEL.

These methods used may be a little extreme for the day to day data stored on most FMS sites, but the investigations and lessons learned from the ACE data has provided us with options for other sites in the future.

If you are interested in this topic and wish to learn more, please contact:

Dan Plummer, Learning Technologies Developer, dan.plummer@newcastle.ac.uk

John Moss, Technology Enhanced Learning Manager, john.moss@newcastle.ac.uk

ReCap – Adding an Audio file to a Video

Resulting from a few queries from FMS staff, we have added some information to the FMS TEL Community detailing how to add audio to a video using ReCap.

Staff had recorded footage of processes or experiments in laboratories which they wished to add a narration over afterwards. There was existing audio or noise on the video which they did not want to include. Rather than go through the process of removing the unwanted audio, ReCap/Panopto ignores the audio if the video is uploaded as a Secondary file. Audio can only be uploaded as a Primary file.

You may want to record your audio narration first using your mobile phone or software such as Audacity on a computer with a microphone. A common format would be mp3. Then upload your audio narration as your primary file and your video as a secondary file. Any audio in your video file is ignored and the new audio you recorded will be played instead.

See the full guide ‘Adding an Audio file to a Video‘ on the FMS TEL Community course in Canvas.