Navigating through the extensive volume of reading material in certain modules can be a daunting task for students, often leaving them overwhelmed by the sheer magnitude of information. Recognising this challenge, the module leaders of ONC8017 took a pioneering approach to ease the burden on students. In a bold move towards innovation, they harnessed the power of artificial intelligence (AI) and embraced the collaborative spirit of group work to revolutionise the learning experience.

The Task
Article Allocation:
The first step involved compiling a comprehensive list of articles relevant to the module’s curriculum. Each article was carefully selected to contribute significantly to the students’ understanding of the subject matter. Subsequently, the articles were allocated to individual students, ensuring that each student had a unique piece of content to delve into. Students were asked to read and summarise their assigned article.
Student Autonomy:
To cater to diverse learning preferences, students were given the autonomy to choose their preferred approach in engaging with the assigned article. They could opt to read and summarise the content independently, a traditional method fostering individual comprehension and analysis. Alternatively, students had the option to choose an AI tool for summarisation, exploring the cutting-edge capabilities of technology to streamline the information extraction process.
Students who opted to use an AI tool were tasked with critiquing the summaries generated. This not only encouraged a deeper engagement with the material but also honed their analytical skills as they assessed the accuracy, coherence, and relevance of the AI-generated summaries.
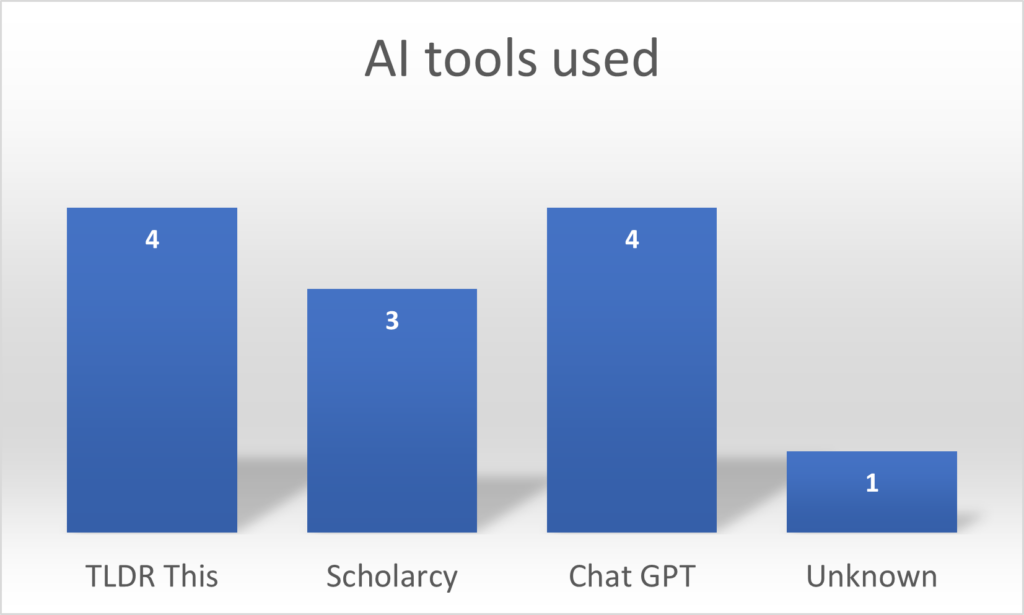
Following consultations with the Newcastle University Library, we recommended the AI tools Scholarcy and TLDR This. However, students were able to choose any tool that best suited their preferences. The library, also provided valuable insights, including a copyright statement and links to AI Guidance, as well as the Uses and Limitations of AI.
If your allocated article is behind a sign in wall we kindly request that you do not upload or share this licensed material with third party AI tools
Copyright statement
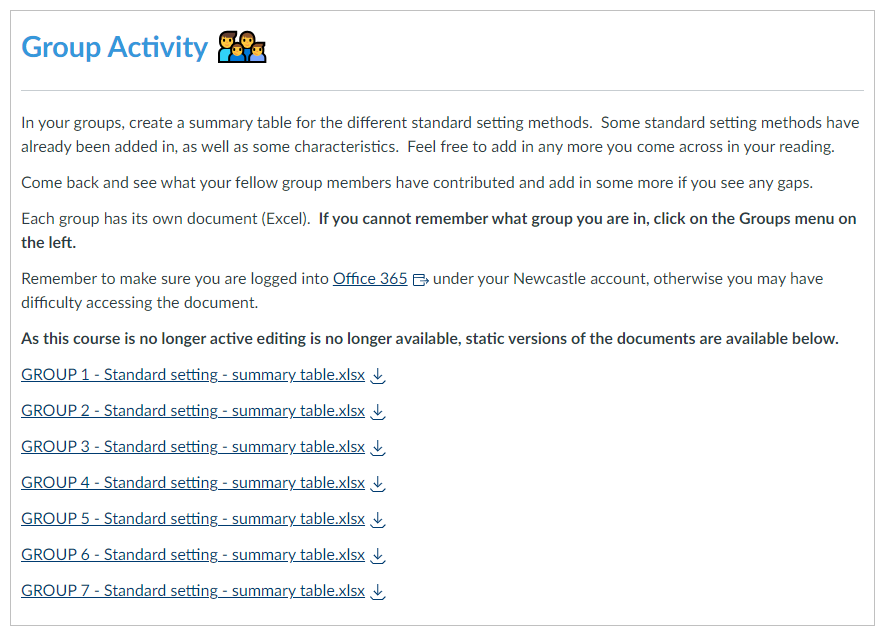
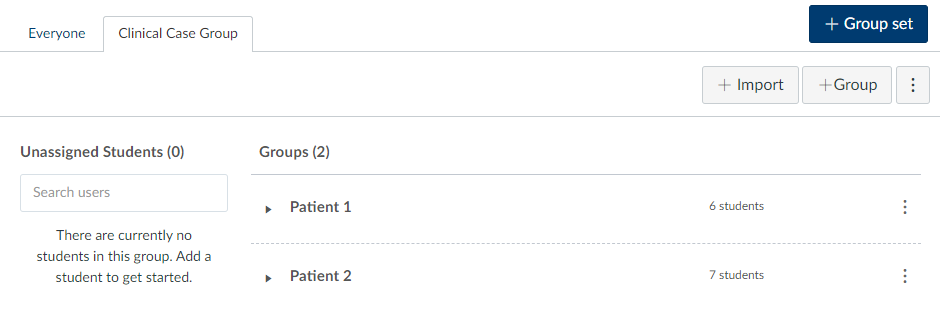
Group Collaboration:
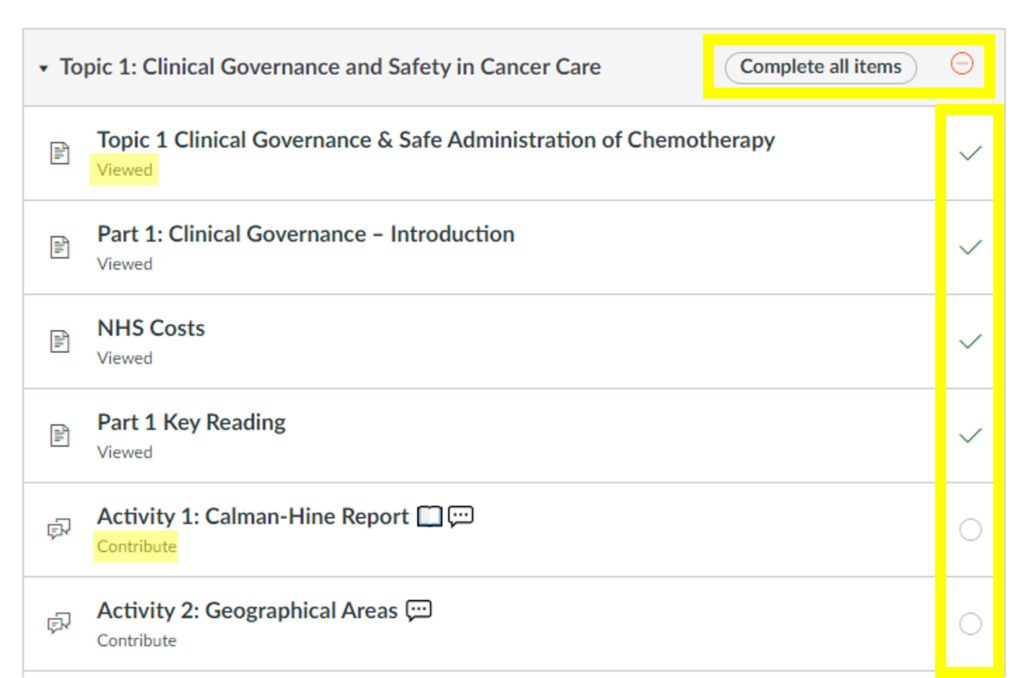
The students were asked to share their summaries to a discussion board and to look through the summaries posted by others. They could then identify which literature was most relevant to them and read the articles in depth themselves.
Recognising the significance of collaborative learning, the module leaders fostered a sense of community among students. Group discussions and collaborative sessions were encouraged, providing a platform for students to share insights, discuss varying perspectives, and collectively enhance their understanding of the subject matter. This collaborative element not only enriched the learning experience but also mirrored the collaborative environments students are likely to encounter in their future careers.
The Student Experience
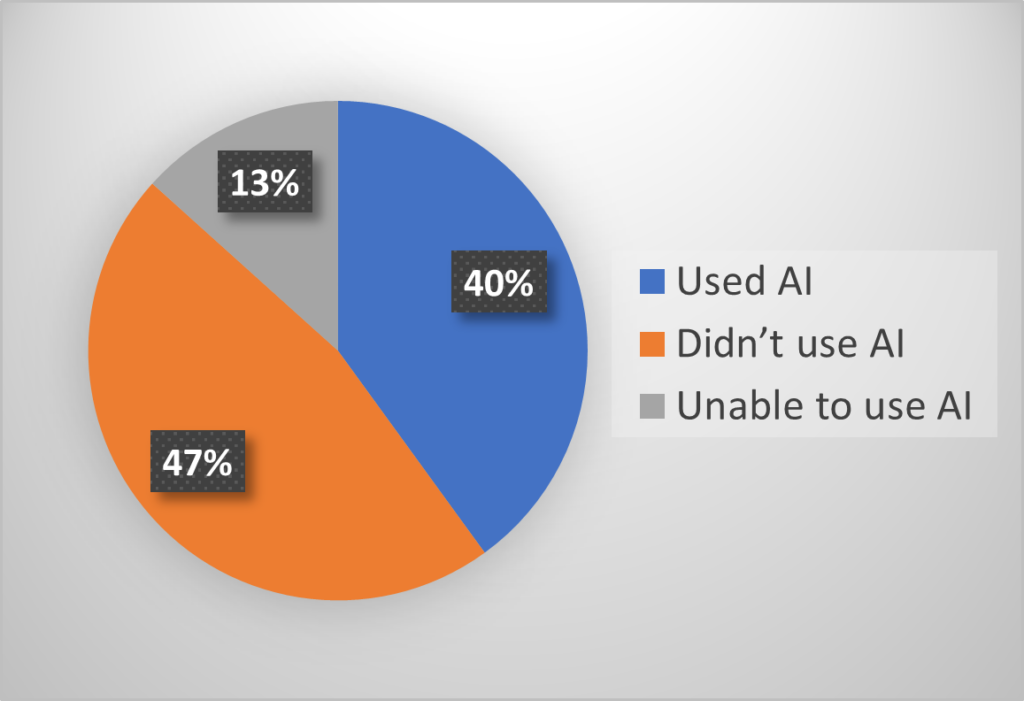
53% of students opted for AI-assisted summarisation, showcasing a keen interest in exploring the capabilities of technology for academic purposes. This choice not only demonstrated a desire for efficiency but also provided students with valuable hands-on experience in harnessing AI tools for practical applications.
However, the practical application of AI tools had its challenges. 25% of students who chose AI encountered difficulties, with the tools unable to produce a summary at all.
In their candid feedback, students highlighted both positive and negative aspects of their experiences. While some were impressed by the efficiency of AI tools, all students expressed concerns about gaps and missing details in the generated summaries. Specific instances of errors, omissions, and disjointed reading experiences were noted, revealing the practical limitations of relying solely on AI for complex tasks. The majority of students who opted for AI, eventually opted to manually summarise the articles anyway, indicating a less-than-ideal outcome from the AI tools.
The AI tool also provided a second longer summary. This summarised most sections of the paper individually, which was presented like a smaller version of the paper. There was still important information missing, which was clear from the disjointed reading experience. Even so, I was still quite impressed with how well the AI tool had summarised the vast amount of information in the original paper into something relatively usable.
Student experience of Scolarcy
No inaccuracies were noted. Good summary of the epidemiology, although it seems that the AI summary has basically just been derived from the abstract of the article. A number of gaps were identified.
Student experience of TLDR This
The article has been summarised into ten key points, but these are not detailed. For example. only one of the statistics provided in the article have been included in the AI summary.
Student experience of Chat GPT
Final Thoughts
These nuanced results underscore the importance of balancing technological innovation with practical considerations. While the incorporation of AI offered students valuable exposure to emerging technologies, the ultimate outcome indicated that, as of now, AI tools might not be the ultimate solution we were hoping for.
Despite the unexpected challenges encountered in the use of AI, this experiment has provided invaluable insights. Recognising the evolving nature of technology, we remain committed to maintaining the task, observing how AI technology progresses year after year and see if, as the technology advances, the dialogue from students changes.
This post was written with the assistance of AI tool, Chat GPT.