Copyright

The cross-university LTDS Flexible Learning 2020 course has information for everyone on copyright at this link. But there are some aspects likely to be more specific for FMS which are discussed here.

Copyright
Copyright is the legal right of the creator of an original work to the exclusive rights for its’ use and distribution. It does not protect an idea though, just the expression of an idea whether they are in the form of a journal article, a book, an image, a video or any other media.

This means that you may not indiscriminately use any image or other media you find online.

Don’t run the risk of legal action; check provenance and obtain permission!

Creative Commons

When media are marked ‘Creative Commons’ or ‘CC’ this means that you are allowed to use the material with provisos according to licence type, whilst the creator retains the copyright of the material.

Creative Commons has a searchable database where you can look for materials which are legal to be used under CC licences; you can find it at this link. It covers YouTube, Wikimedia Commons and Flickr amongst others. Canvas has a searchable database of CC images, to access these select ‘Unsplash’ when you click the image icon in the text editor.

There are different types of licence which govern what you are allowed to do with the material, shown in this video:

Other free sources of images

There are several searchable databases where you can find images for use in courses. Some of these are detailed below, which may be of interest to bioscientists and medics.

Wellcome Images

The Wellcome Image library has thousands of images available under CC licences, from historical medical images through to electron micrographs. Their website is at this link.

Getty Images

Some Getty Images are available for free via this link.

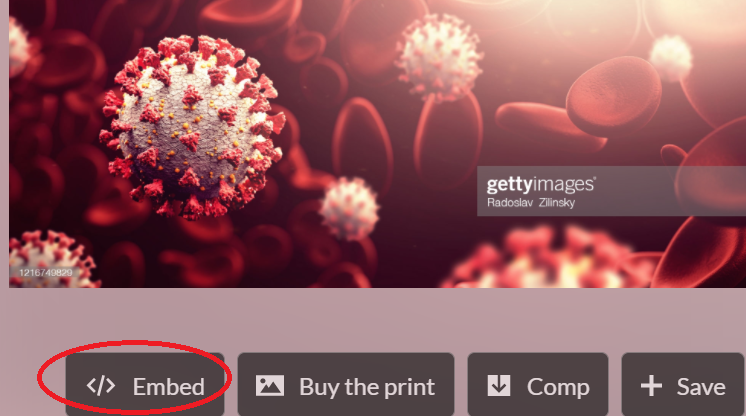
You will need an account, and you are only allowed to embed certain editorial images for non-commercial use; however there are still plenty to choose from! The embed option (</>) is present when you click on the image if you are allowed to use it; see red circle in image below:

Copy the embed code and paste into Canvas.

Images without an embed code must be paid for.

Radiopaedia

This provides a huge collection of X-rays which can be used for free, as well as articles and diagrams. The website is at this link.

Public domain

Some materials are in the public domain which means they can be freely used. It is polite to attribute these materials to their author.

Most images created by employees of the USA government are in the public domain, e.g. those from the National Institutes of Health.

Some materials are so old that the copyright has run out (more than 70 years). A good example of this is Gray’s Anatomy, available online at this link.

Rightslink

If you cannot find a free source you will need to obtain permission for use of images. This will sometimes require a budget.

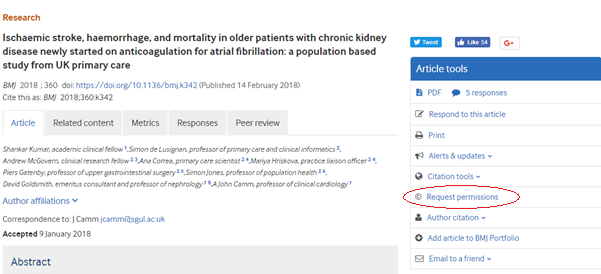
Journals which are not Open Access (most of these are Creative Commons, but do check because not all have their images as CC) often have a ‘request permissions’ button, as shown circled in red on the BMJ below.

Image showing 'permissions' button for an online journal article
This image is used with permission! (logged as 18797960 [ ref:_00D205YOi._500D01fS0ch:ref ] on 20.2.2018).

This will take you to a Rightslink login; you can create an account for free and this will allow you to say what you want to use the image for, and what type of institution we are: despite charging for courses we are a non-commercial institution. Complete the dropdown boxes, then find out from ‘Quick price’ whether the licence is free or not, and act according to your budget. Remember to print the licence or at least store the licence electronically as well as filing the email you will be sent as well.

The licence will tell you the wording to use beside the image. An example can be found here: NATURE PUBLISHING GROUP LICENSE

Other permissions

Other permissions may be harder to obtain due to lack of attribution. If created by a named academic they can generally be tracked down to their institution and if you email them permission is often readily given; hopefully we would be as obliging if the request was made to us.

What is the value of being in the same room?

On 19th January I attended a TALKSocSci session run by the Institute of Social Science titled Learning and teaching in the digital, post-Covid era: what’s the benefit of being in the same room? The session was hosted by Professor Liz Todd and the speakers were Dr Pam Woolner and Christian Lawson-Perfect.

The session comprised of presentations from Pam and Christian, followed by a series of questions from the audience that they responded to. Pam’s initial presentation focused on the impact of the physical learning environments on the learning process, highlighting that while the learning environment itself doesn’t have direct influence over the learning, it can have an indirect impact – as long as the learners’ basic needs are met in terms of physical comfort (temperature, air quality, etc.). Whether or not PiP learning is preferable over online learning can be dependent on what the room is like! Physical spaces provide access to information such as body language in interactions, as well as the opportunities for chance meetings, or hanging back after class to speak to the teacher when you might be too shy to speak in front of others or send an email.

Christian covered aspects of online learning including automation of feedback, analytics and the role of the instructor in online learning. When considering MOOCs such as those hosted on Kahn Academy, for example, there is usually no direct personalised feedback for learners – it is intentionally prepared. He also discussed aspects of accessibility, both in the sense of physical access to spaces/content and the work being done to make online content more accessible, e.g. through captioning. Content needs to be planned in advance, and interactions can become purely intentional. Non-synchronous activities such as discussion boards can help students who prefer to plan what they want to say rather than having to respond in the moment.

A common theme I have taken from both of these talks is the idea of intentional vs unintentional interactions – both in terms of learning experiences and social interactions. Intentional interactions include things like seminars and talks, as well as interactive learning activities such as quizzes with feedback. These types of planned interactions are fairly easy to replicate online. Unintentional interactions are usually a side-effect of being in the same room as your teacher, or other learners. There can be a social aspect to this – such as meeting new people, or a pedagogical side, such as when teachers bring the class back together to address a difficulty they have noticed is common to all. This is much easier to do in PiP teaching.

While social aspects of teaching and learning are difficult to replicate online, there are some guides available on the Flexible Learning 2020 site that can help with this. When it comes down to unintentional interactions, if we want these to happen the best thing we can do is try to create time and space for it. While it may feel a little counterintuitive to formally schedule informal chats, in reality, it’s one sure way of ensuring they can happen.

Animation: What I can offer, the journey, and previous examples

One of the services I offer as part of the FMS TEL team is the creation of bespoke 2D animations. These are most commonly used as small parts of a bigger project, but they can also be stand-alone projects themselves.

Types of animation and choosing the right tool for the job
Depending on the nature of the animation required, and also the context in which it will be used, there are three different types of animation that we can produce.

These are:

  • Video based animation
  • HTML5 (web based) animation
  • Animated GIFs

When looking at the source material I will first plan the animation in my head, and will usually know right away which type of animation will be most appropriate for the job. For example, if there are any user interactions to be included then an HTML5 animation would allow for that, but if there is the need for some organic shapes then that would suit a video based animation better.

Planning and Storyboarding
When visualising an animation, I plan the animation as a whole from the start, rather than tackling it scene-by-scene as this gives a more natural and entertaining feel to the end result.

Once I’m happy that I have a good understanding of the content I will then create a series of illustrations as a storyboard and send this as a PDF for review.

Storyboarding example

I then discuss with the subject specialist which techniques will work best for the application, and raise any concerns. I can then start the animation process.

Creating the animation
Getting things right at the concept and storyboard stage is critical and can save a lot of time, compared to how much of a time investment it can be if you have to re-do a large part of the animation.

However, understanding that I may not get the content perfect in the first draft every time, I structure my files in a way that changes can be made with minimal disruption to the rest of the timeline. This is achieved by both layering up the source Illustrator files and also separating the key points of the main composition timeline into separate sub-compositions. That way I can work on a small section without knocking everything else out of sync.

Obviously, every project is different but by focusing on the movements involved, the flow between the scenes and the basic animation principles I begin the sequence (as you may have guessed) from the start and work on each stage in sequence. This is important because elements will often carry through from one scene to another so duplication can be avoided.

I use Adobe After Effects to create video-based animation and animated GIFs, and Adobe Illustrator to create any graphic and illustration assets needed for the animation.  After Effects is an extremely powerful timeline-based tool that can make almost anything possible – think of it as being a kind of Photoshop for video!

If there is to be audio narration or a musical soundtrack on the video, then I arrange for that to be recorded early on in the development rather than being added at the end, as the content and movements should be timed to fit with events in the audio.

Most of the development time actually lies in creating the assets for the storyboard (which are later used in the animation), so when it actually comes to the animating stage things tend to move along pretty quickly.

I usually render out (export) the animation after every new section is complete and upload it our Vimeo account for approval and to check that I’m on the right track before moving on to the next one.

The review process

Vimeo Review platform

The Vimeo Review platform we use lets the users add time-stamped comments directly onto the video and sends me a notification email immediately thus providing a good communication channel for each specific issue.

When the first draft of an animation is complete, a shareable, password-protected link to the video can be sent out for a wider review to gather comments and feedback. From there we can address any comments and fine-tune the animation for further revisions, which will in turn be sent out for review.

While there is no standard for this, normally after a first (alpha) release and review, changes are made if required and a second (beta) release is then sent for review, with any further required changes reflected in a final (gold) release.

The finished product
The final render from After Effects will be a simple video file, usually in the .H264 codec (MP4) that can either be hosted on our Vimeo account and an embed code supplied, or, depending on file size restrictions, this could be uploaded directly to your target system. It can also be supplied as a file to be included in a PowerPoint presentation or other teaching material. The type of output required is discussed before we start the project to make sure we are taking the best approach.

Past examples
I’ve worked on a wide variety of projects during my time at the university, including multiple MOOCs, marketing materials, and work on modules across both FMS and Engineering courses. The showreel below includes just a small sample of the projects I have been involved in.

FMS TEL Animation Showreel

Can we help you with your project?

If you have a project that you would like to see come to life in an animation, or a smaller component of your teaching materials that could benefit from some animated content, then please get in touch via FMSTEL Enquiries. I would be very happy to discuss options with you to see what we can do to help.

The versatility of quizzes

Over the past couple of months I have been talking to a lot of teaching colleagues about how they use quizzes. A quick summary of some uses for quizzes can be found below. There are two quiz tools available in Canvas (old and new quizzes), as well as a lot of web services that offer quiz functionality.

Using quizzes before synchronous seminars allows students to check their knowledge and make sure they have understood things correctly before entering into a discussion. This boosts confidence and allows them to participate more effectively in the session, knowing they have definitely grasped the concepts. This is especially useful with topics that are very abstract or contain a lot of new concepts or terminology. The case study with Rosalind Beaumont and Lydia Wysocki can be found on the LTDS case studies site.

Quizzes can also be used in the sense of providing test-enhanced learning opportunities for students. Regular short quizzes encourage students to retrieve the information they have remembered and put it into practice, boosting knowledge retention. The case study with Nick Riches can be found on the LTDS case studies site.

Another use for quizzes is to use them to replicate a workbook – something that might be used in Present in Person (PiP) teaching to guide students through a series of problems as teachers monitor the room. Here the quizzes are instructive and challenge students to find the information they need, practicing the skills they are learning. Detailed feedback and extra information allows the students to step through the processes they are learning and approximates the monitoring that may be done in the classroom by anticipating difficulties that may need clarifying. Teachers can then look at analytics or ask students to send questions to identify anything that needs further explanation. More information can be seen in the case study with the Library Liaison team.

When testing higher-order thinking skills such as evaluation, automatically-marked quizzes may not spring to mind, as evaluation is often done in prose. The case studies mentioned above include examples of higher-order thinking questions. This can be done through careful question construction with high-quality distractors, for testing, as shown here, or as a learning activity, asking students to apply skills and enter a rating at each stage as modelled by the Drop Bear activity in the Library Liaison team’s case study.

How do you use quizzes?