

Presentations helps students put across an idea while expressing their personalities, which is hard to do in an essay.
Introduction
Oral presentations are a popular choice of assessment in the Faculty of Medical Sciences, especially in our e-Learning modules. Students are asked to submit a pre-recorded presentation to Canvas and the markers watch the presentations at a time and place that suits them.
Diarmuid Coughlan, module leader for ONC8028 Practical Health Economics for Cancer, has kindly agreed to walk us through how the Virtual Oral Presentation element works on his module.
The Assessment
This year we had 14 students on the module. We asked the students to create a 15 minute presentation using either Zoom, Panopto (Recap) or PowerPoint.
We informed the students right at the start of the module that an oral presentation was part of the assessment and 4 weeks into the module we provided a formative assessment. The formative assessment allowed students to familiarise themselves with their chosen software, gain experience talking to a camera and also get some limited feedback on their presentation skills.
The submissions are double marked by 2 markers. Marking is completed separately by each marker outside of Canvas, then markers meet to discuss which marks/comments would be entered into Canvas and made visible to each student.
The Set Up
We provided 2 submission points in Canvas:
Recording Submission Point:
This area was used for the marking. It was set up as Media Recording for MP4 uploads (max of 500 mb) with a Text Entry option for Panopto users (no size limit).
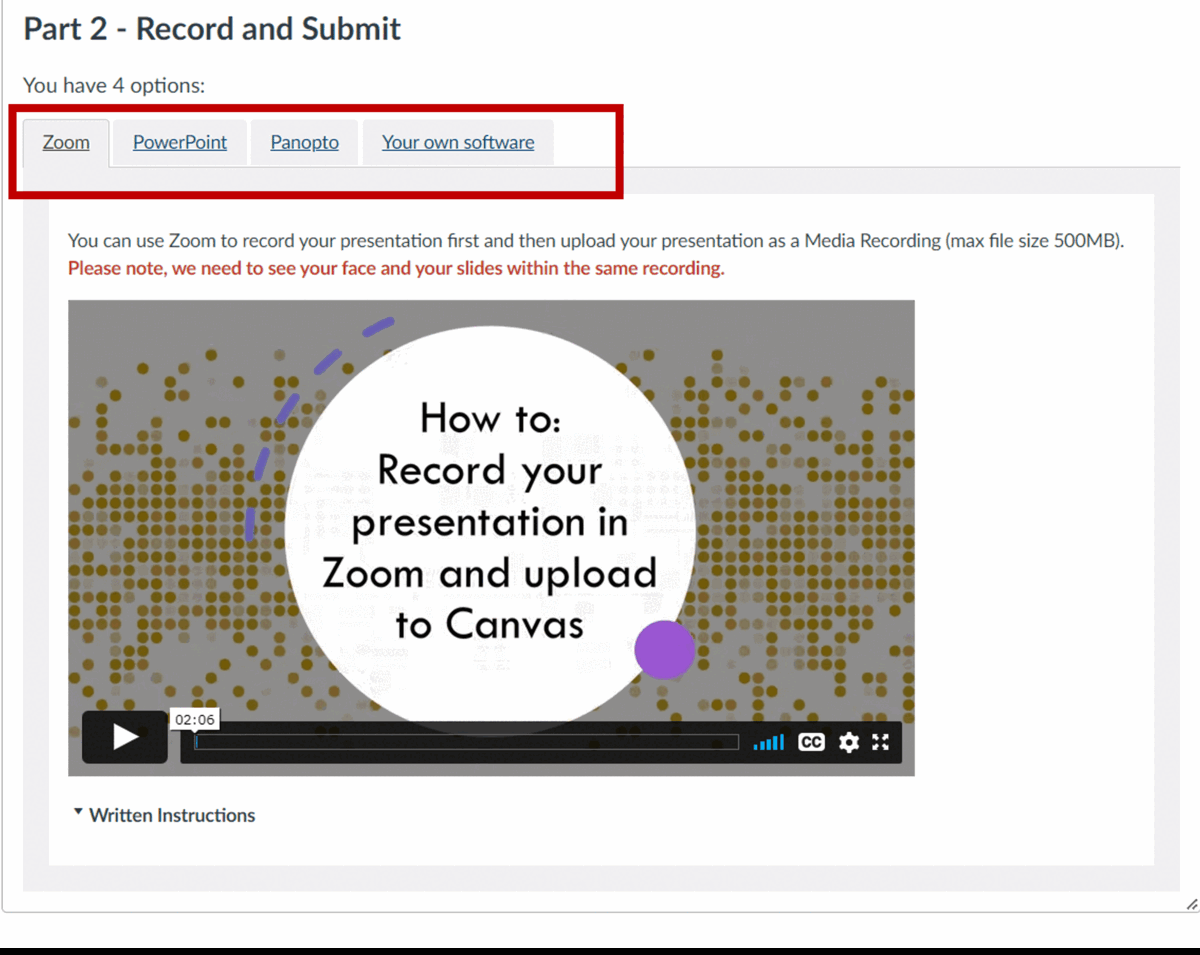
We allowed students to choose which technology they were most comfortable with and provided video and written instructions for Panopto and Zoom. PowerPoint instructions were added later as an option with links to guidance provided by Microsoft.
We also provided some instructions so students could crop their recordings to comply with the 15 minute time limit.
You are limited by time so remember to edit your recording so it is no longer than 15 minutes. Instructions: Windows | Mac | Panopto
Slide Submission Point:
This area had a 0 point value. It was set up as a File upload area for students to submit their slides as .ppt or .pdf, this allowed us to get a turnitin plagiarism score for each presentation as well as a reference copy of the slides, should anything be unclear in the video recordings.
How did it go?
There was a lot of fear from students initially. We encouraged students to give it a go, informing them that we were not trying to trick them. We provided clear guidance on what we expected and provided a rubric with a breakdown of points, clearly showing only a small percentage of the grade would be based on their presentation style and delivery. The content of the presentation was the most important part!
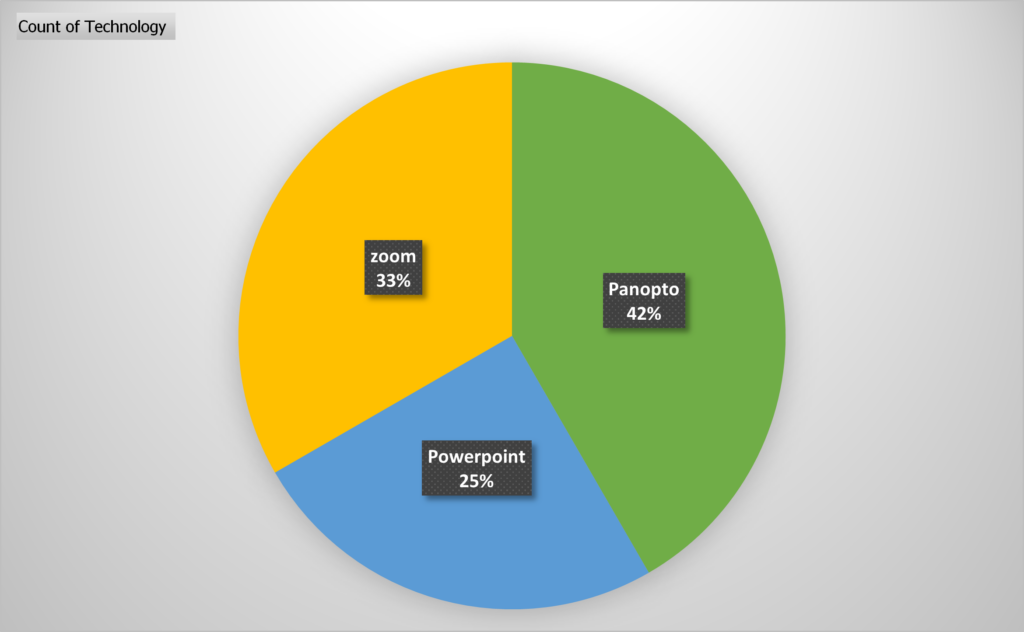
The use of technology was varied:
As markers we also had to overcome our fears of technology.
PowerPoint is easier once you know how to access recordings (you have to download the file, then click start slideshow).
Sometimes the Panopto recordings were hard to find, especially if students had experience of using the technology in Blackboard and did not follow the Canvas instructions correctly.
What are your next steps?
- We only provided grades with a short feedback comment last year, we plan to provide more extensive feedback going forward
- We will add more video content into the module as examples of how to create engaging slides and showcase our presentation styles – hopefully leading by example
- We would also like to provide examples of a good presentation vs a bad presentation