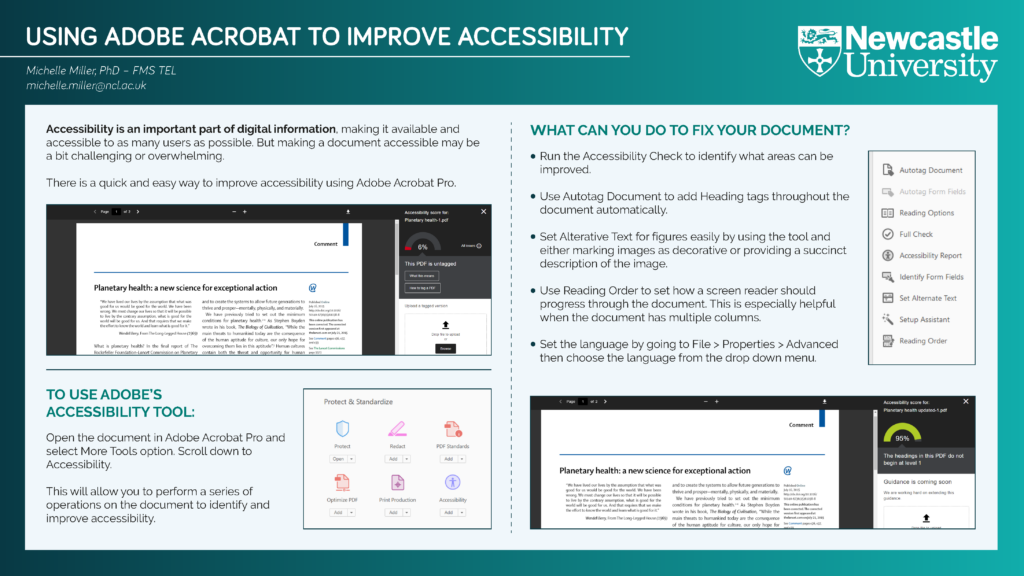
During the recent Teaching and Learning Conference, prompted by Michelle Miller’s poster on Adobe Acrobat, we were asked if it was possible to add audio to a pdf document. Here’s how to do it:
Add Audio in Adobe Acrobat Reader
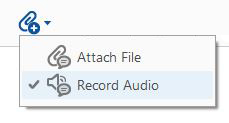
- Click on Comments
- Click on the attachments icon
- Select Record Audio
- Click the cursor where you want the audio to appear. A Sounder Recorder prompt will appear.

- You now have two options:
- record directly into acrobat
- browse for an existing file
Record audio comments directly into Acrobat
- Click the Record button and speak into your microphone. Click the Stop button when you have finished.
- Click OK to add the recorded audio
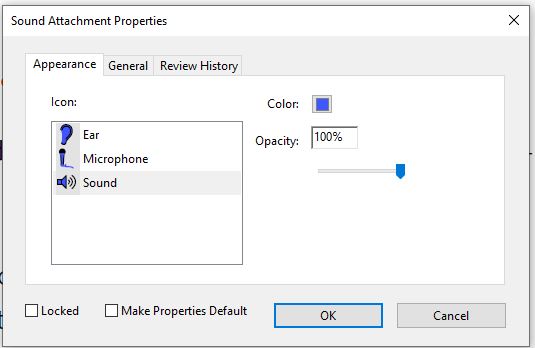
- Select your preferred icon and colour, then click OK
Embed an existing audio file
- Click the Browse button
- Navigate to your existing audio file
- Click Open
- Click OK to add the audio file
- Select your preferred icon and colour, then click OK
Note: this only supports uncompressed WAV and AIFF files.