As teachers or trainers we can often feel the pressure to fill the silence when presenting. How long should you wait for an answer? Or a better question might be, how long do you think you wait?
Research suggests that at least 3 seconds can provide positive outcomes for both teachers/trainers and students (Rowe, 1972).
Each task may require different lengths of silence, you will want to think about the time the students will need to:
- process the question
- think of the answer
- formulate a response
- (if teaching virtually) unmute or type their response
The concern is to provide the period of time that will most effectively assist nearly every student to complete the cognitive tasks needed in the particular situation.
Stahl, 1994
You may find yourself counting the 10 or 15 seconds in your head, but still the silence can feel unbearable.
PowerPoint Animations to the rescue
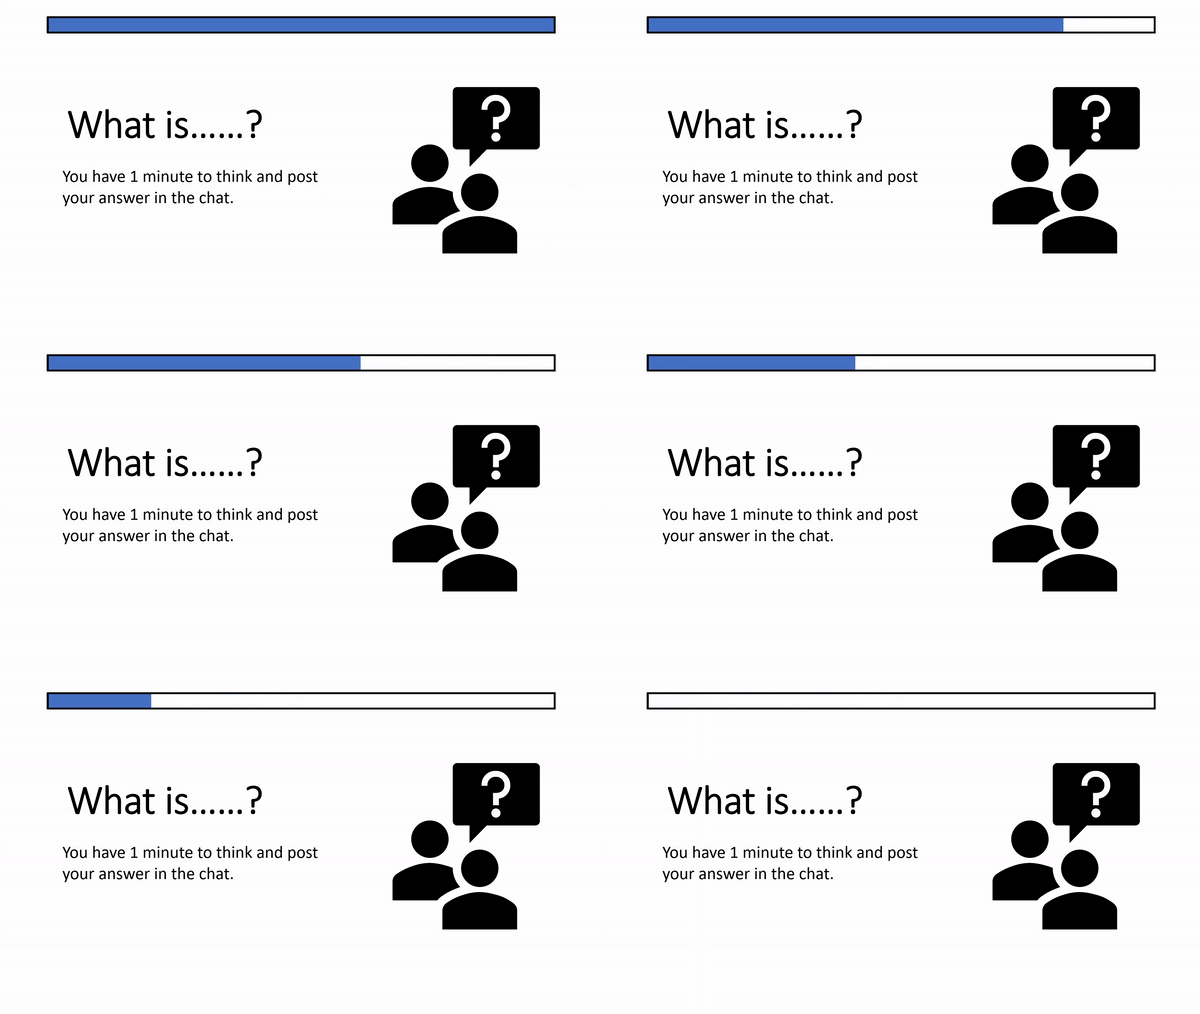
Using a consistent slide design with an animation will not only relieve the pressure on you to keep track of the time but also provide cues that students will become familiar with as your teaching progresses.
Below are examples and instructions for 4 different types of animations you can create in PowerPoint, ranging from super easy to slightly complex. At the bottom of this post you will find a template document of all the examples shown plus a few more complicated designs which you can download and use in your own presentations.
Example 1: Stopwatch

- Insert a circle and style as required (holding shift will help you draw a perfect circle)
- Add a “Wheel” animation to the circle and adjust to your chosen duration (max of 59 second)
- Add the stopwatch icon (Insert > Icons > search for “Stopwatch”)
Example 2: Progress Bar

- Insert a rectangle, remove the outline and choose a fill colour
- Add a “Wipe” animation to the rectangle, using the effect options drop down change the direction to “From left” or “From right”. Adjust to your chosen duration (max of 59 seconds)
- Insert a second rectangle on top of the first, remove the fill colour and style the outline as desired.
Example 3: Count Down

- Create a text box for each number required, style as required
- Add the “Disappear” animation to all text boxes
- Set the first number to start “on click” with a 1 second delay
- Set all other numbers to start “after previous” with a 1 second delay
- Stack each text box on top of each other in the correct order, you may want to use the arrange menu or the selection pane to assist with this
- (optional) Add a text box at the back stating times up
Example 4: Scrolling counter

- Insert a rectangle, with no fill and an outline of your choice
- Insert a text box and type in the required numbers, with a new number on each line
- Add the “Lines” animation to the text box, move your text box so your first number aligns with the green arrow and your final number aligns with the red arrow (further guidance). Adjust to your chosen duration (max of 59 seconds)
- Insert more rectangles above and below the first rectangle you created to hide the numbers as they scroll in and out
Resources
- Animate text or objects, Microsoft Support Website
- Set the start time and length of an animation effect, Microsoft Support Website
- Add a motion path animation, Microsoft Support Website
References
Rowe, M., 1986. Wait Time: Slowing Down May Be A Way of Speeding Up!. Journal of Teacher Education, 37(1), pp.43-50
Stahl, Robert J. & ERIC Clearinghouse for Social Studies/Social Science Education. 1994, Using “Think-Time” and “Wait-Time” Skillfully in the Classroom [microform] / Robert J. Stahl Distributed by ERIC Clearinghouse [Washington, D.C.] <https://eric.ed.gov/?id=ED370885>

