Roisin Devaney, Susan Lennie, Andrea McGrattan
Situation
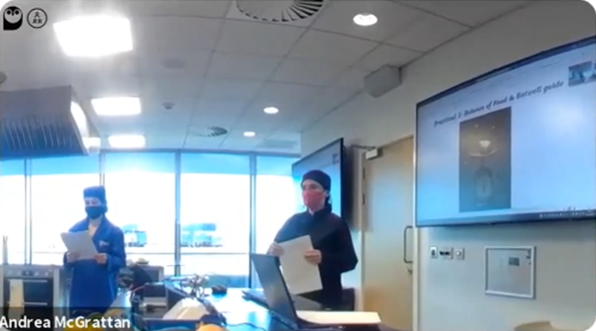
This practical session was based around students creating a meal to align with the recommendations of the EatWell guide, using ingredients provided in the food handling lab. The session involved a short introduction, followed by time for the activity, and feedback. At the last moment there was a request to record the practical session, and therefore a 360° camera was used as a quick solution – an ideal opportunity to test the camera’s capabilities.
These rooms are not set up for ReCap, so having this portable method of recording allowed for the session to be captured. The camera was connected to Zoom so that a remote student could watch the session or review the recording. As it happened, no one watched the stream live, so there was no interaction with a remote participant. As shown from the screenshots below, the camera could cover the whole room without needing to be moved. It can also zoom in and out to focus on where the action was taking place.
Method
The camera was quick and simple to set up, and lecturers used lapel mics to capture sound when they were addressing the class. The camera was placed on the demonstrators’ bench at the front of the room, where it could see the kitchen spaces as well as the session leads, and the whiteboard.
All present were made aware of the device. It was relatively unobtrusive and didn’t get in the way of the session – most people just forgot about it. This is a bonus as it means the lecturers don’t have to consider what to capture at various points during the session. They could also walk around the room naturally rather than being stuck at the fixed point of presenting from a particular spot at the front as the camera would follow them.
Results
As a quick solution, it was easy to set up, and the predetermined settings allowed for much of the session to be captured. It provided a record of the practical session, though due to the level of automation in where the camera chose to focus, some detail and some sound was lost. For example, on some occasions, the camera would choose to focus based on an incidental sound in the room, like a pot being scraped. This kind of auto-selection would work better in a situation such as a seminar where everyone sits around one table with less background noise and more obvious turn-taking when speaking.
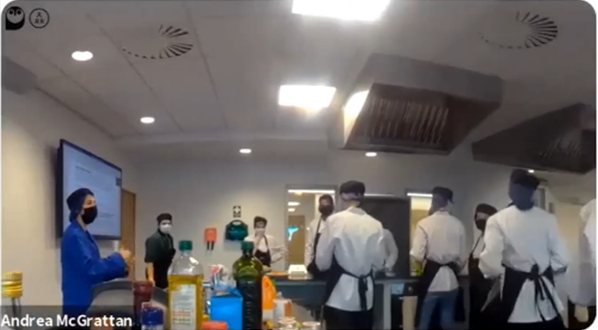
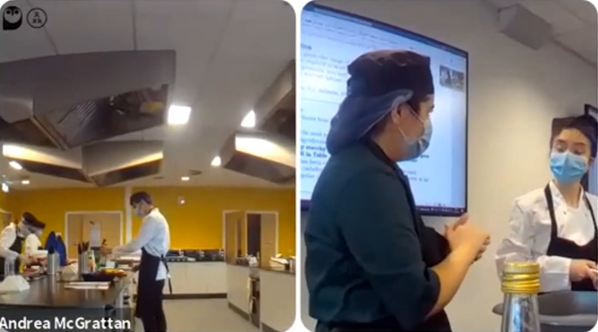
The camera also captured incidental discussions – as it was placed at the front where students were collecting ingredients, it captured discussions between students about what they were choosing to include in their meal.
It was also able to capture two areas simultaneously and display them side by side, allowing for an overview of the room as well as capturing individual discussions.
Other Applications
There are a range of applications for this type of device in a practical setting. For example, for a remote student, the device could be placed in a group of students so that some collaboration would be possible. This would allow them to be more involved in the practical aspect of the session, though of course it would not be a complete substitution for in-person attendance.
Though the session recordings are relatively long, once uploaded to Panopto, bookmarks could be added to allow students to quickly navigate to various parts of the session, for example the input and feedback.
Contacts
Roisin Devaney, Susan Lennie and Andrea McGrattan, Nutrition and Dietetics, School of Biomedical, Nutritional and Sports Sciences
Resources
Art of the Possible Lightning Talk including a brief overview of this work at 24:22.