Guest post by Sue Campbell from the FMS Graduate School, Module Leader for ONC8024: Chemotherapy Nurse Training.
The Challenge
In December 2020, we were informed that Lancashire Health would be sending their Nursing students to study our course, which was due to start in February 2021. We had already seen an increase in our own numbers so with these additional students we were going to be expecting a much larger cohort than usual. The increase was in part due to the COVID situation and study leave cancellation in the NHS. We needed to investigate if the course structure would be suitable for 50 students instead of the usual 10-15 we had taught in previous years.
What did you do?
We reviewed each activity and imagined how it would work with 50 students. Activities that students completed on their own such as crosswords and quizzes were fine.
Our main concern were the collaborative wiki tasks – these are pages within Canvas, usually involving a table, that students completed together to create a resource. We wanted to keep these tasks as they encouraged teamwork, but the tasks were not suitable for 50 students to be able to contribute. After discussing the problem with others who have experience of working with larger cohorts we came up with a solution.
With help from the FMS TEL Team we were able to separate the students into groups of 10-15 students and provide each group with their own collaborative wiki task to complete. Once the course began we experienced registration issues so students were all starting at different times. We decided to adjust the groups so the late starting students would be in the same group and would not feel left behind.
“It’s about finding solutions you are not aware of; groups was a really quick and effective fix for what I envisioned to be a much larger problem.”
We wanted to keep the discussion tasks as they worked well in the past but would they work with large numbers? We went through each discussion task and made changes.
Where we had previously asked students to discuss three points, we changed so students could choose one discussion they could take part in but were able to view all discussions.
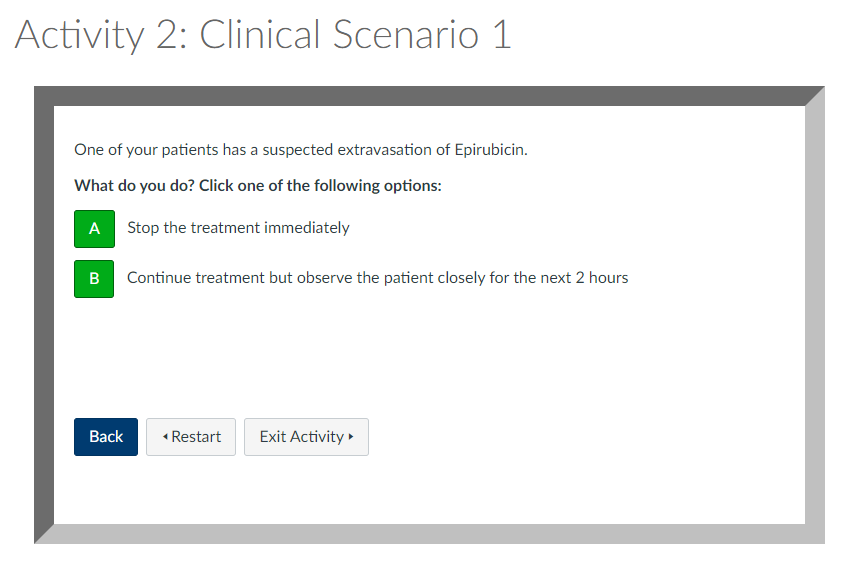
We decided to change the scenario discussions into branching activities instead. The questions asked in these discussions had only one right answer and were more of a fact checking exercise than something the students discussed. Students could complete the branching activities independently, so cohort size did not matter, but the objective of the task was still achieved. We also added a presentation to summarise the learning from the scenarios which replaced the interaction from the Module Leader that would have usually occurred on the discussion board at the end of the week.
Tips
- Ask for advice – I spoke with the FMS TEL and Programme Teams and they provided several solutions I wasn’t aware of. I also spoke with our DPD, Victoria Hewitt for marking help
- Consider running the module twice a year if numbers/demand remains too high to sustain within one cohort
- Branching activities will work regardless of numbers so we can easily roll those over year after year now
- Groups in Canvas is easy to turn on/off and adjust depending on numbers
What might you do differently next time?
We shall wait and see the student feedback but we are currently in week 5 of the course and so far it is going well and the group work is successful. Some things we are thinking about are:
- We have a lot of activities, but they are now largely peer to peer or independent tasks so to bring back the teacher presence I would like to include more videos and presentations
- We do provide a general Q&A discussion board, and for the rest of the course we are also introducing fortnightly, 10 minute 1:1 Q&A bookable slots via zoom for any students preferring a one-to-one discussion with the tutor.
Resources:
- Canvas Guide: How do I add a group set in a course?
- Canvas Orientation Course: How do I add a wiki (a page student can edit)?
- FMS TEL Community: Creating Branching Activities
- Canvas Guide: How do I create bookable appointments in Canvas Calendar?