I recently had the opportunity to create some guidance packages for the new FMS Workplace Reporting System and FMS Personal Tutoring Allocation Database, and I wanted to share my insights and experience of what creating documentation entails.
Develop Knowledge
The first step in the process is to gain knowledge of the ins and outs of the software, system, or process you are documenting. In my case this required a walk-through of the WRS and PTAS led by members of the respective development teams. But it could be through experiencing the process yourself and taking notes. You should have some confidence in the process or system prior to beginning documentation. Once I had a working knowledge of the systems and was given access to them, I was ready to begin.
Logical Order
The next step is to plan out the structure of the guidance. Determine what area or process should be discussed first, next, etc. It is useful to outline these steps in a Word document or on a scrap piece of paper. This structure should give your documentation natural flow. It is the flow that will make your documentation stand out as an easy-to-use guide.
Clear and Concise
Choose language that is clear and concise to detail the steps and processes covered in your documentation. There is no need to be overly descriptive, but at the same time you want to ensure that all the necessary detail is included. For example, if a button is a specific colour this detail could help users locate it. However, if all the buttons on the page are the same colour, there is no need to specify this information.
Process
Writing documentation is all about the process. And there may be several processes covered in a single guidance. So, it is important to compartmentalise these as much as possible to avoid overwhelming your user. Approach the project in parts. Provide an introduction, themes, and a summary. This will help the user understand what is being addressed and how to work through your process or system.
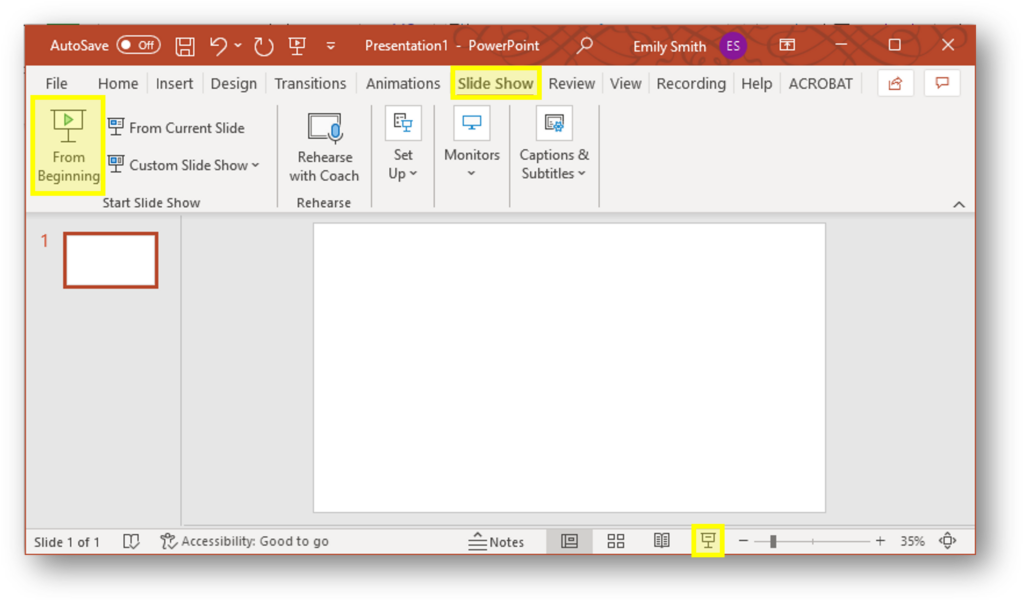
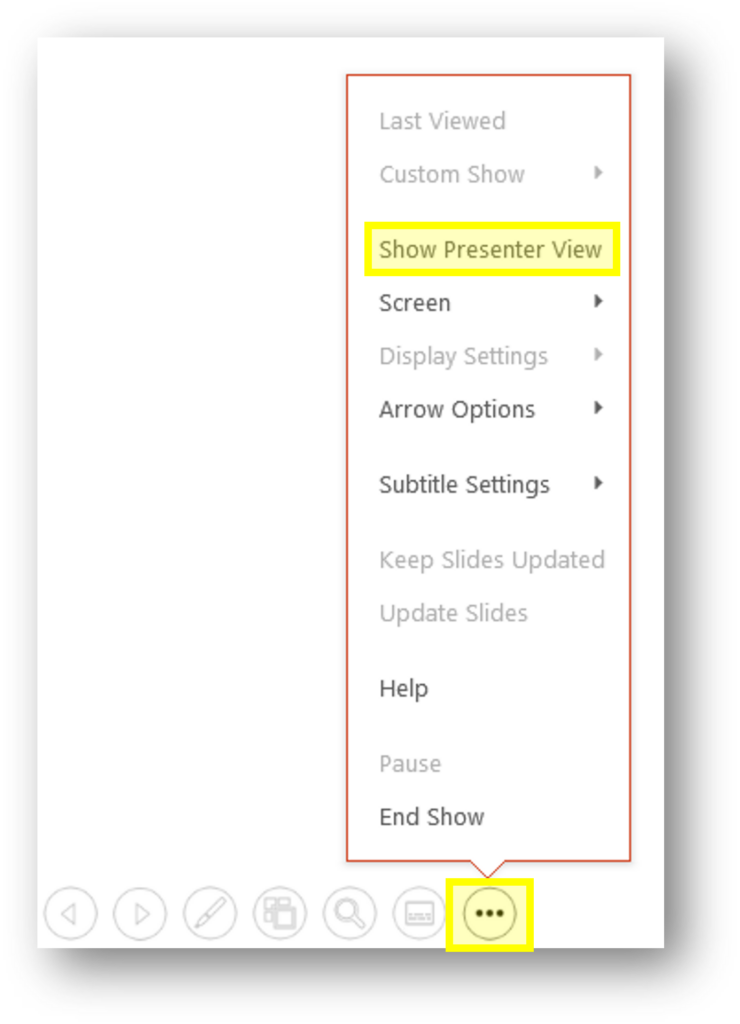
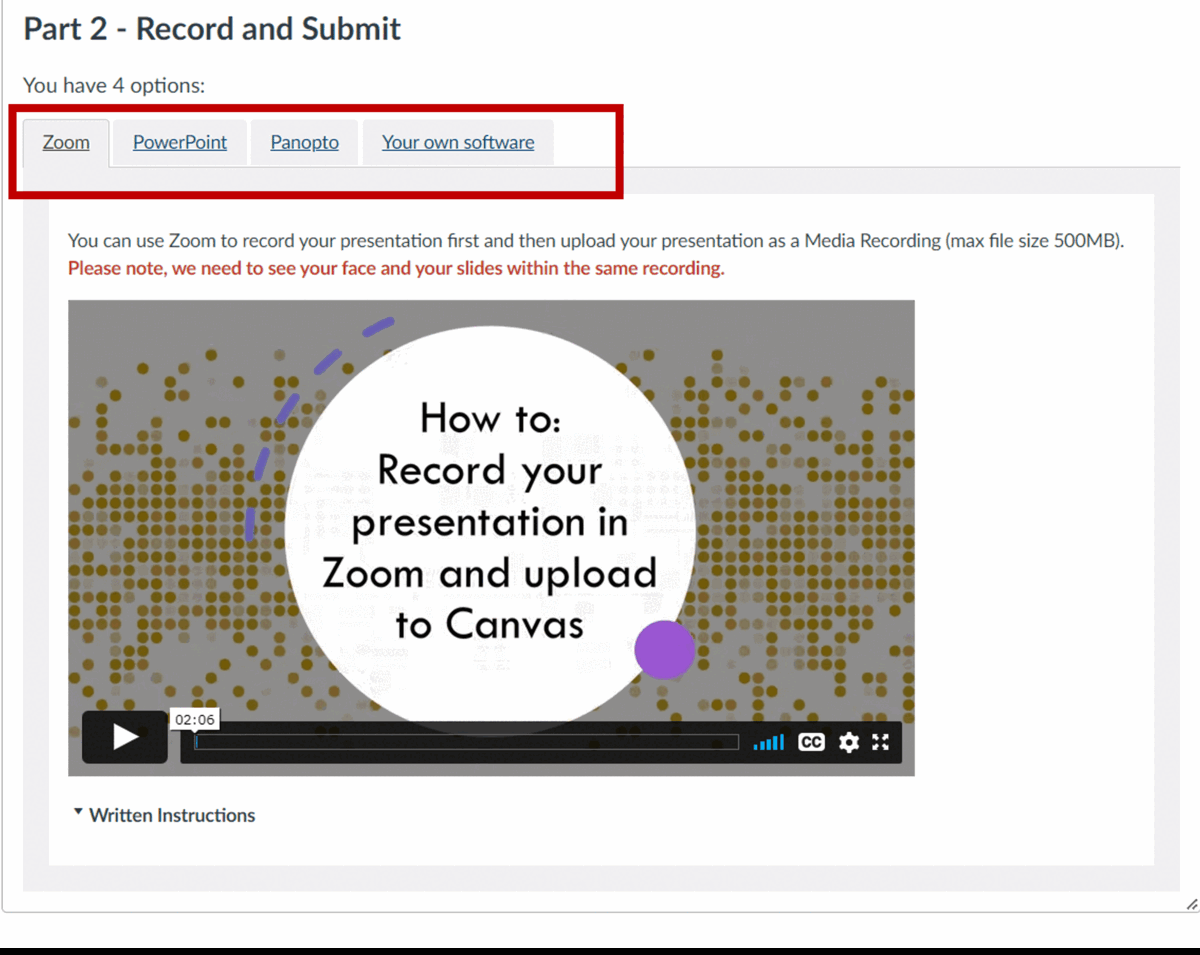
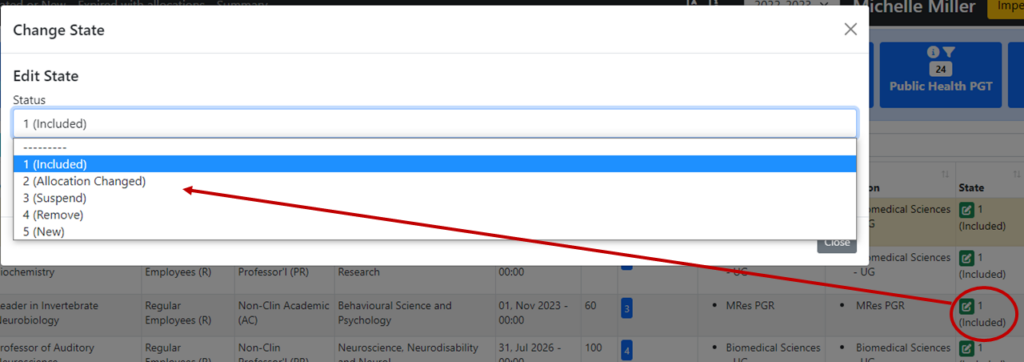
Images or Video
Including images and/or video in your documentation is a great way to make useful and helpful guidance. Images and video can do in a few seconds what paragraphs of text would take to explain. However, you should always make sure your images and videos are clear and consistent. Use the same software to generate images and video and make sure the quality is high. There is not much worse in the field of documentation than an image or video that is not high enough resolution to see what exactly is being described. Also, make sure your images show the specific item or area in context. This will help the user locate what they are looking for easily. Note however, that text should always accompany an image to facilitate use by visually or otherwise limited users. The combination of text and image makes for clear guidance.
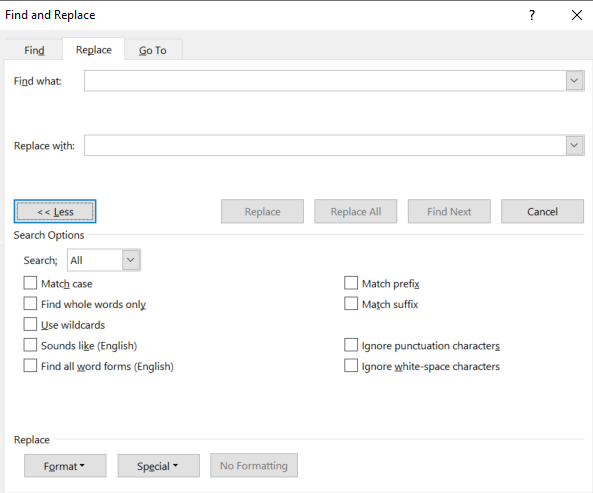
Annotations
Another great feature of images and video is that they can be annotated. Use software like PowerPoint to add arrows, circles, and even text to images. This will point out precisely what you are referring to in your guidance. You can use Adobe Animate or Camtasia to annotate videos. This increases the impact of a video or image.
Exact Language
Using precise language is necessary in creating guidance. Identifying processes and functions is critical to the reader, so you need to be very specific about what you say. For example, if a button is in the top right corner of the screen, don’t say “at the top of the screen”. Tell your user exactly where to look. At the same time, if the user needs to drag an item, click on a button, or even scroll up or down the page – make that clear in your text. Both what to do, and when to do it. Use numbered lists when possible to make the order of a process transparent.
Repetition/Highlighting Important Bits
When a specific task is important it may be worth repeating or emphasising the related information. For example, if a user needs to press a save button one or more times in a process, you can emphasis this by repeating the instructions, using bold text (Note: using only coloured text disadvantages colourblind individuals), or setting the instructions apart in a box or larger text. Making the most important tasks hard to miss in your documentation is always a good idea. You can achieve this through a combination of repetition and emphasis.
Summary
The process of creating documentation or guidance for a system or process can be a really rewarding experience. You will get practice teaching by giving clear, concise instructions. You will have the opportunity to work with colleagues when learning about the process or system – or testing your work on someone unfamiliar with the system or process. Finally, you will develop a greater understanding of the system or process itself. I really enjoy creating documentation, and I hope if you get the opportunity to create guidance – large or small – in the future, you will take it.