Over the past couple of months I have been talking to a lot of teaching colleagues about how they use quizzes. A quick summary of some uses for quizzes can be found below. There are two quiz tools available in Canvas (old and new quizzes), as well as a lot of web services that offer quiz functionality.
Using quizzes before synchronous seminars allows students to check their knowledge and make sure they have understood things correctly before entering into a discussion. This boosts confidence and allows them to participate more effectively in the session, knowing they have definitely grasped the concepts. This is especially useful with topics that are very abstract or contain a lot of new concepts or terminology. The case study with Rosalind Beaumont and Lydia Wysocki can be found on the LTDS case studies site.
Quizzes can also be used in the sense of providing test-enhanced learning opportunities for students. Regular short quizzes encourage students to retrieve the information they have remembered and put it into practice, boosting knowledge retention. The case study with Nick Riches can be found on the LTDS case studies site.
Another use for quizzes is to use them to replicate a workbook – something that might be used in Present in Person (PiP) teaching to guide students through a series of problems as teachers monitor the room. Here the quizzes are instructive and challenge students to find the information they need, practicing the skills they are learning. Detailed feedback and extra information allows the students to step through the processes they are learning and approximates the monitoring that may be done in the classroom by anticipating difficulties that may need clarifying. Teachers can then look at analytics or ask students to send questions to identify anything that needs further explanation. More information can be seen in the case study with the Library Liaison team.
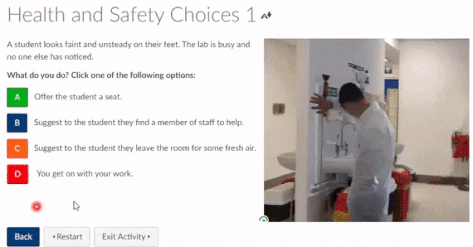
When testing higher-order thinking skills such as evaluation, automatically-marked quizzes may not spring to mind, as evaluation is often done in prose. The case studies mentioned above include examples of higher-order thinking questions. This can be done through careful question construction with high-quality distractors, for testing, as shown here, or as a learning activity, asking students to apply skills and enter a rating at each stage as modelled by the Drop Bear activity in the Library Liaison team’s case study.
How do you use quizzes?